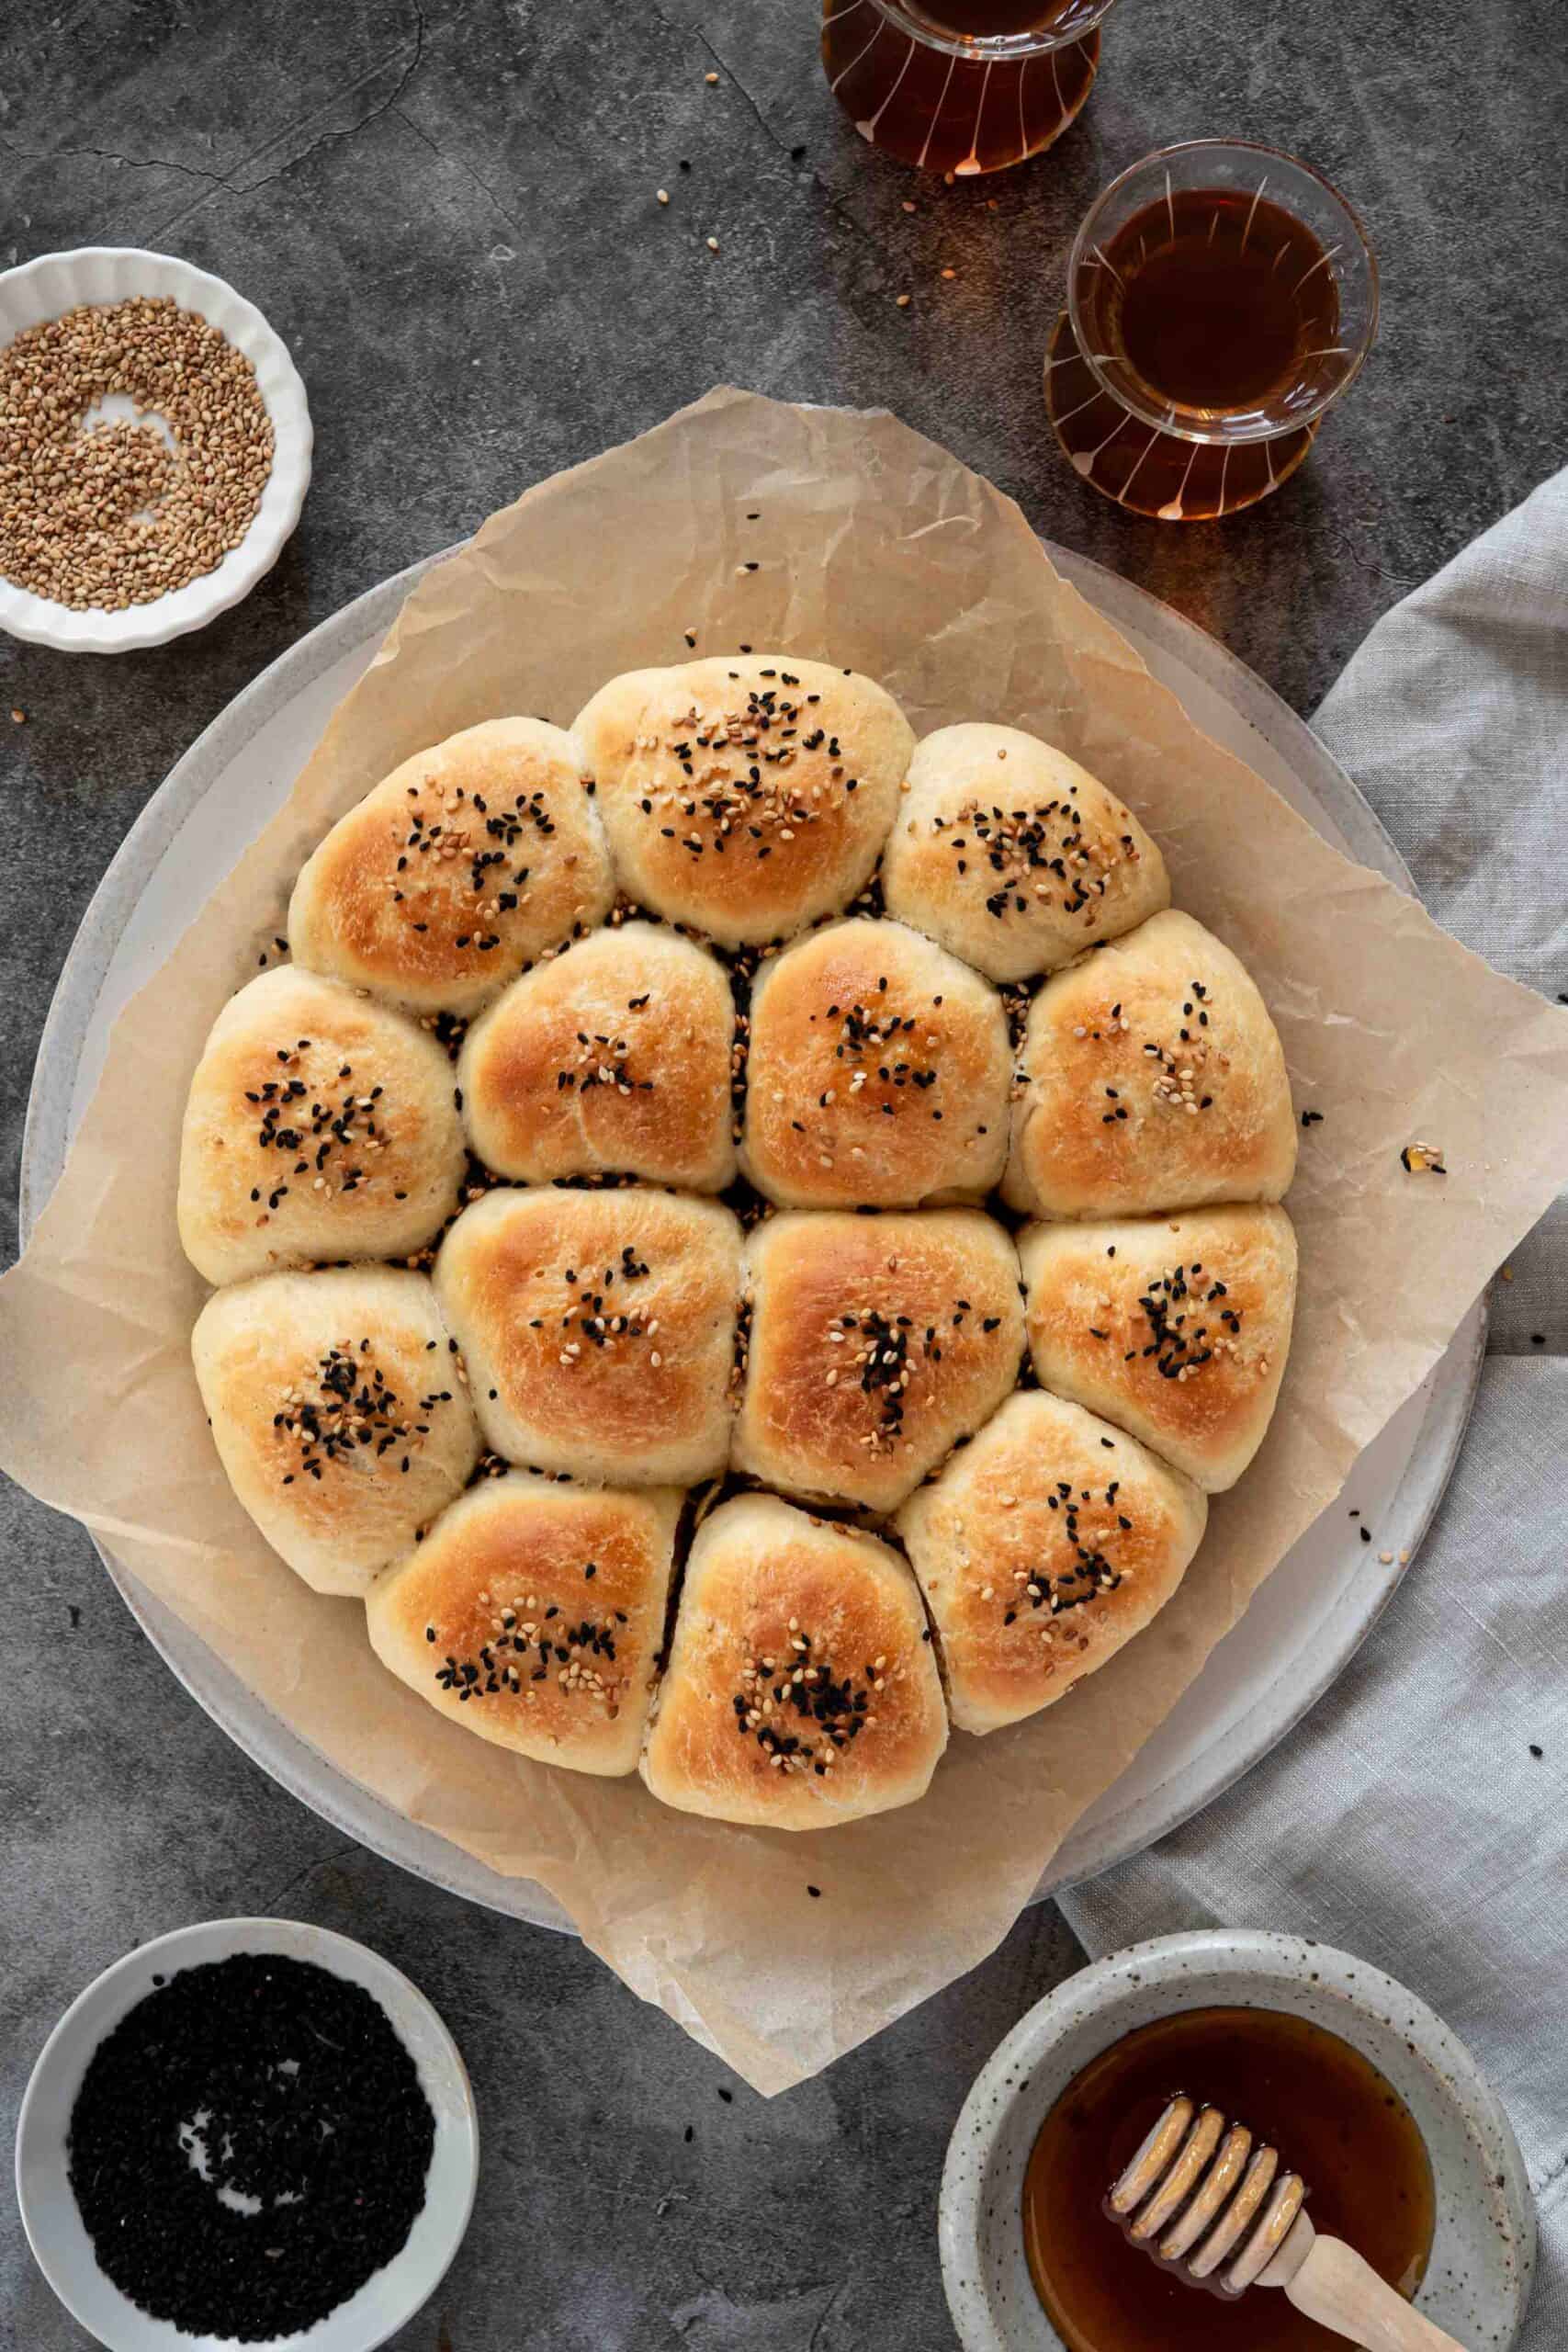
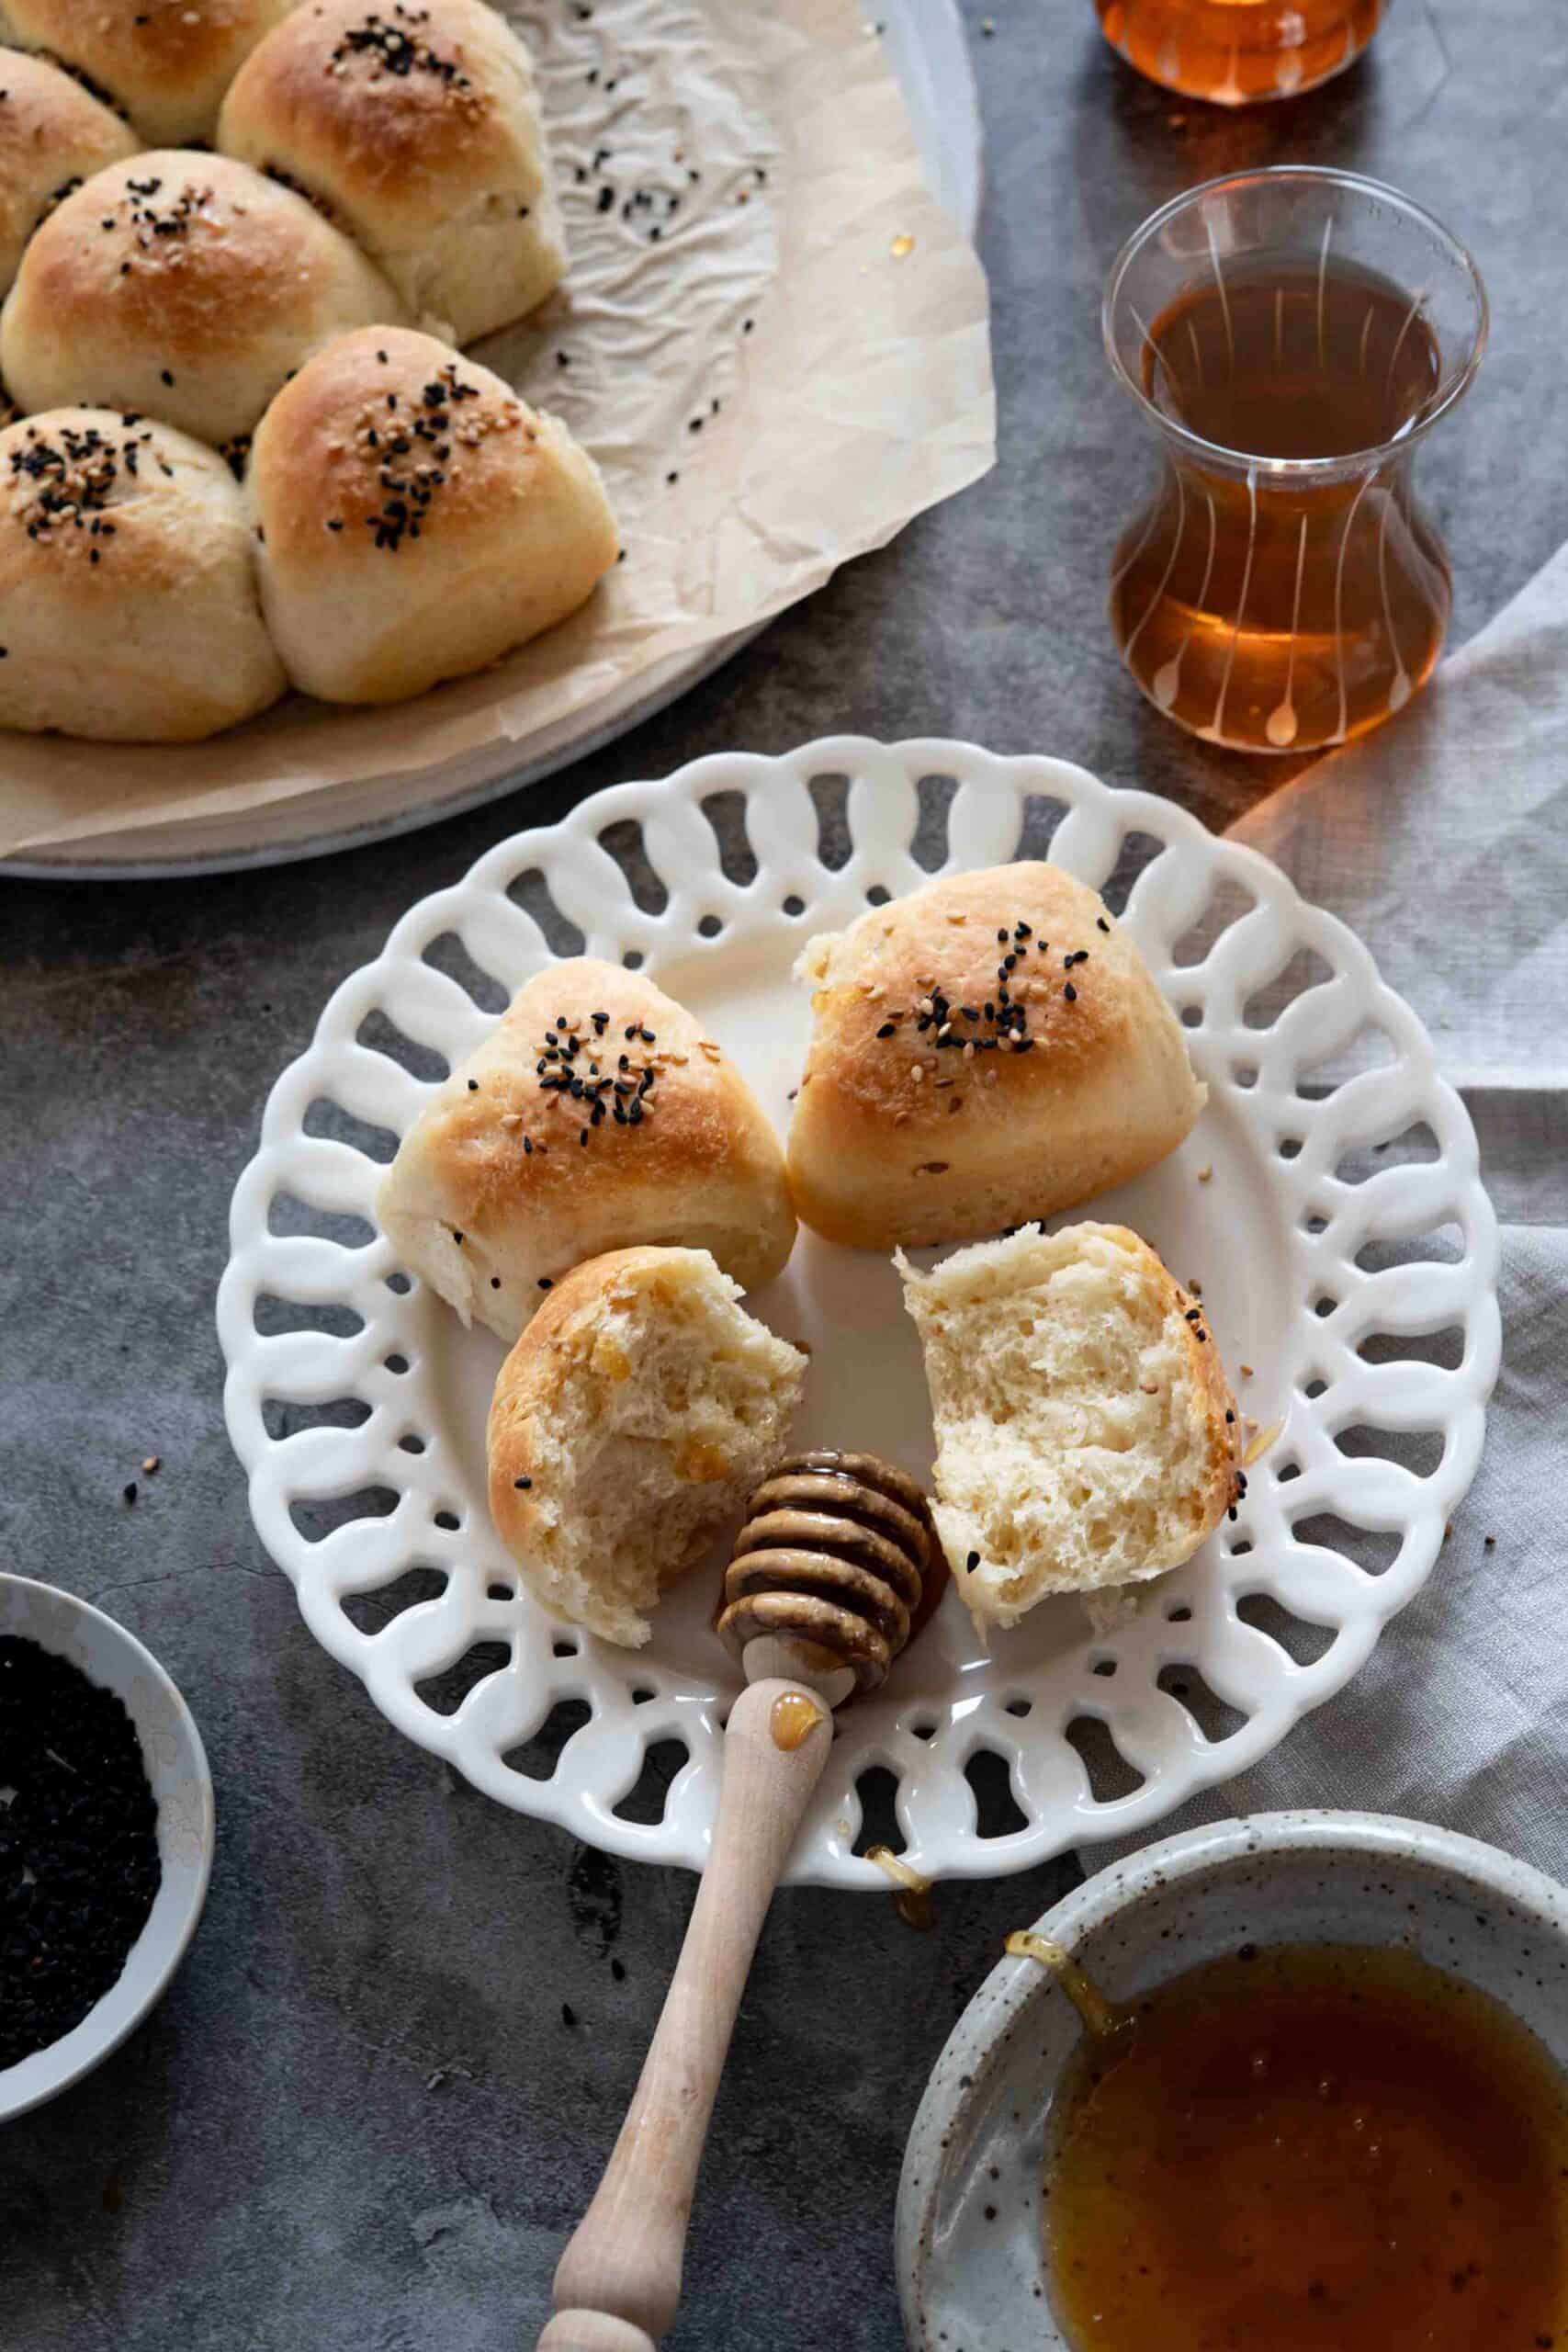
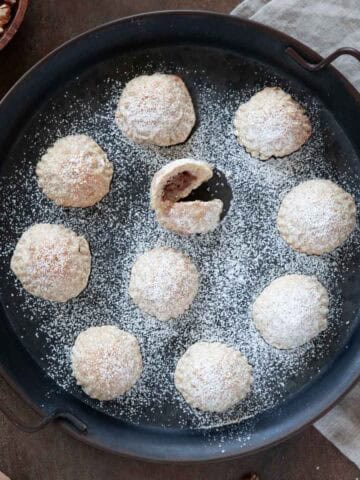
This honeycomb bread recipe known as “khaliat nahal” in Arabic (literally means beehive). This bread bun is an easy homemade dough, soft and fluffy, brushed with honey and topped off with sesame and nigella seeds.
I grew up eating this bread, sold by a man walking through the narrow Ramallah alleys, balancing a large tray of golden honeycomb bread and calling out “nawa’em, nawa’em”, a name meaning soft and pillowy, perfectly describing each warm bite as he invited children to come and buy one.
The taste was simple yet unforgettable, soft, slightly sweet rolls, each bite warm and comforting.
Whether you call it Khaliat Nahal or Nawa’em, this Middle Eastern sweet bread remains a timeless favorite, perfect for gatherings, Ramadan evenings or Suhoor, or simply sharing with family over tea.
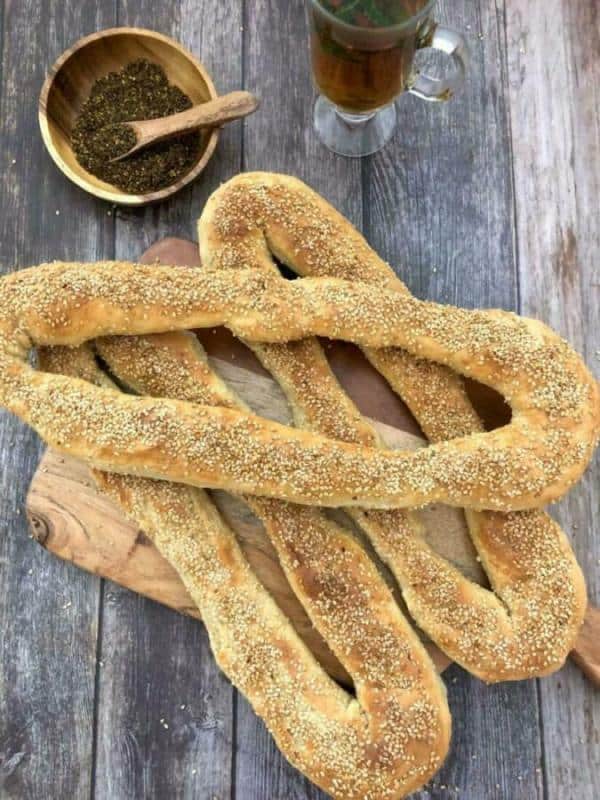
If you love working with soft, homemade dough, here are a few more traditional and comforting recipes you might enjoy: zaatar manakeesh, zaatar bread stuffed with cheese, or cheese manakeesh, Arabic flat bread or taboon bread.
Jump to:
What is Honeycomb Bread?
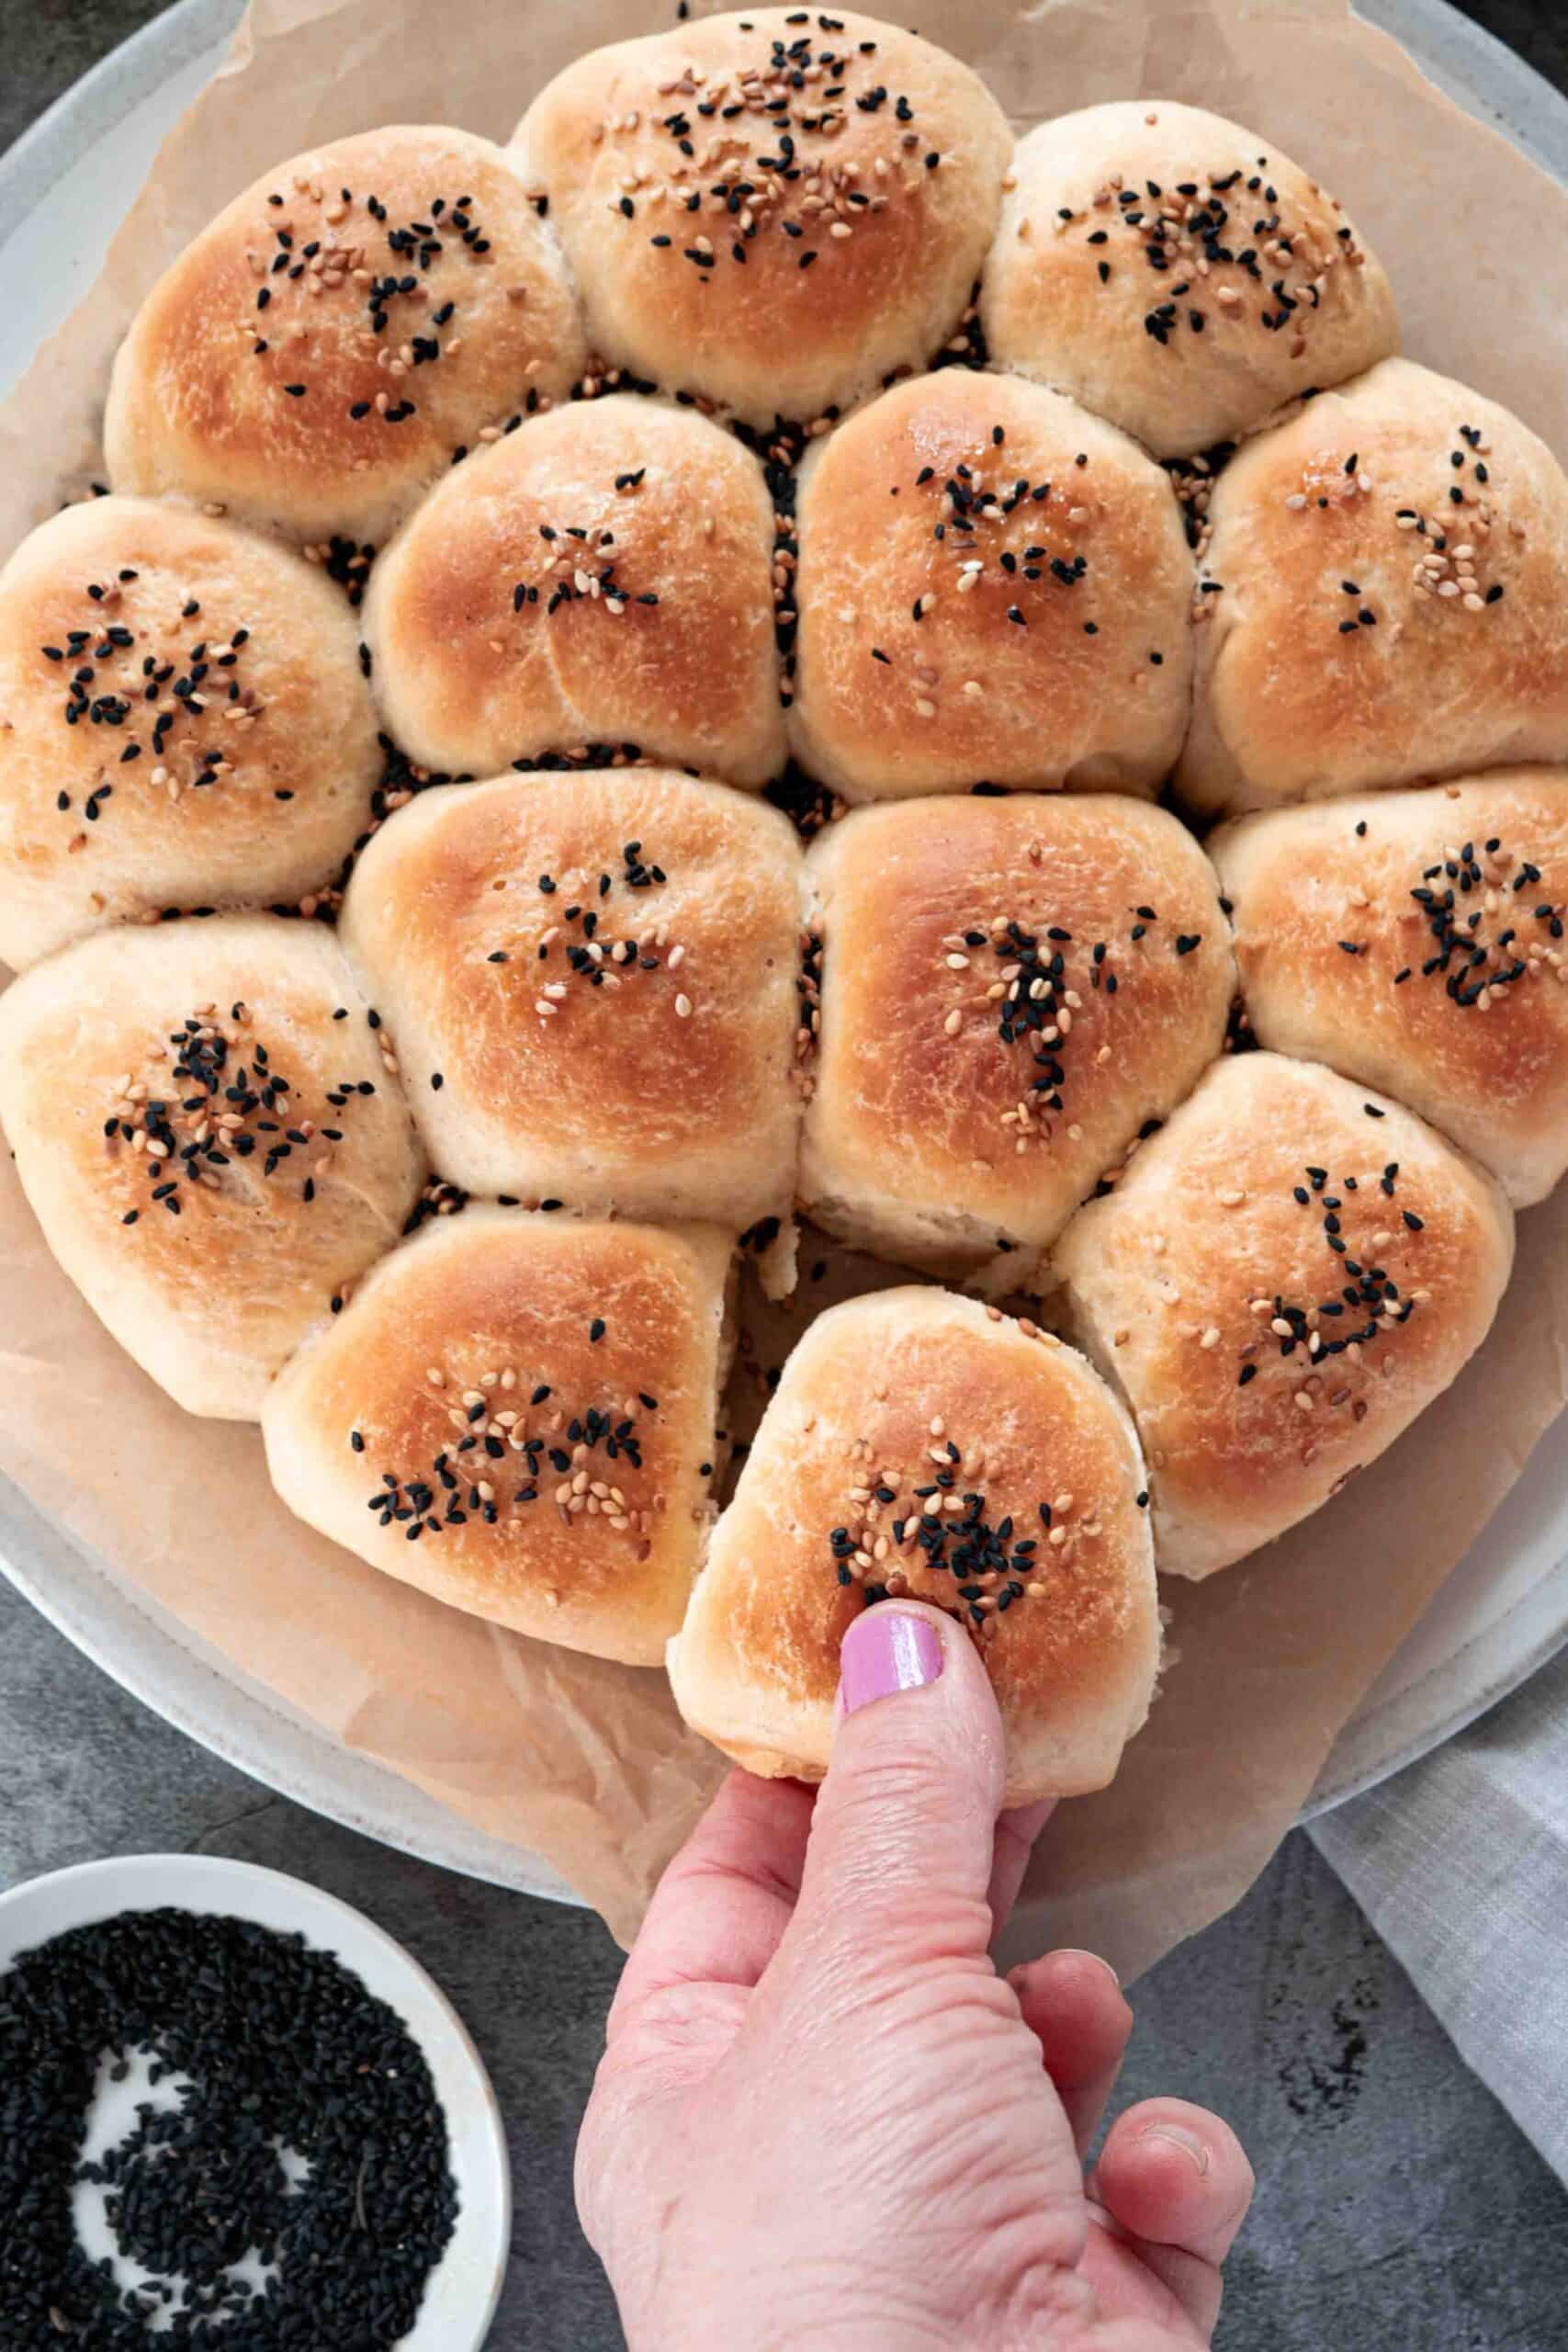
Honeycomb bread is a soft, fluffy Middle Eastern bread made of small, pull-apart rolls arranged together to resemble a honeycomb, then baked until golden and often brushed with honey or sprinkled with sugar on top.
Nawa’em (نواعِم) means “soft,” “tender,” or “pillowy” in Arabic, a name that perfectly describes the light, fluffy texture of this bread when it’s fresh and warm.
Also known as khaliat nahal or nawa’em, some like to fill it with cheese, enjoyed as a sweet, comforting treat that’s perfect for sharing.
Ingredients
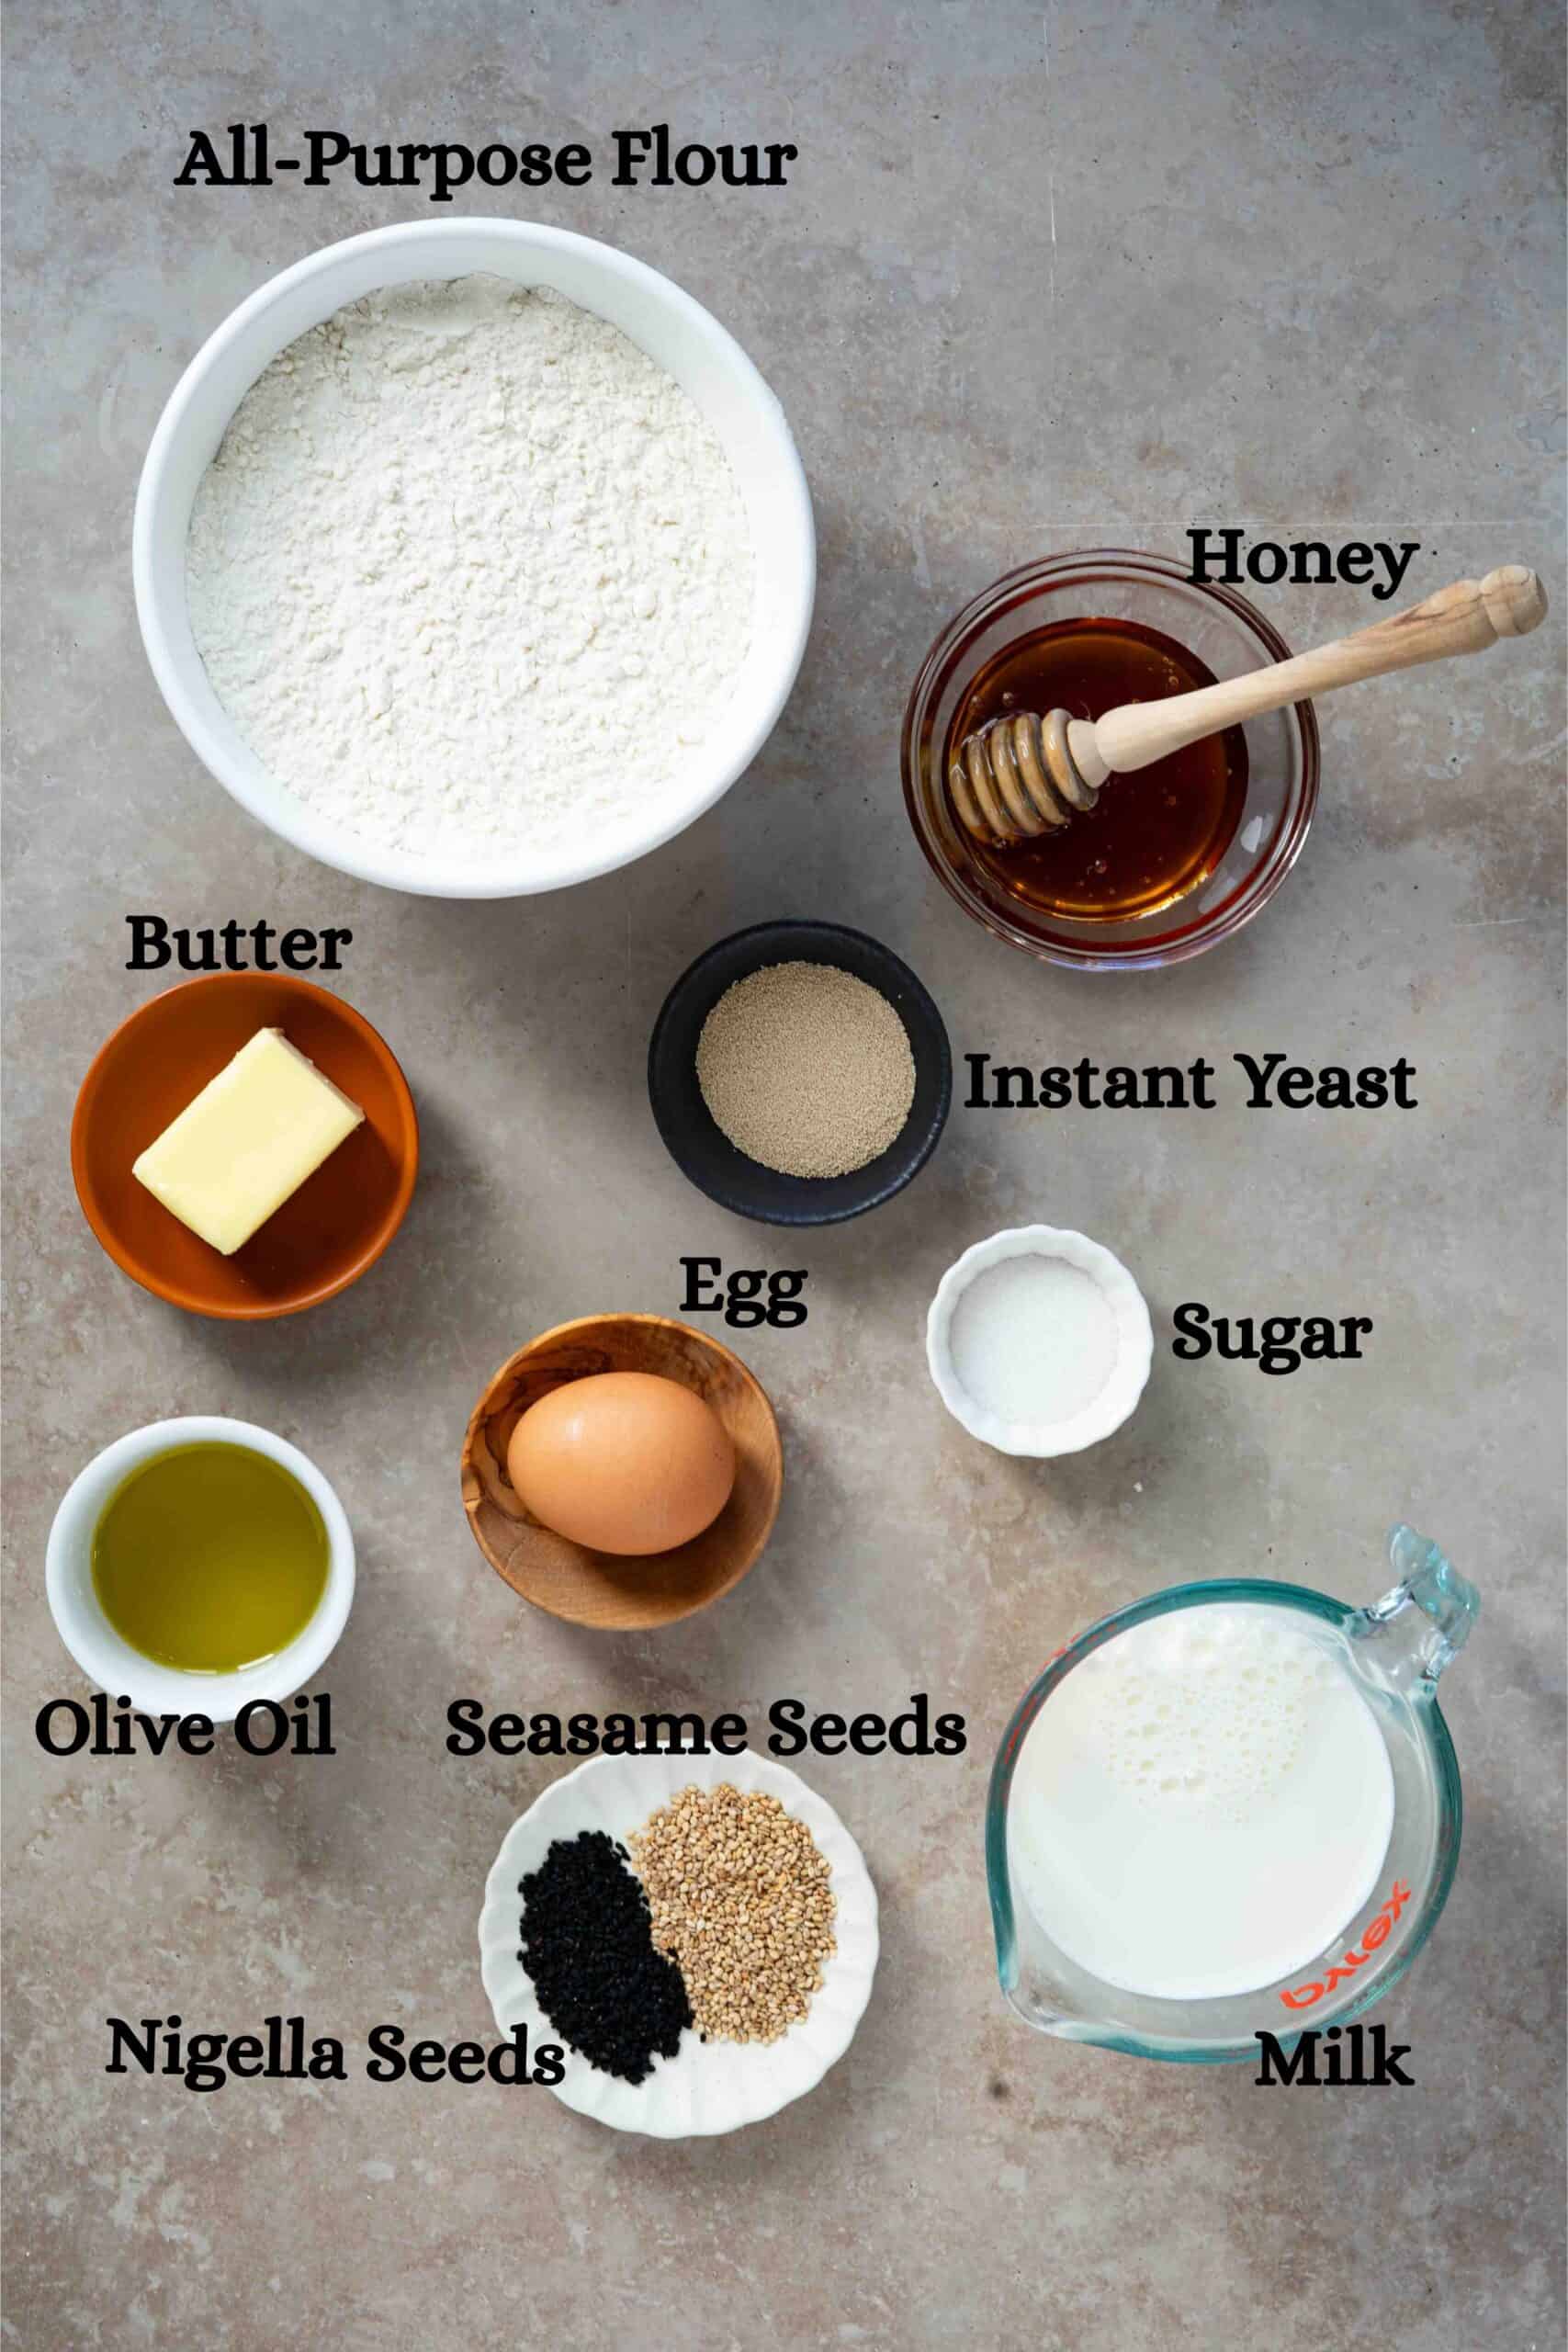
- All-Purpose Flour - Forms the soft base of the bread.
- Egg - Bring richness to the dough.
- Milk - Help to bring softness to the bread.
- Unsalted Butter - Add to the tenderness of the bread.
- Olive Oil - I use extra virgin olive oil, you can skip the oil and double the butter quantity.
- Instant Yeast - Helps the dough rise.
- Sugar - Feeds the yeast.
- Honey - To add on to of the bread after baking, for a sweet taste (optional).
- Sesame and Nigella Seeds - Finish with a traditional touch (optional).
Equipment
This post may contain affiliate links
- Stand Mixer or a Hand Mixer
- Parchment Paper
- Spatula
- 9-inch Round Cake Pan (2 pans)
Instructions
Full ingredients, measurements, and instructions are in the recipe card at the bottom of this post.
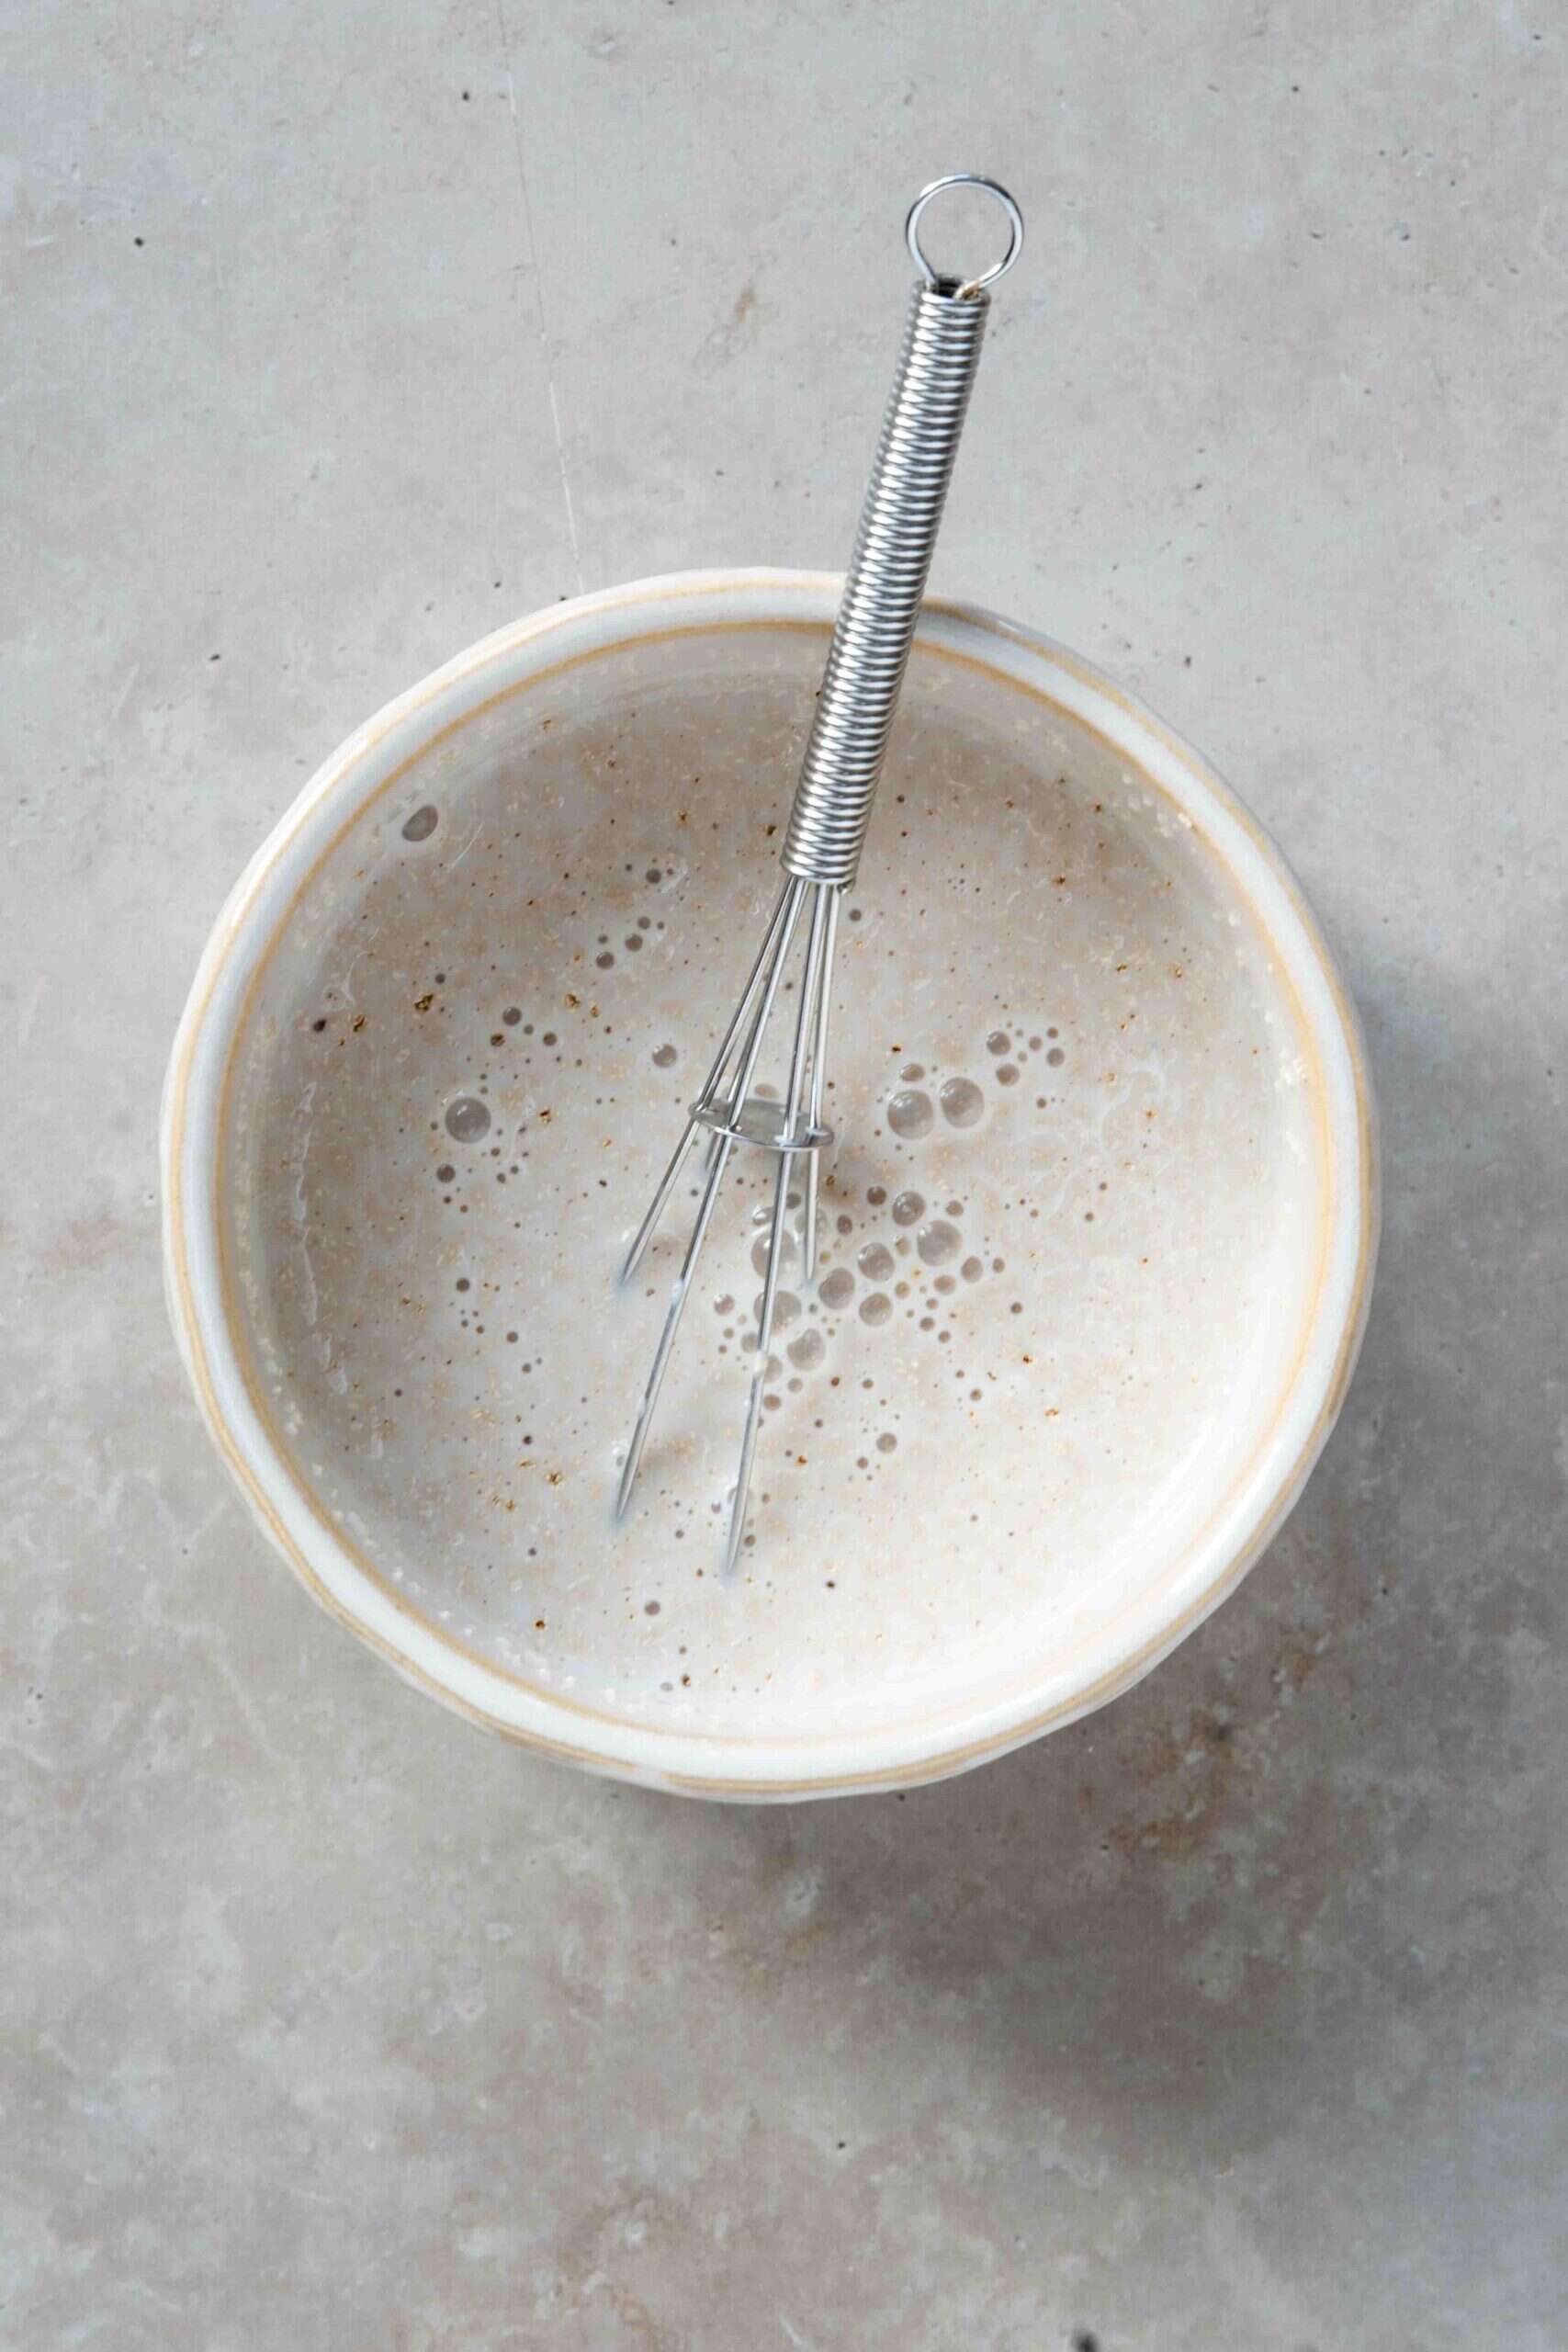
Step 1 | In a small bowl, mix warm milk, sugar, and yeast.
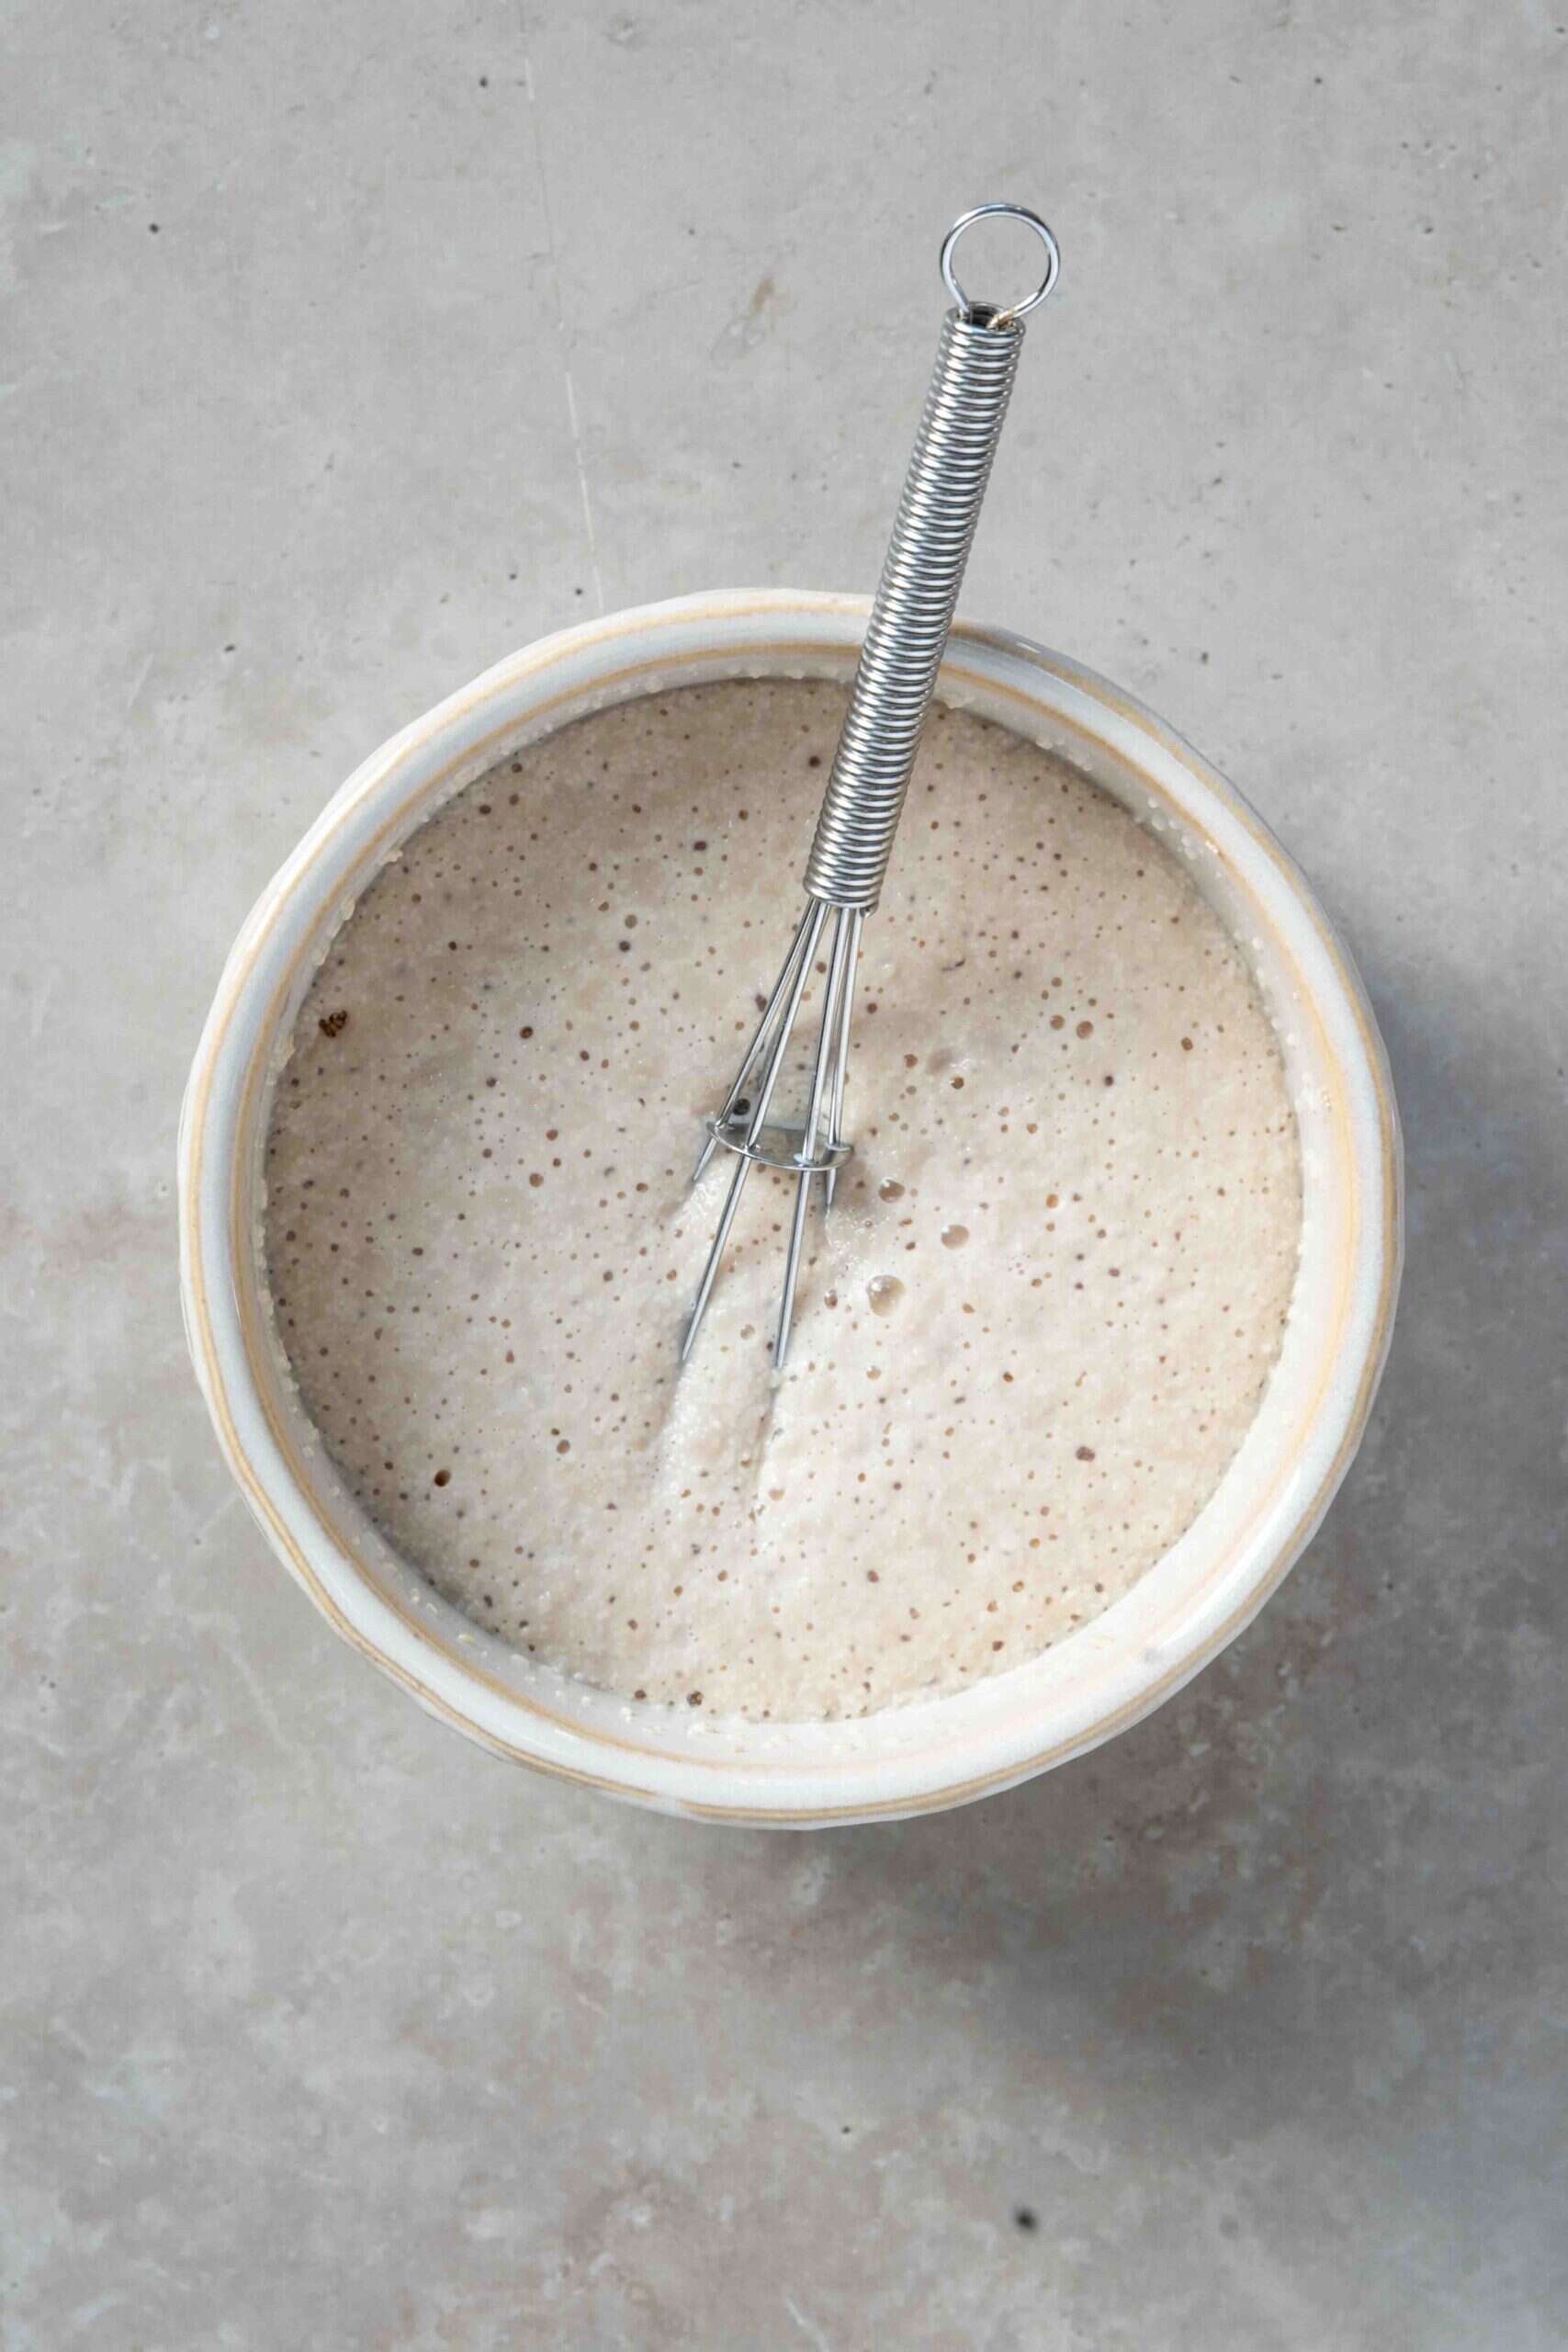
Step 2 | Let it sit for 5–10 minutes until bubbly.
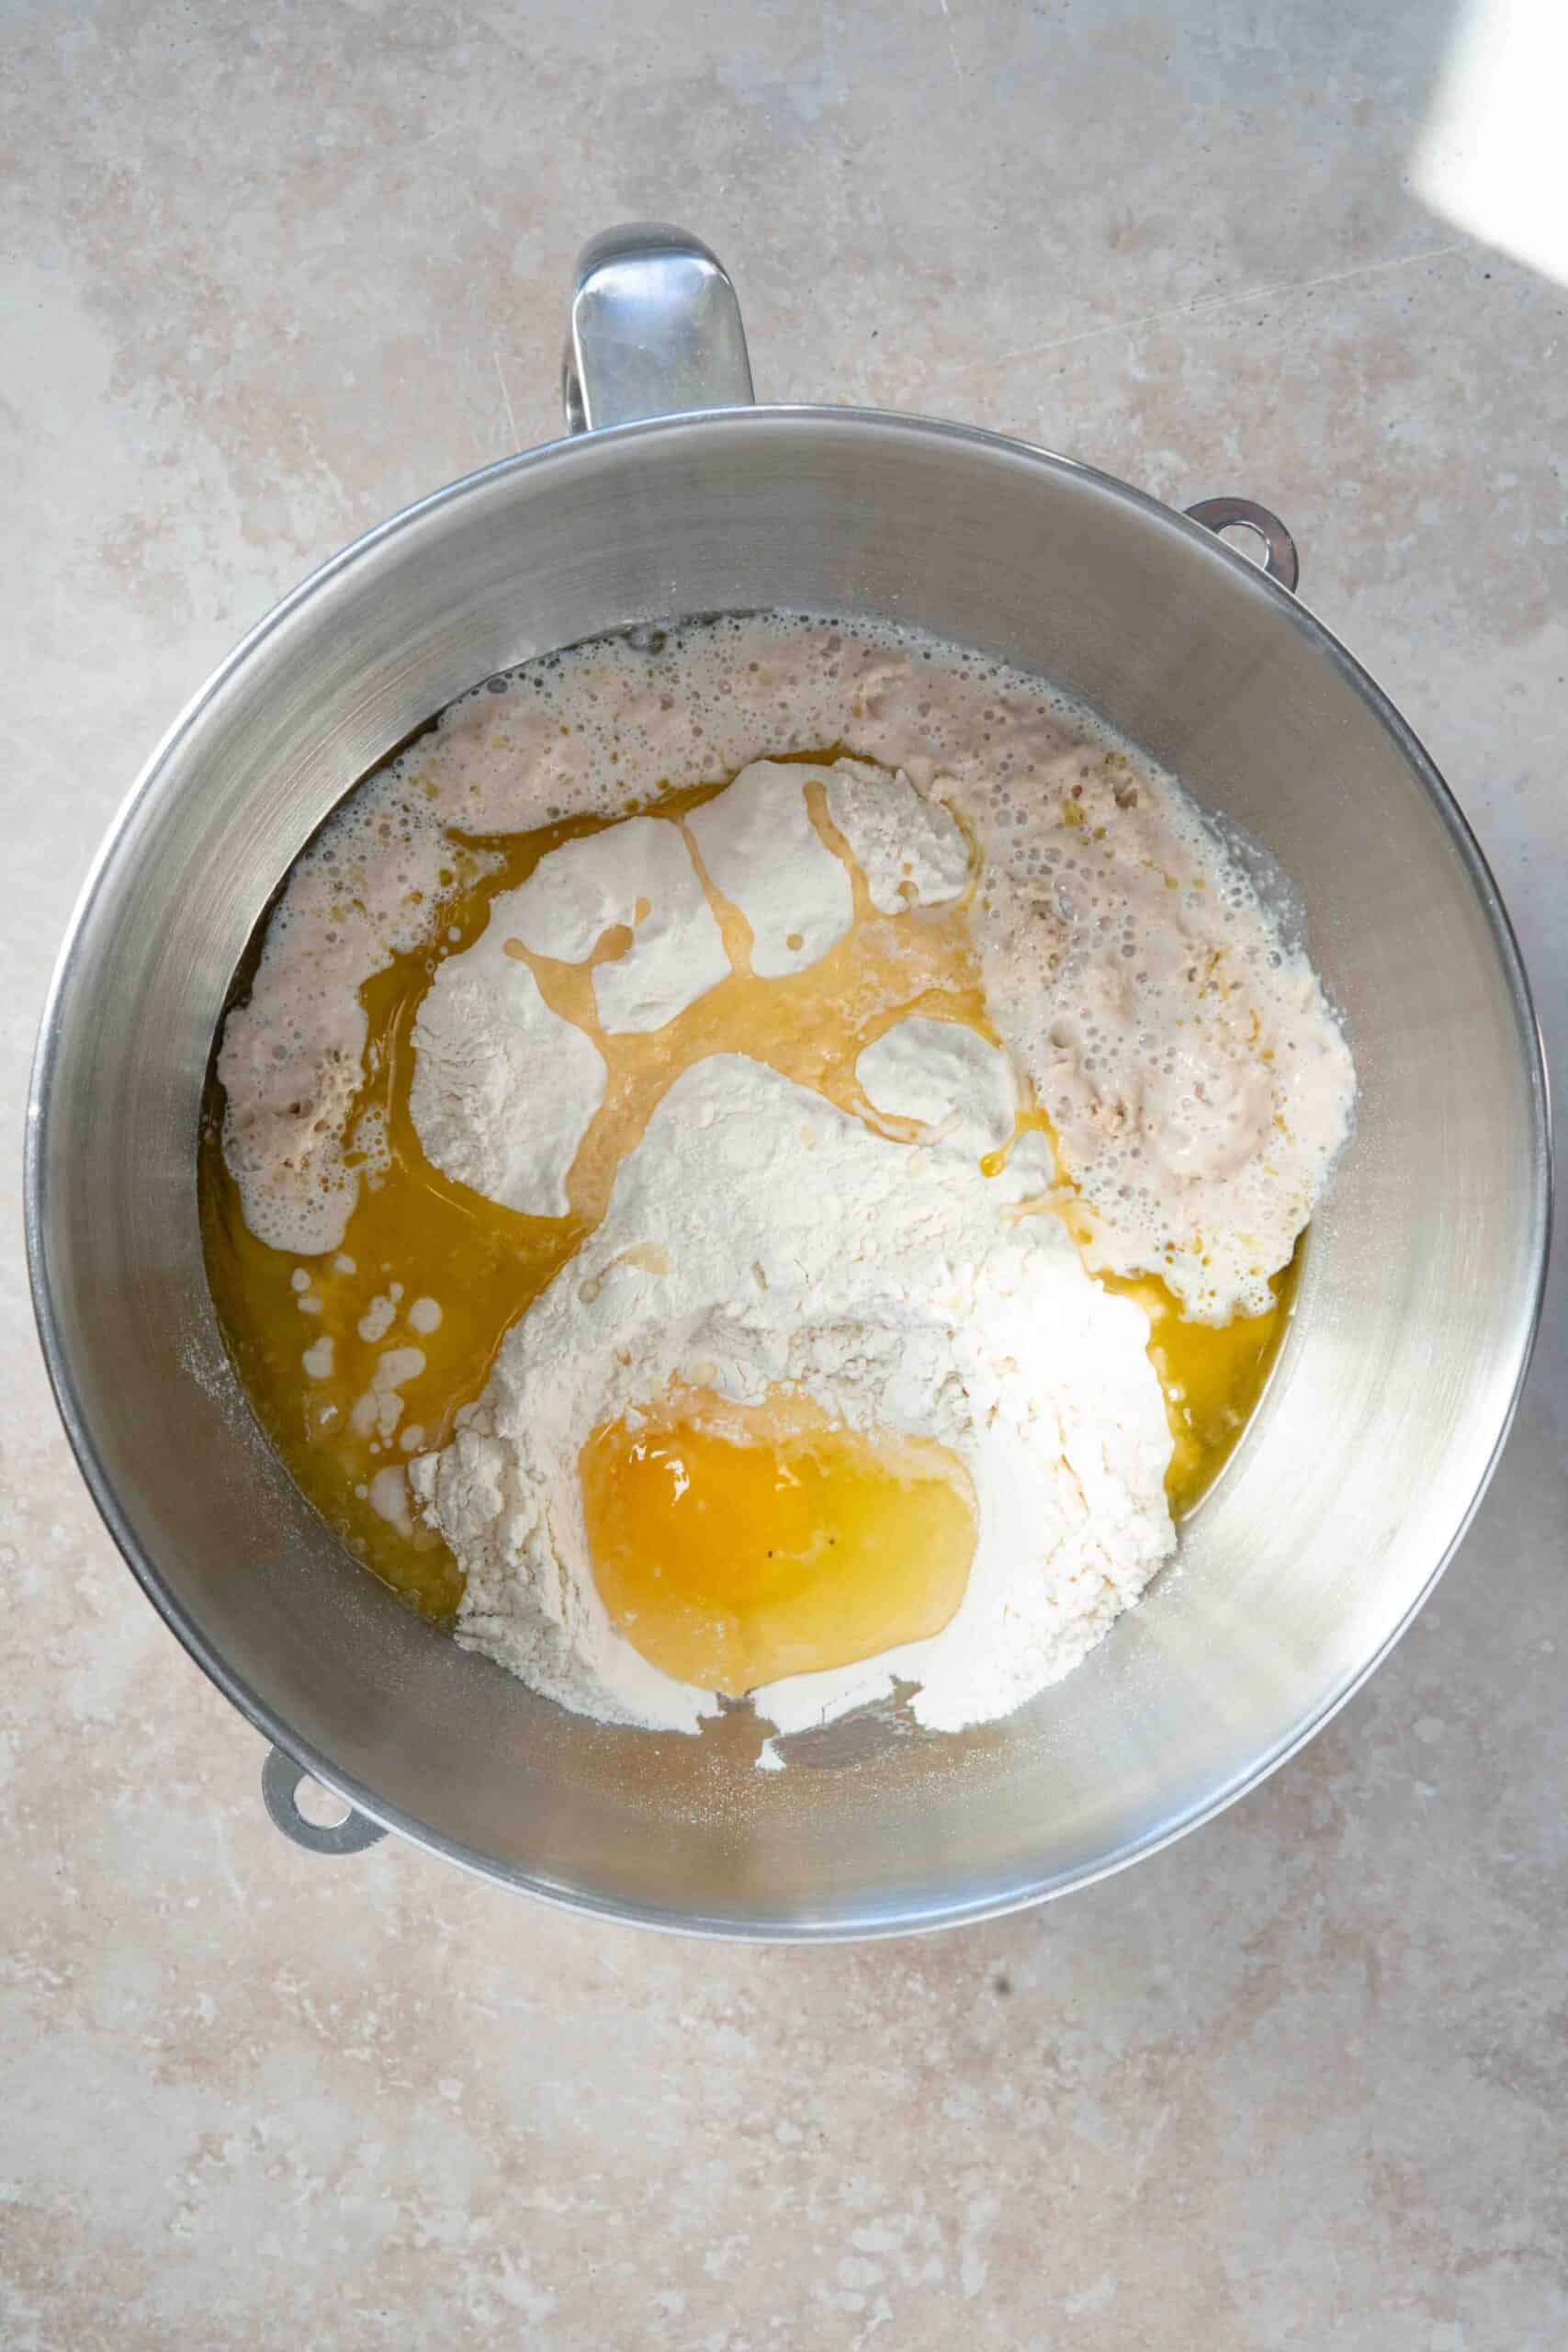
Step 3 | In a large bowl, combine flour, egg, melted butter, and the yeast mixture.
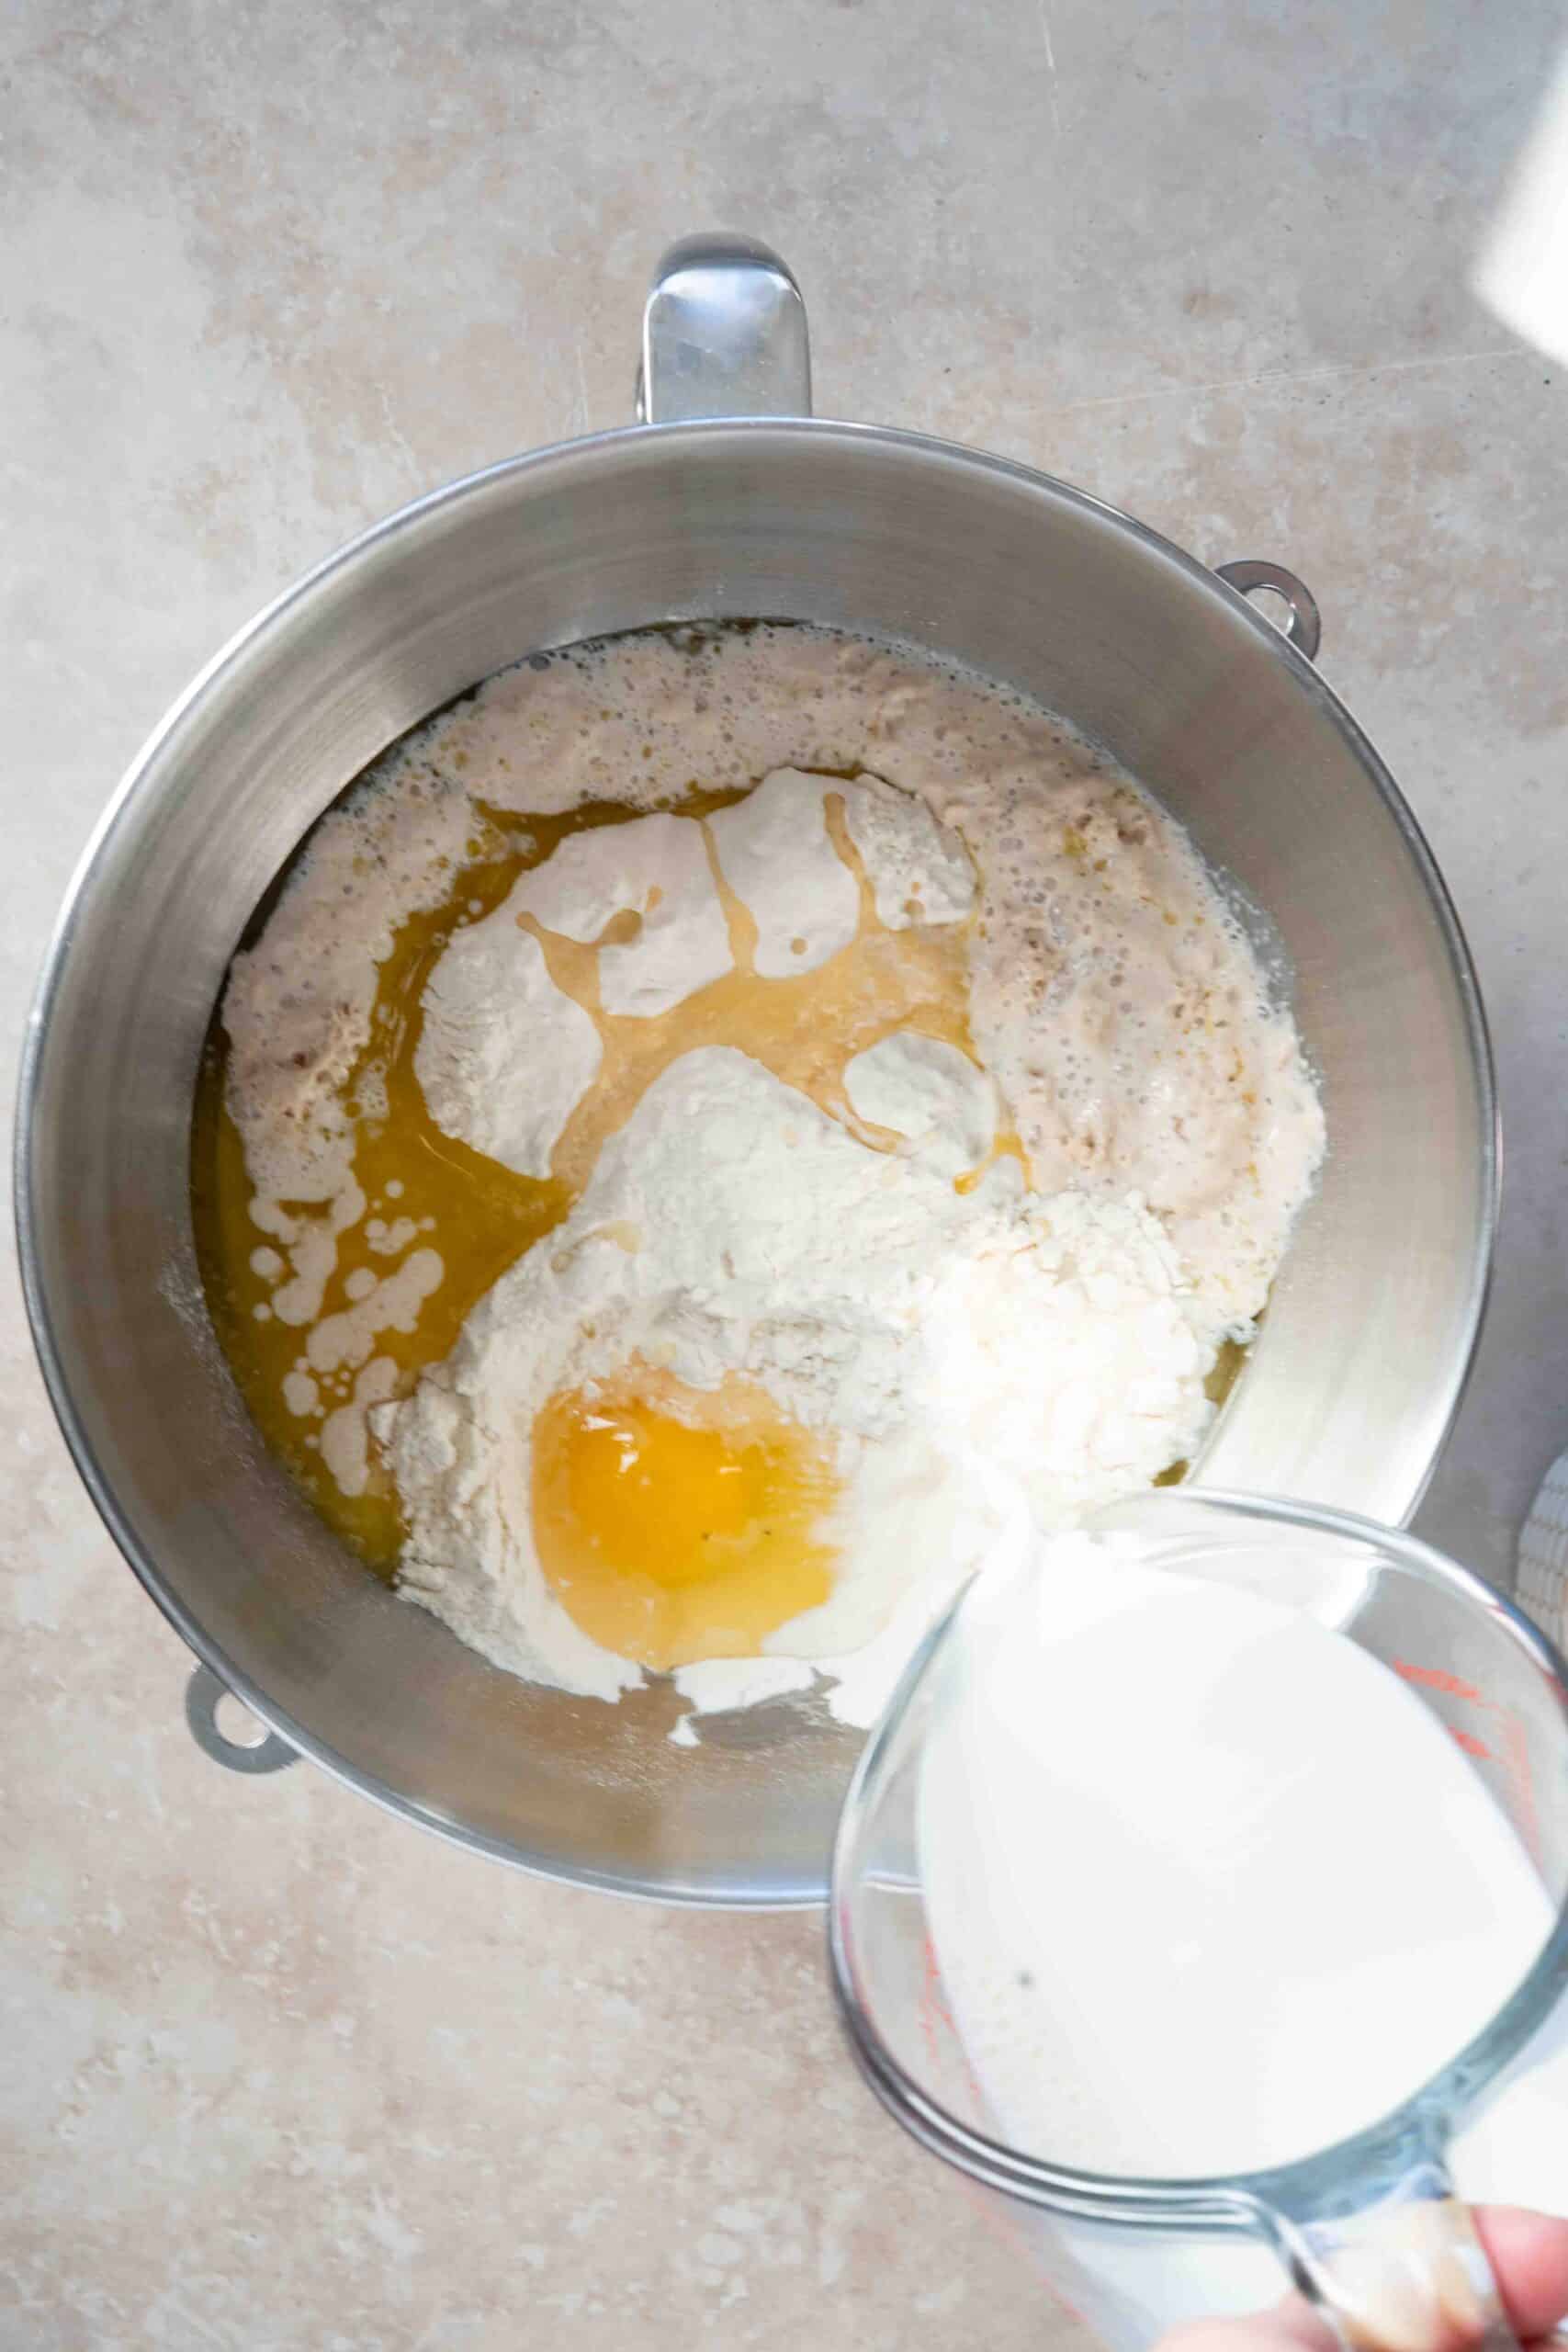
Step 4 | Pour in the milk over the mixture and blend everything together.
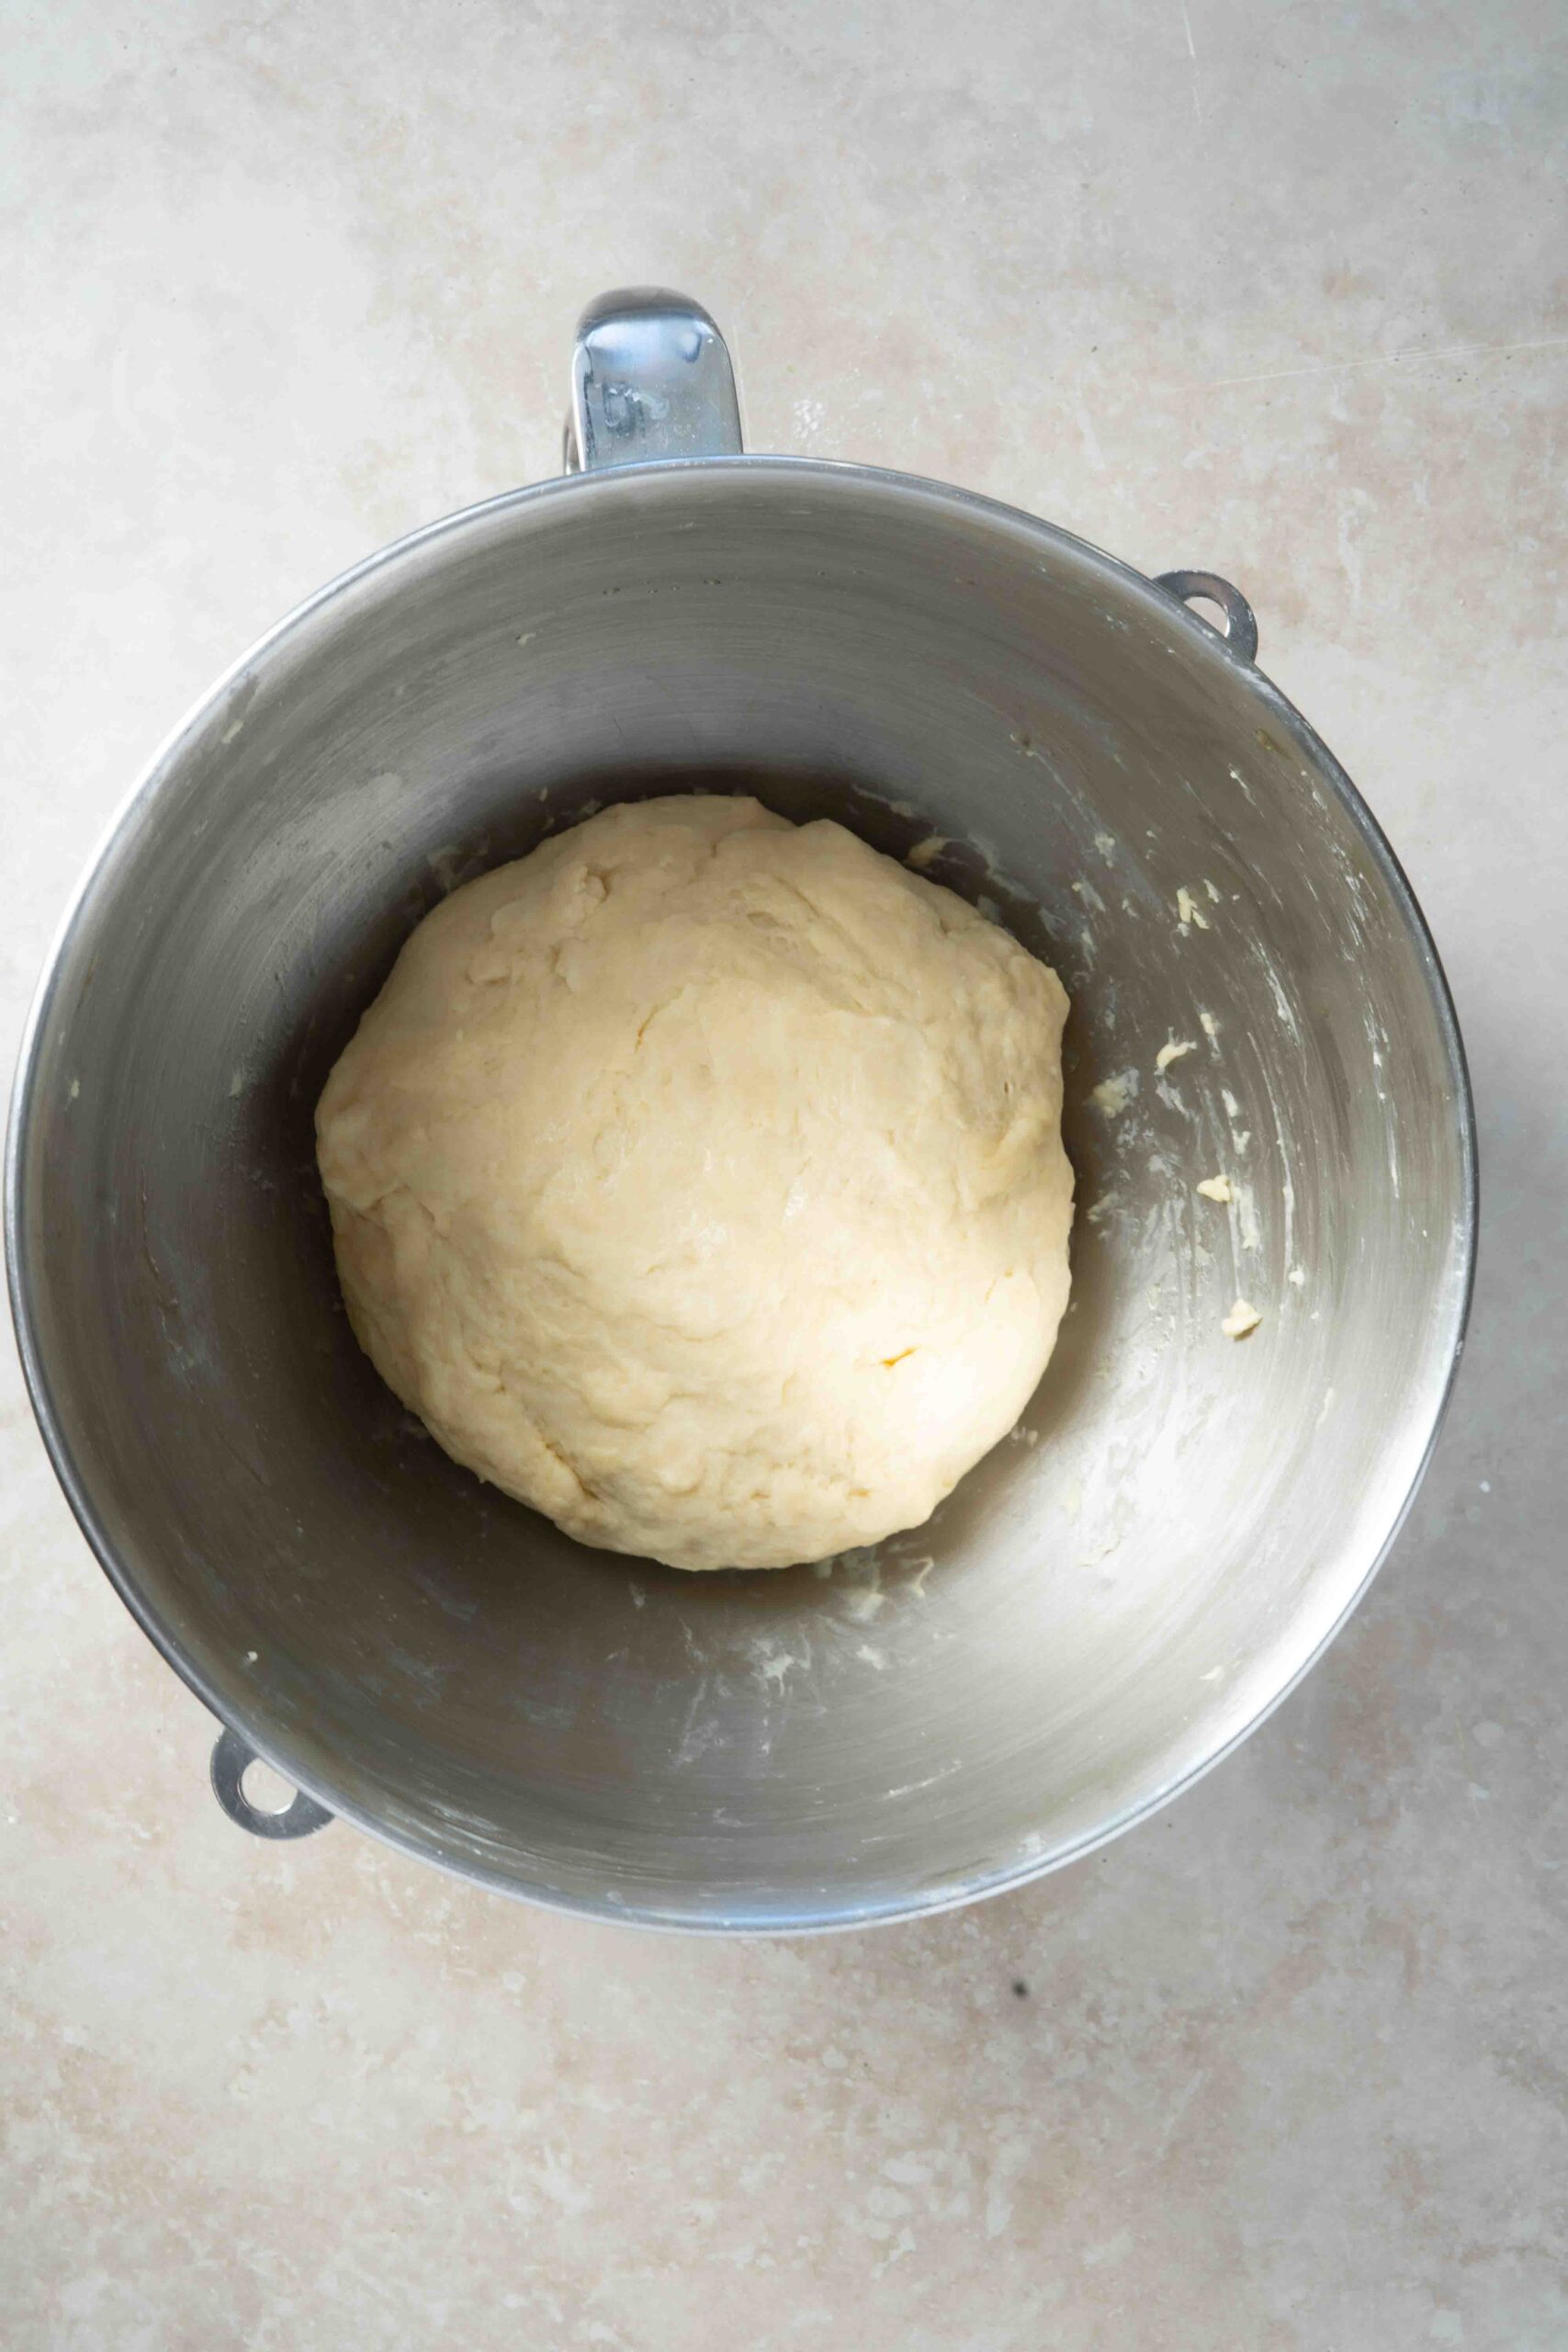
Step 5 | Knead for about 8–10 minutes until you get a soft, elastic dough.
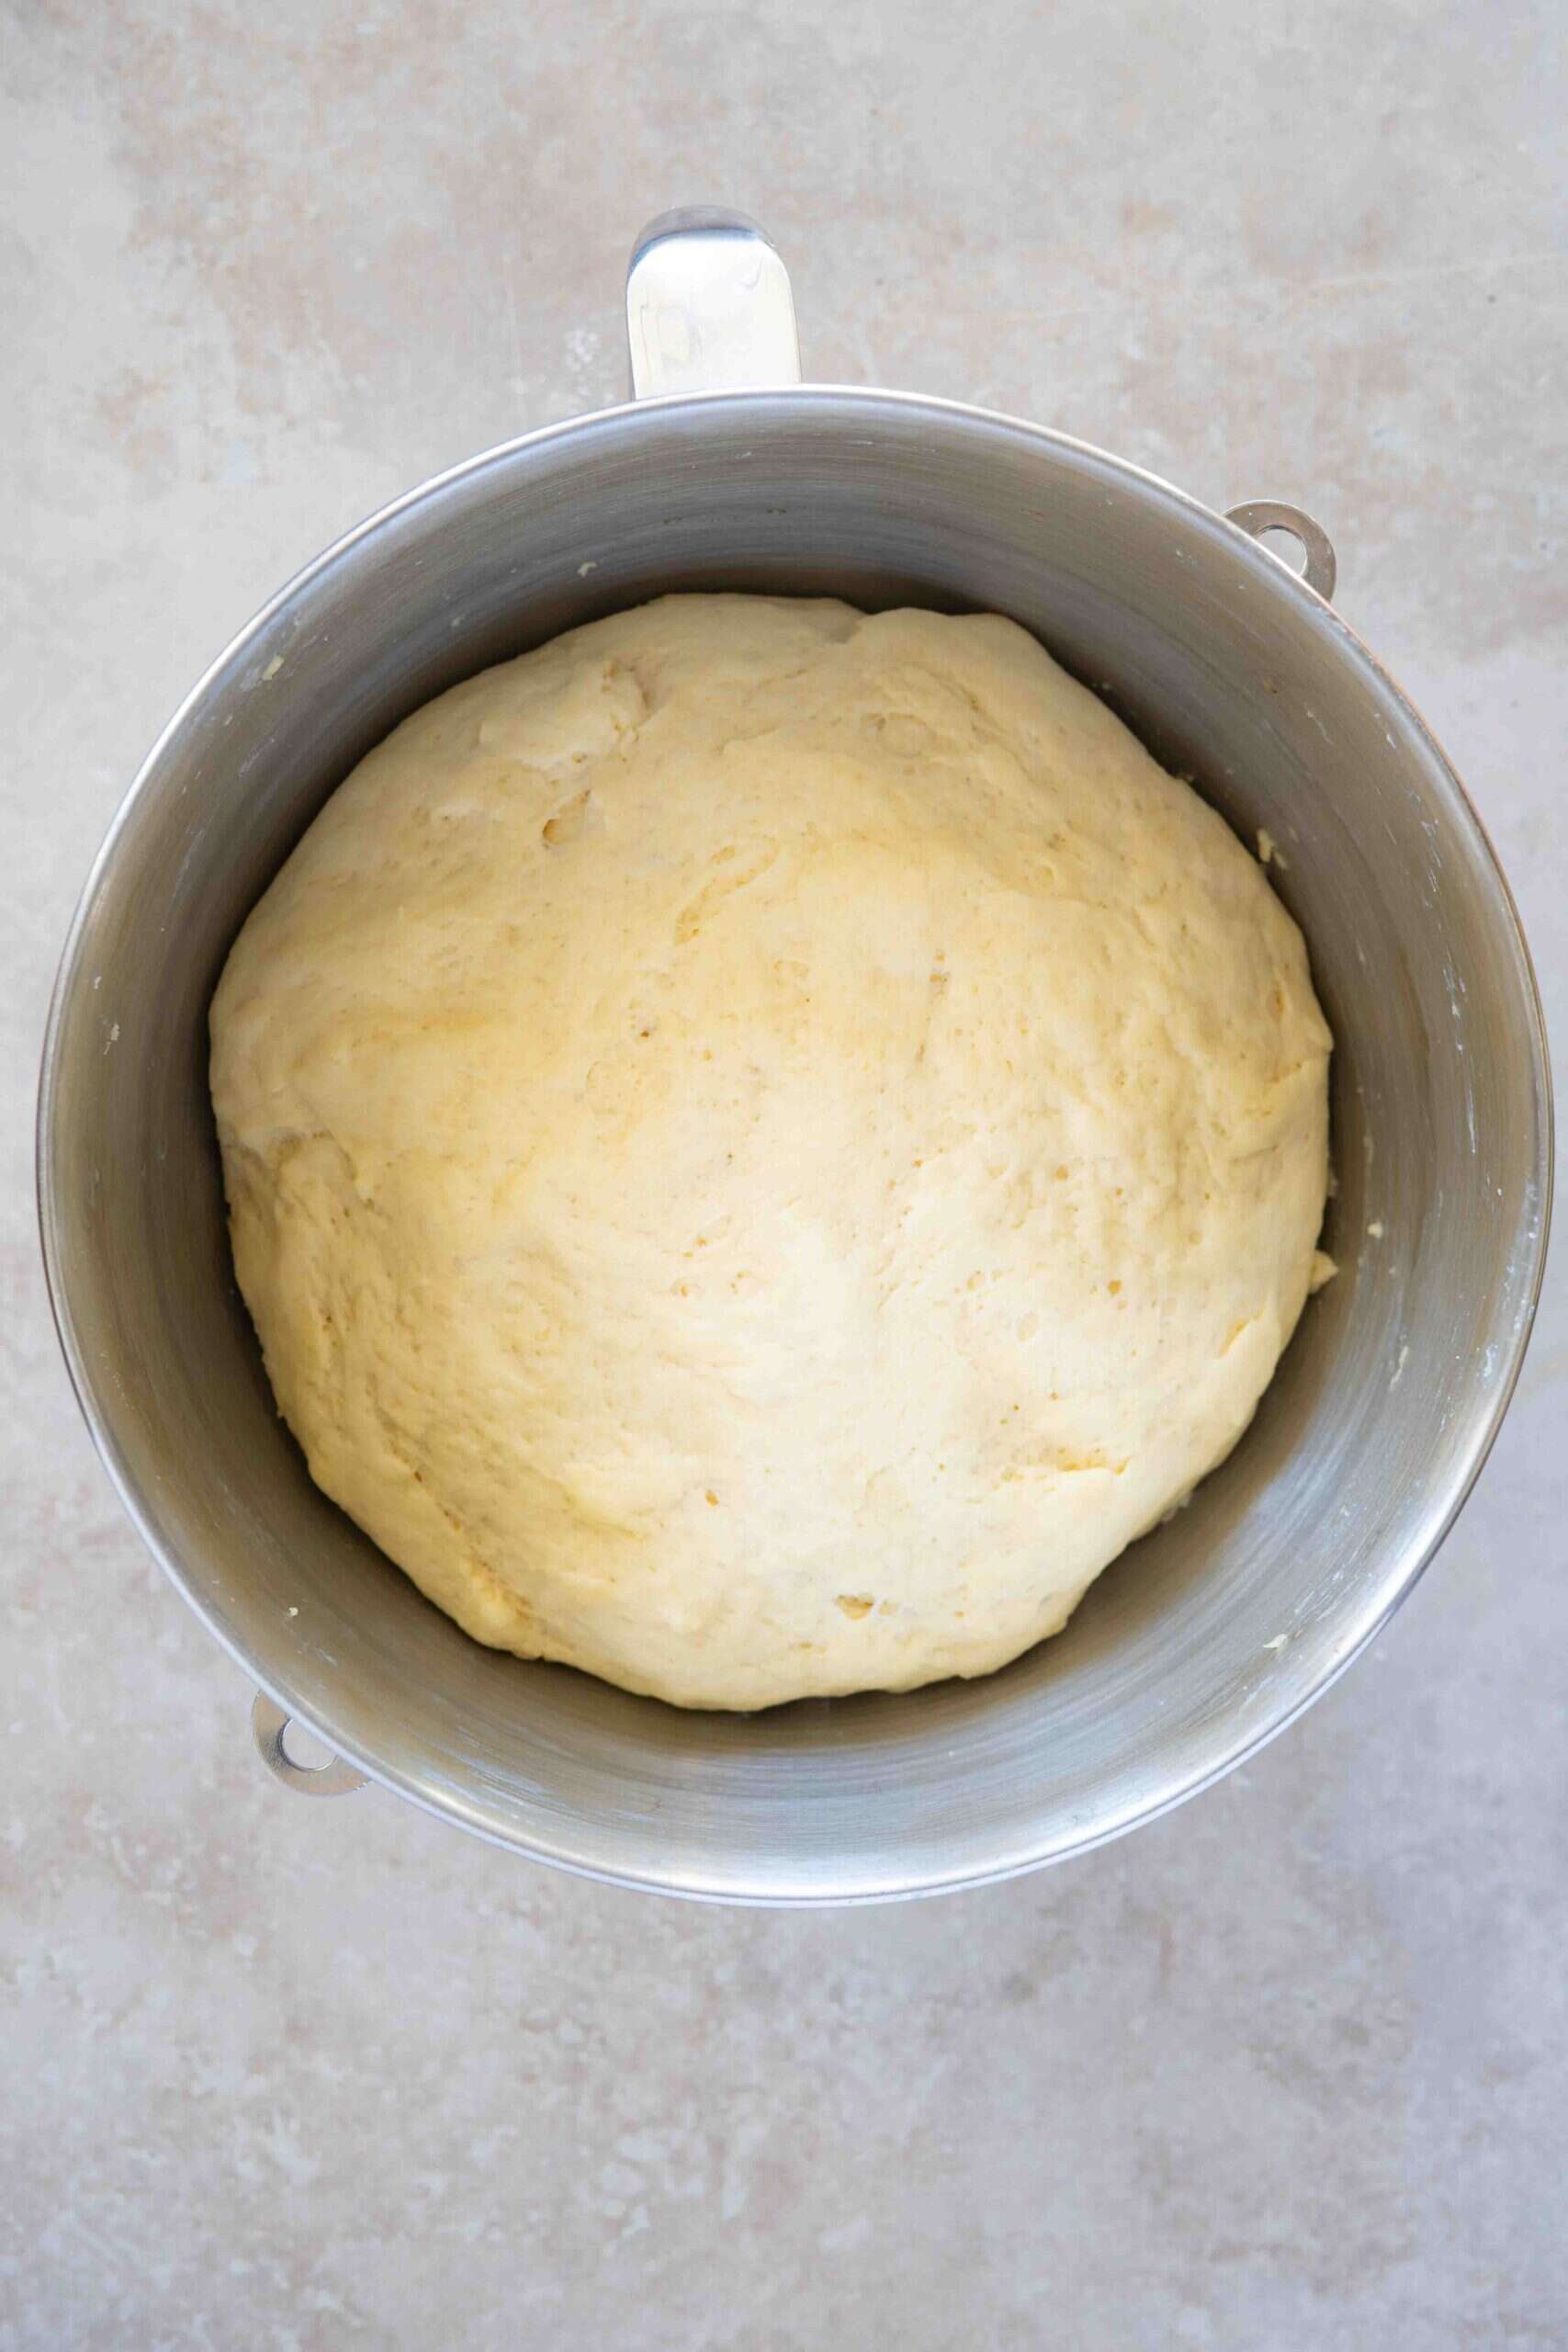
Step 6 | Cover the dough and let it rise for about 1 hour, or until it doubles in size.
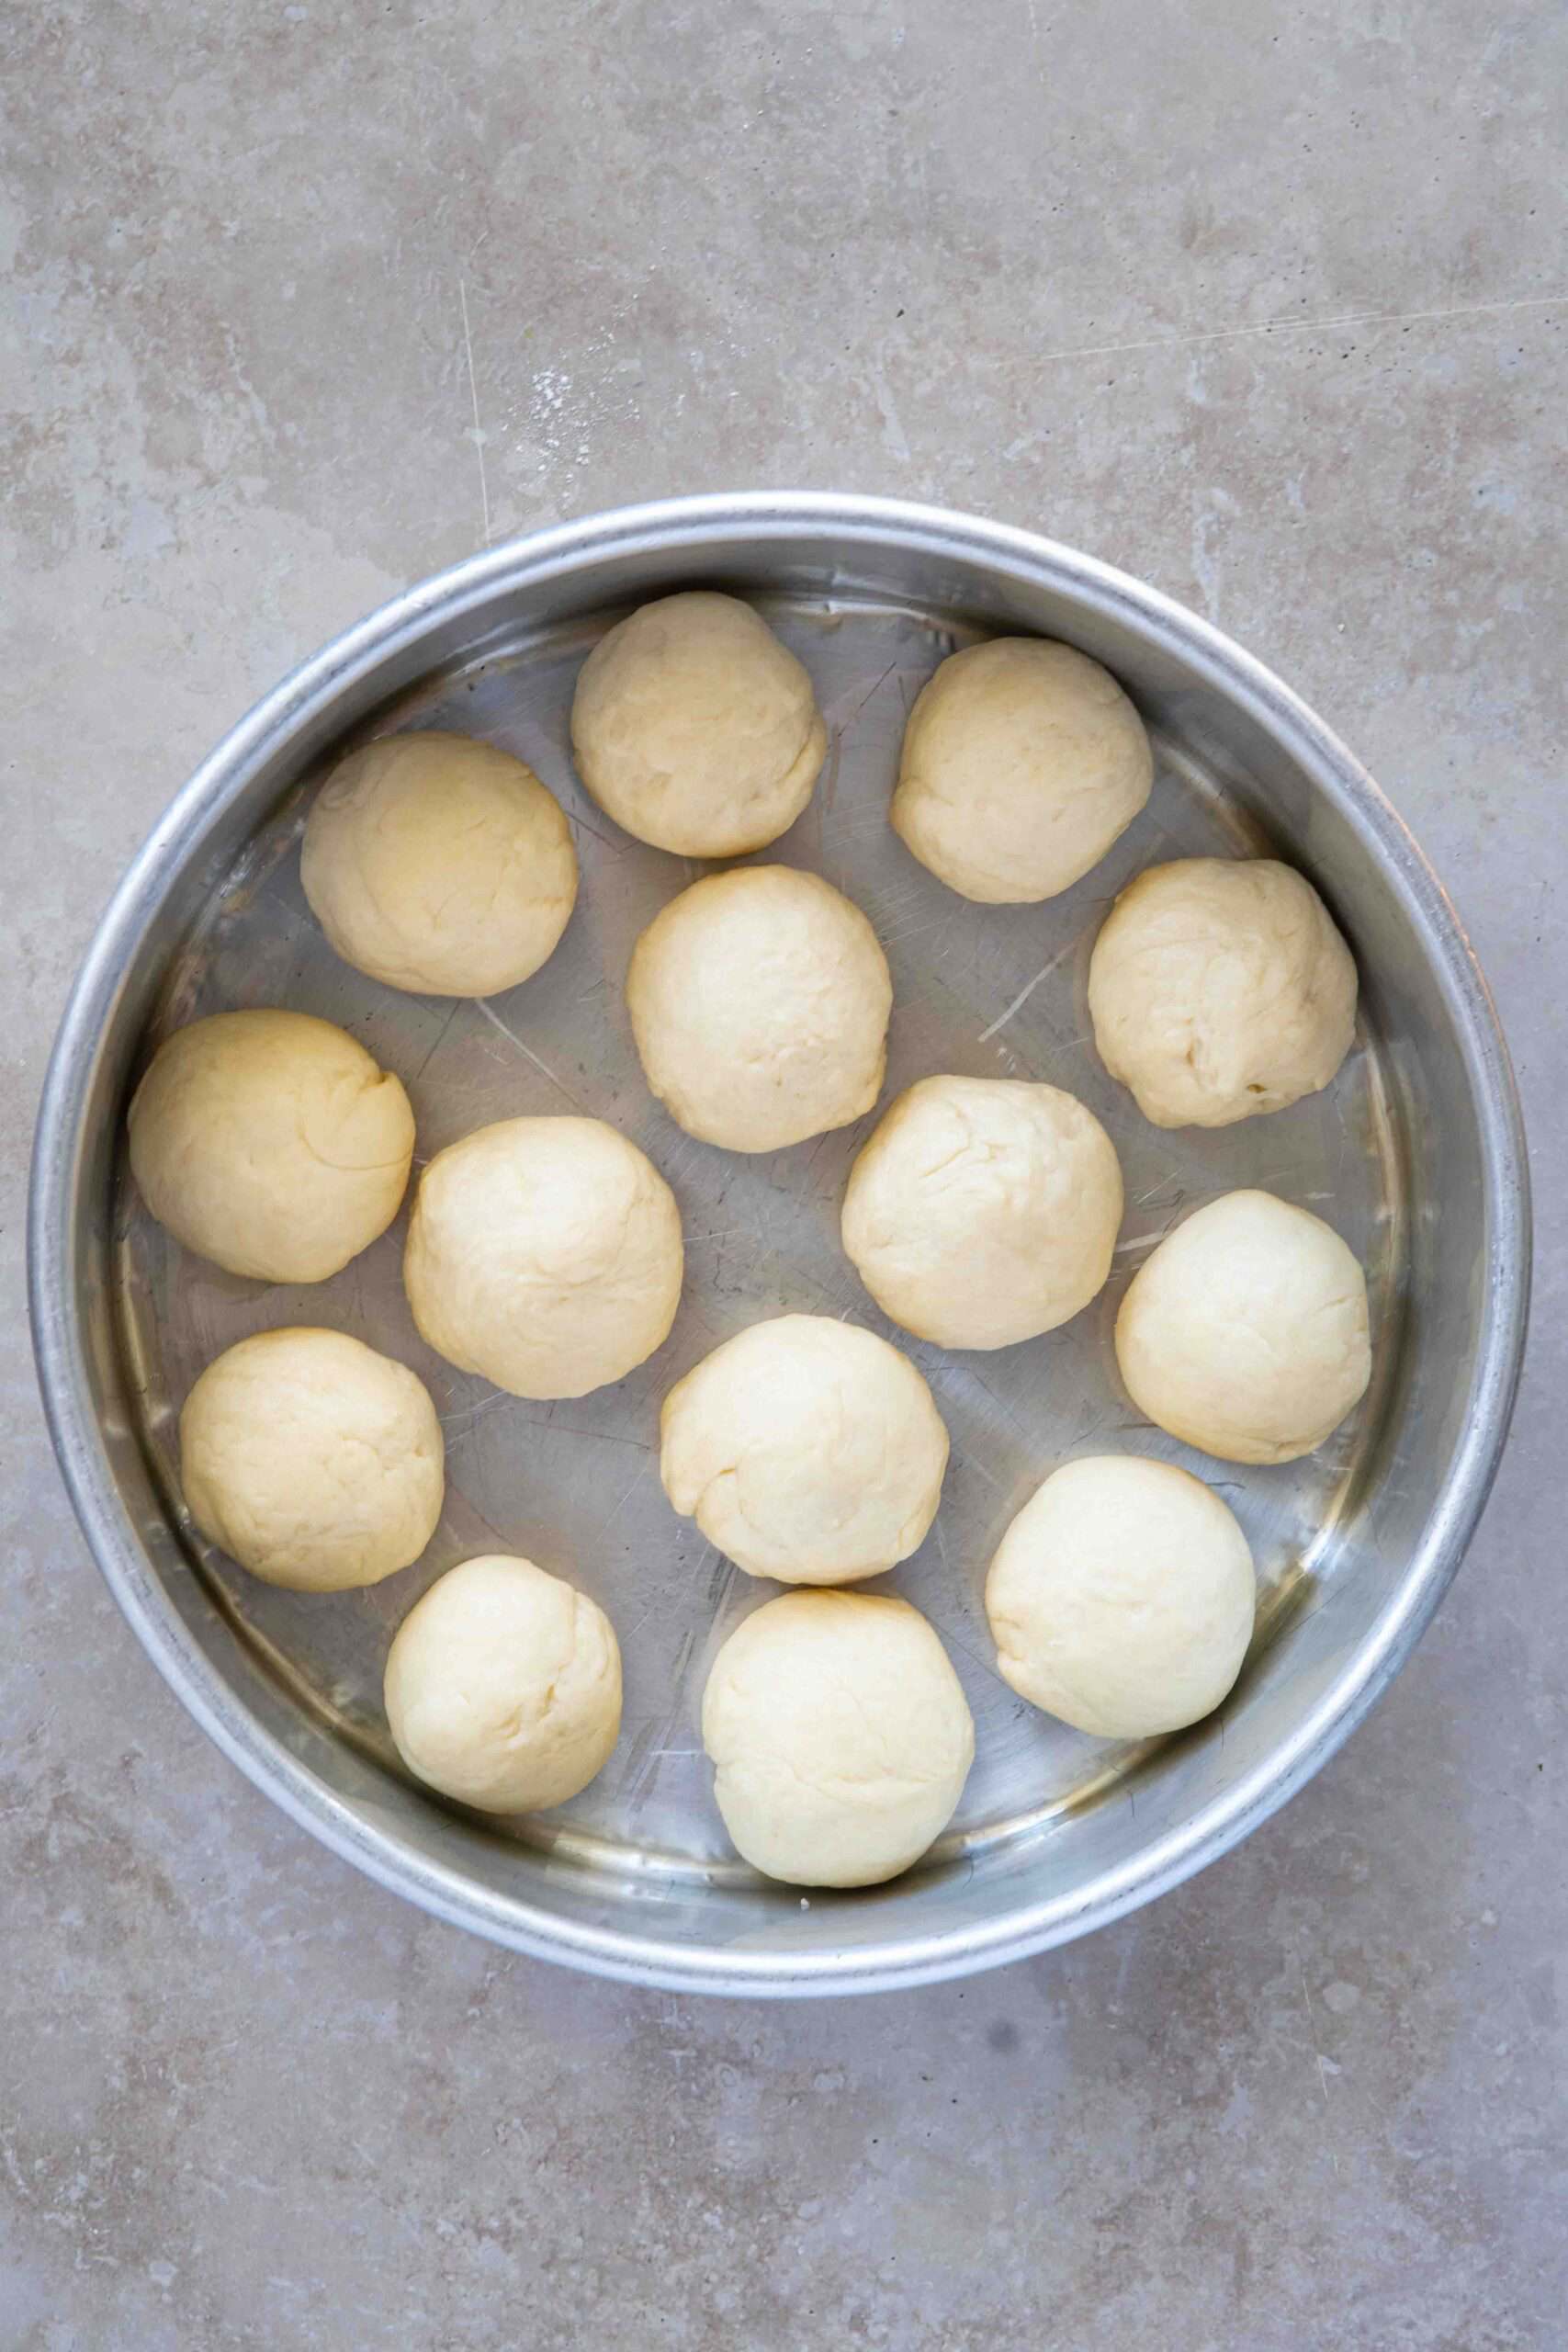
Step 7 | Using your hands, take small portions of the dough (about 1.5-2 inches in size) and shape them into smooth, rounded balls, then place them together in a pre-greased pan.
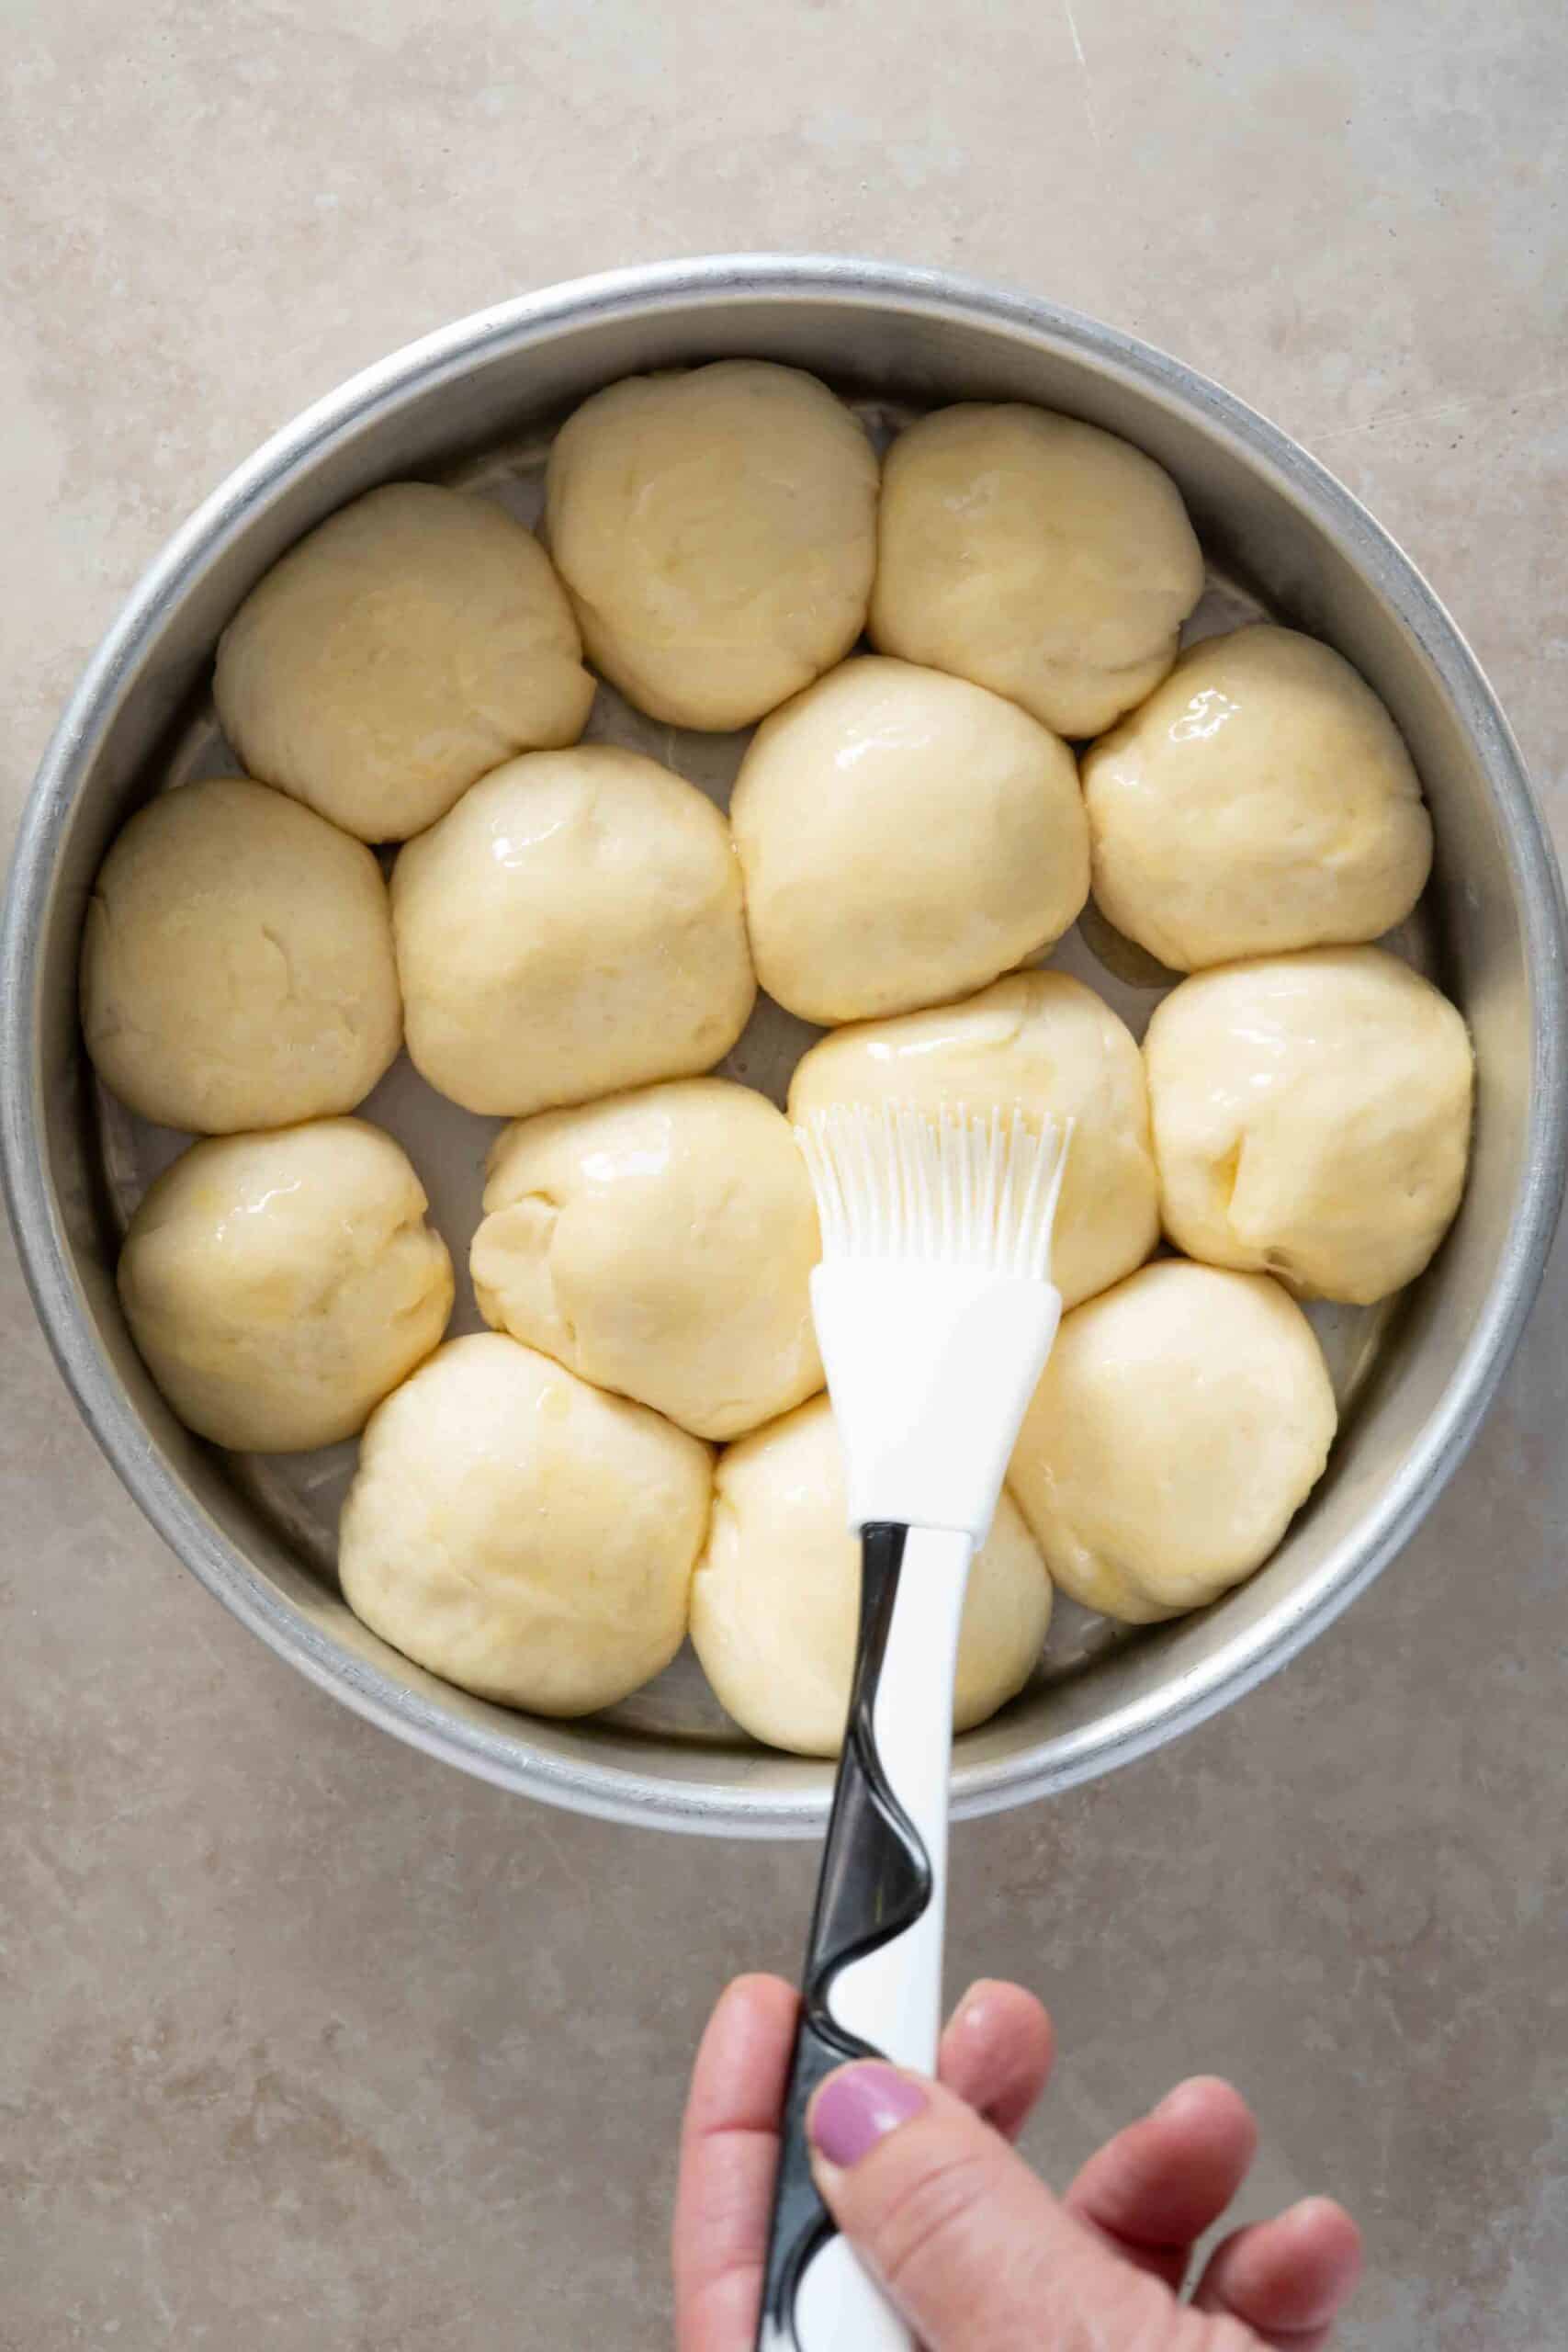
Step 8 | Cover again and let the dough rise for another 30–40 minutes. Brush the top with butter before baking.
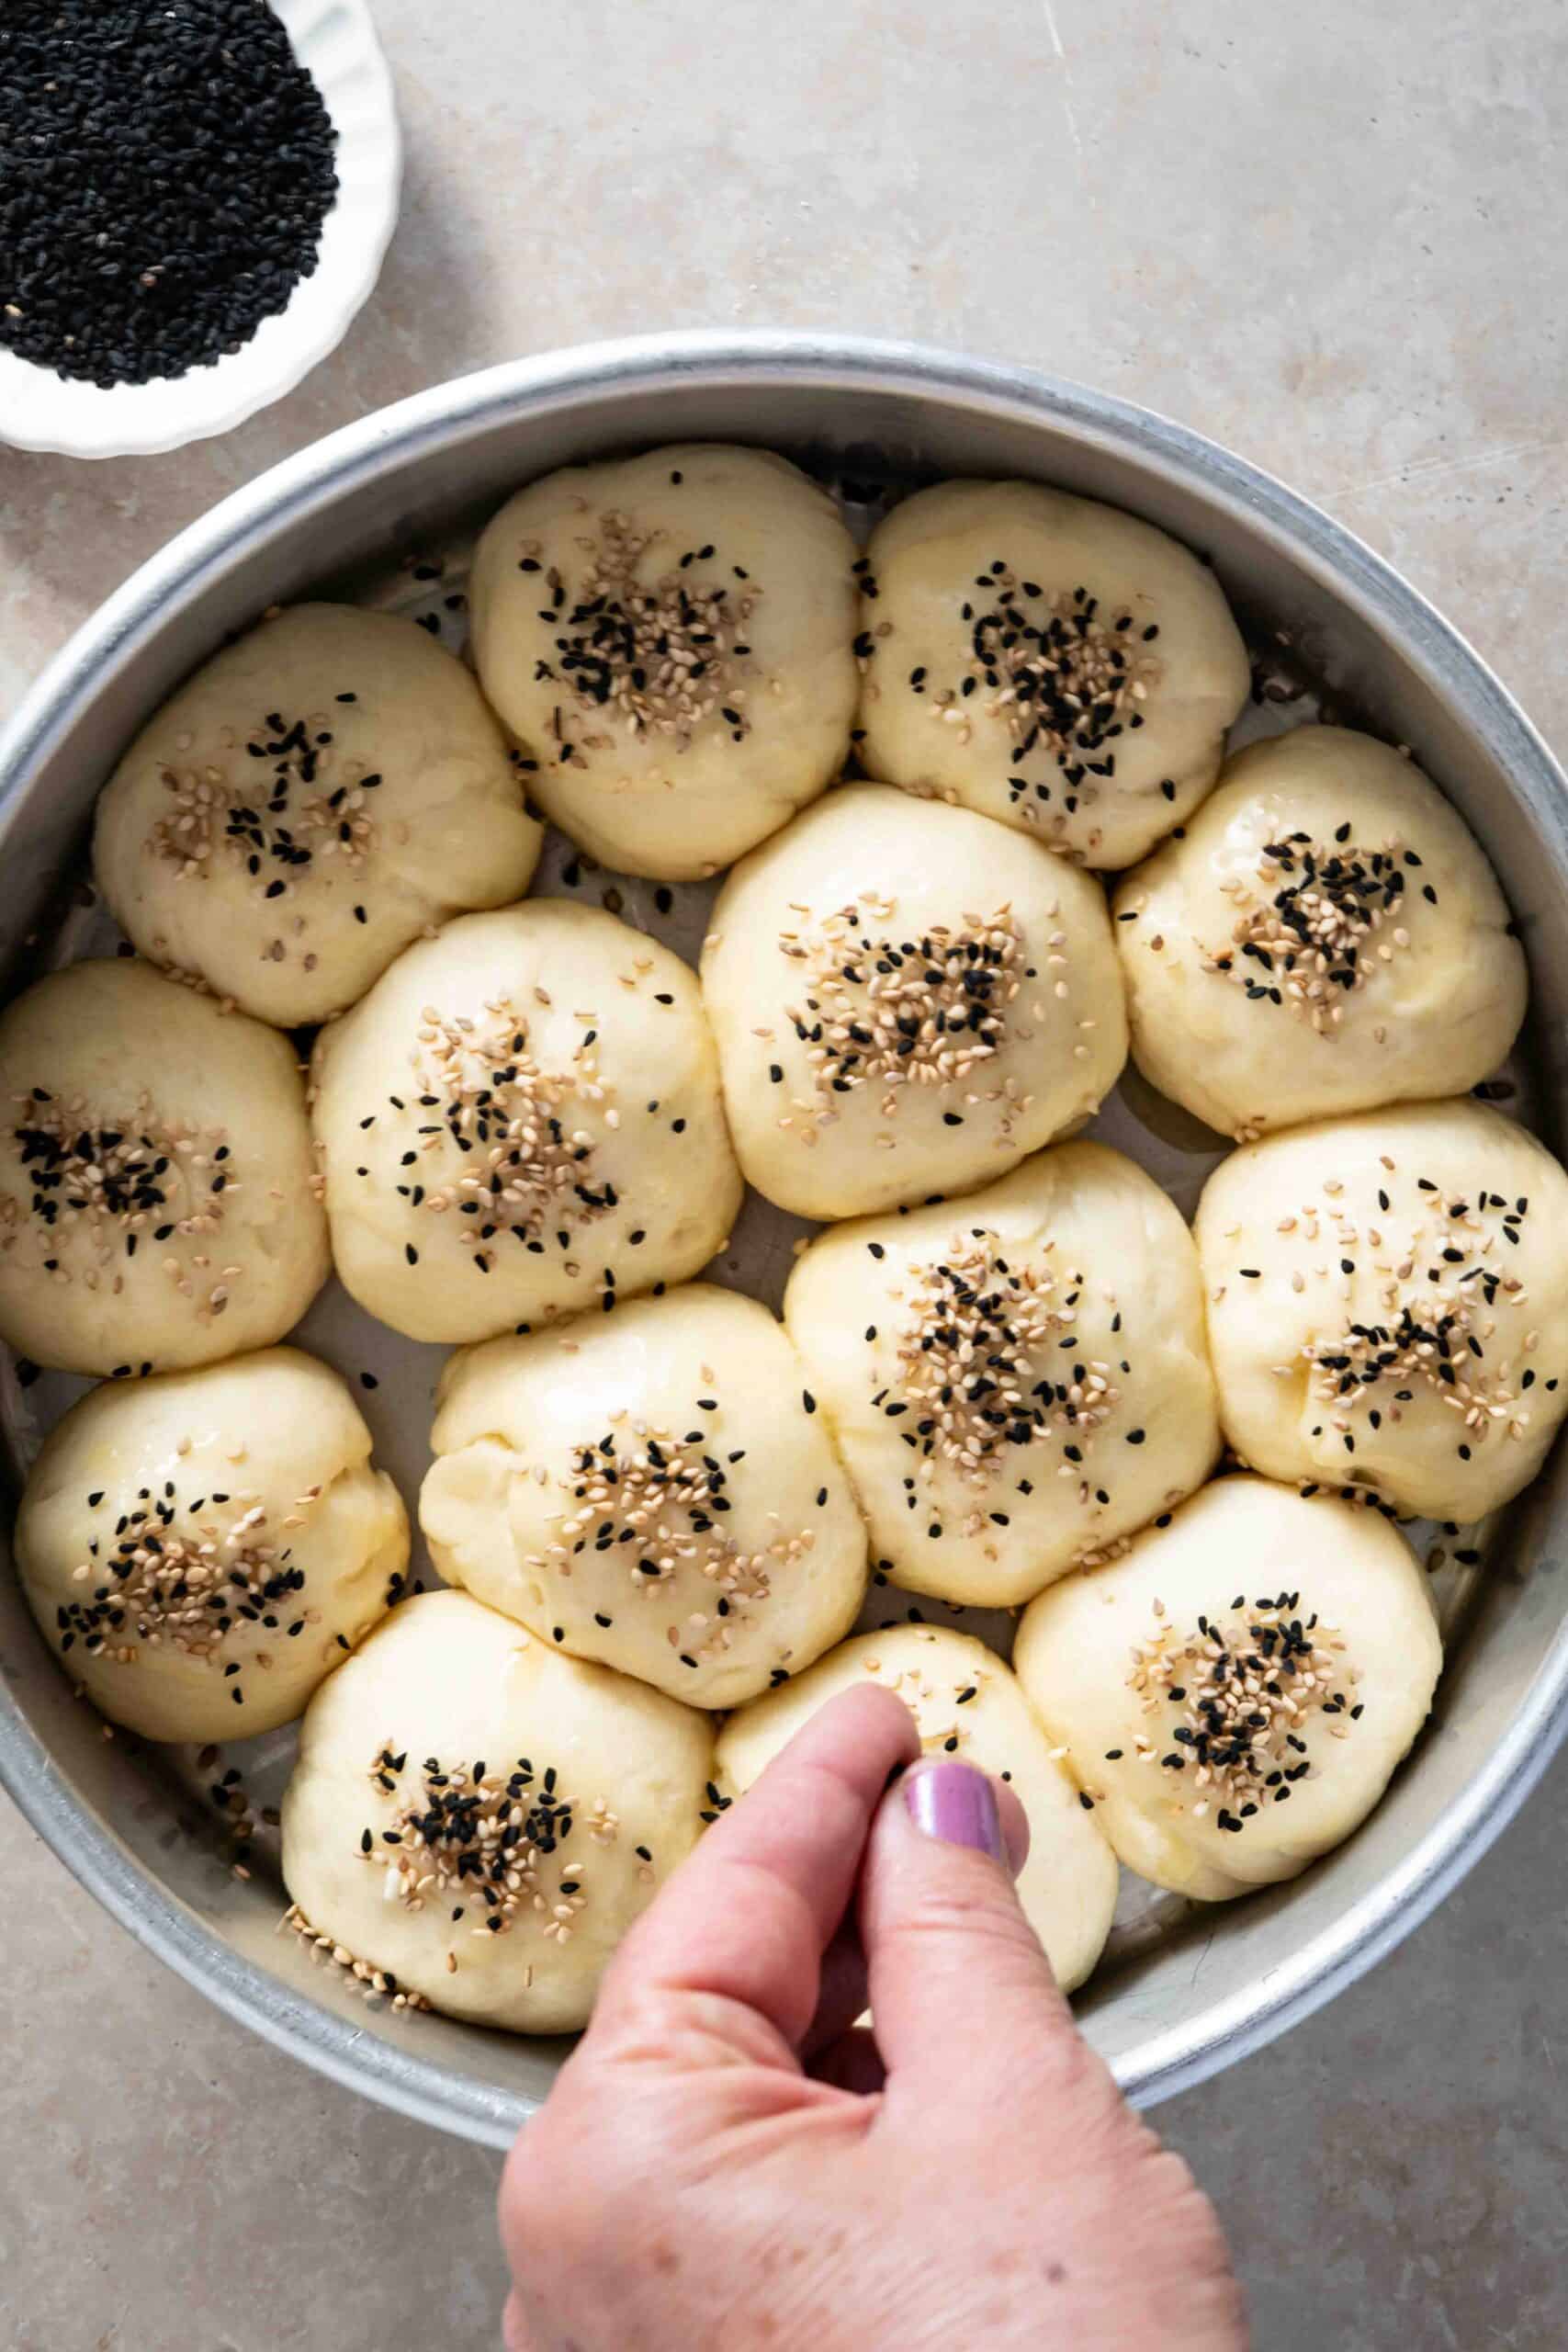
Step 9 | Sprinkle the top with sesame and nigella seeds.
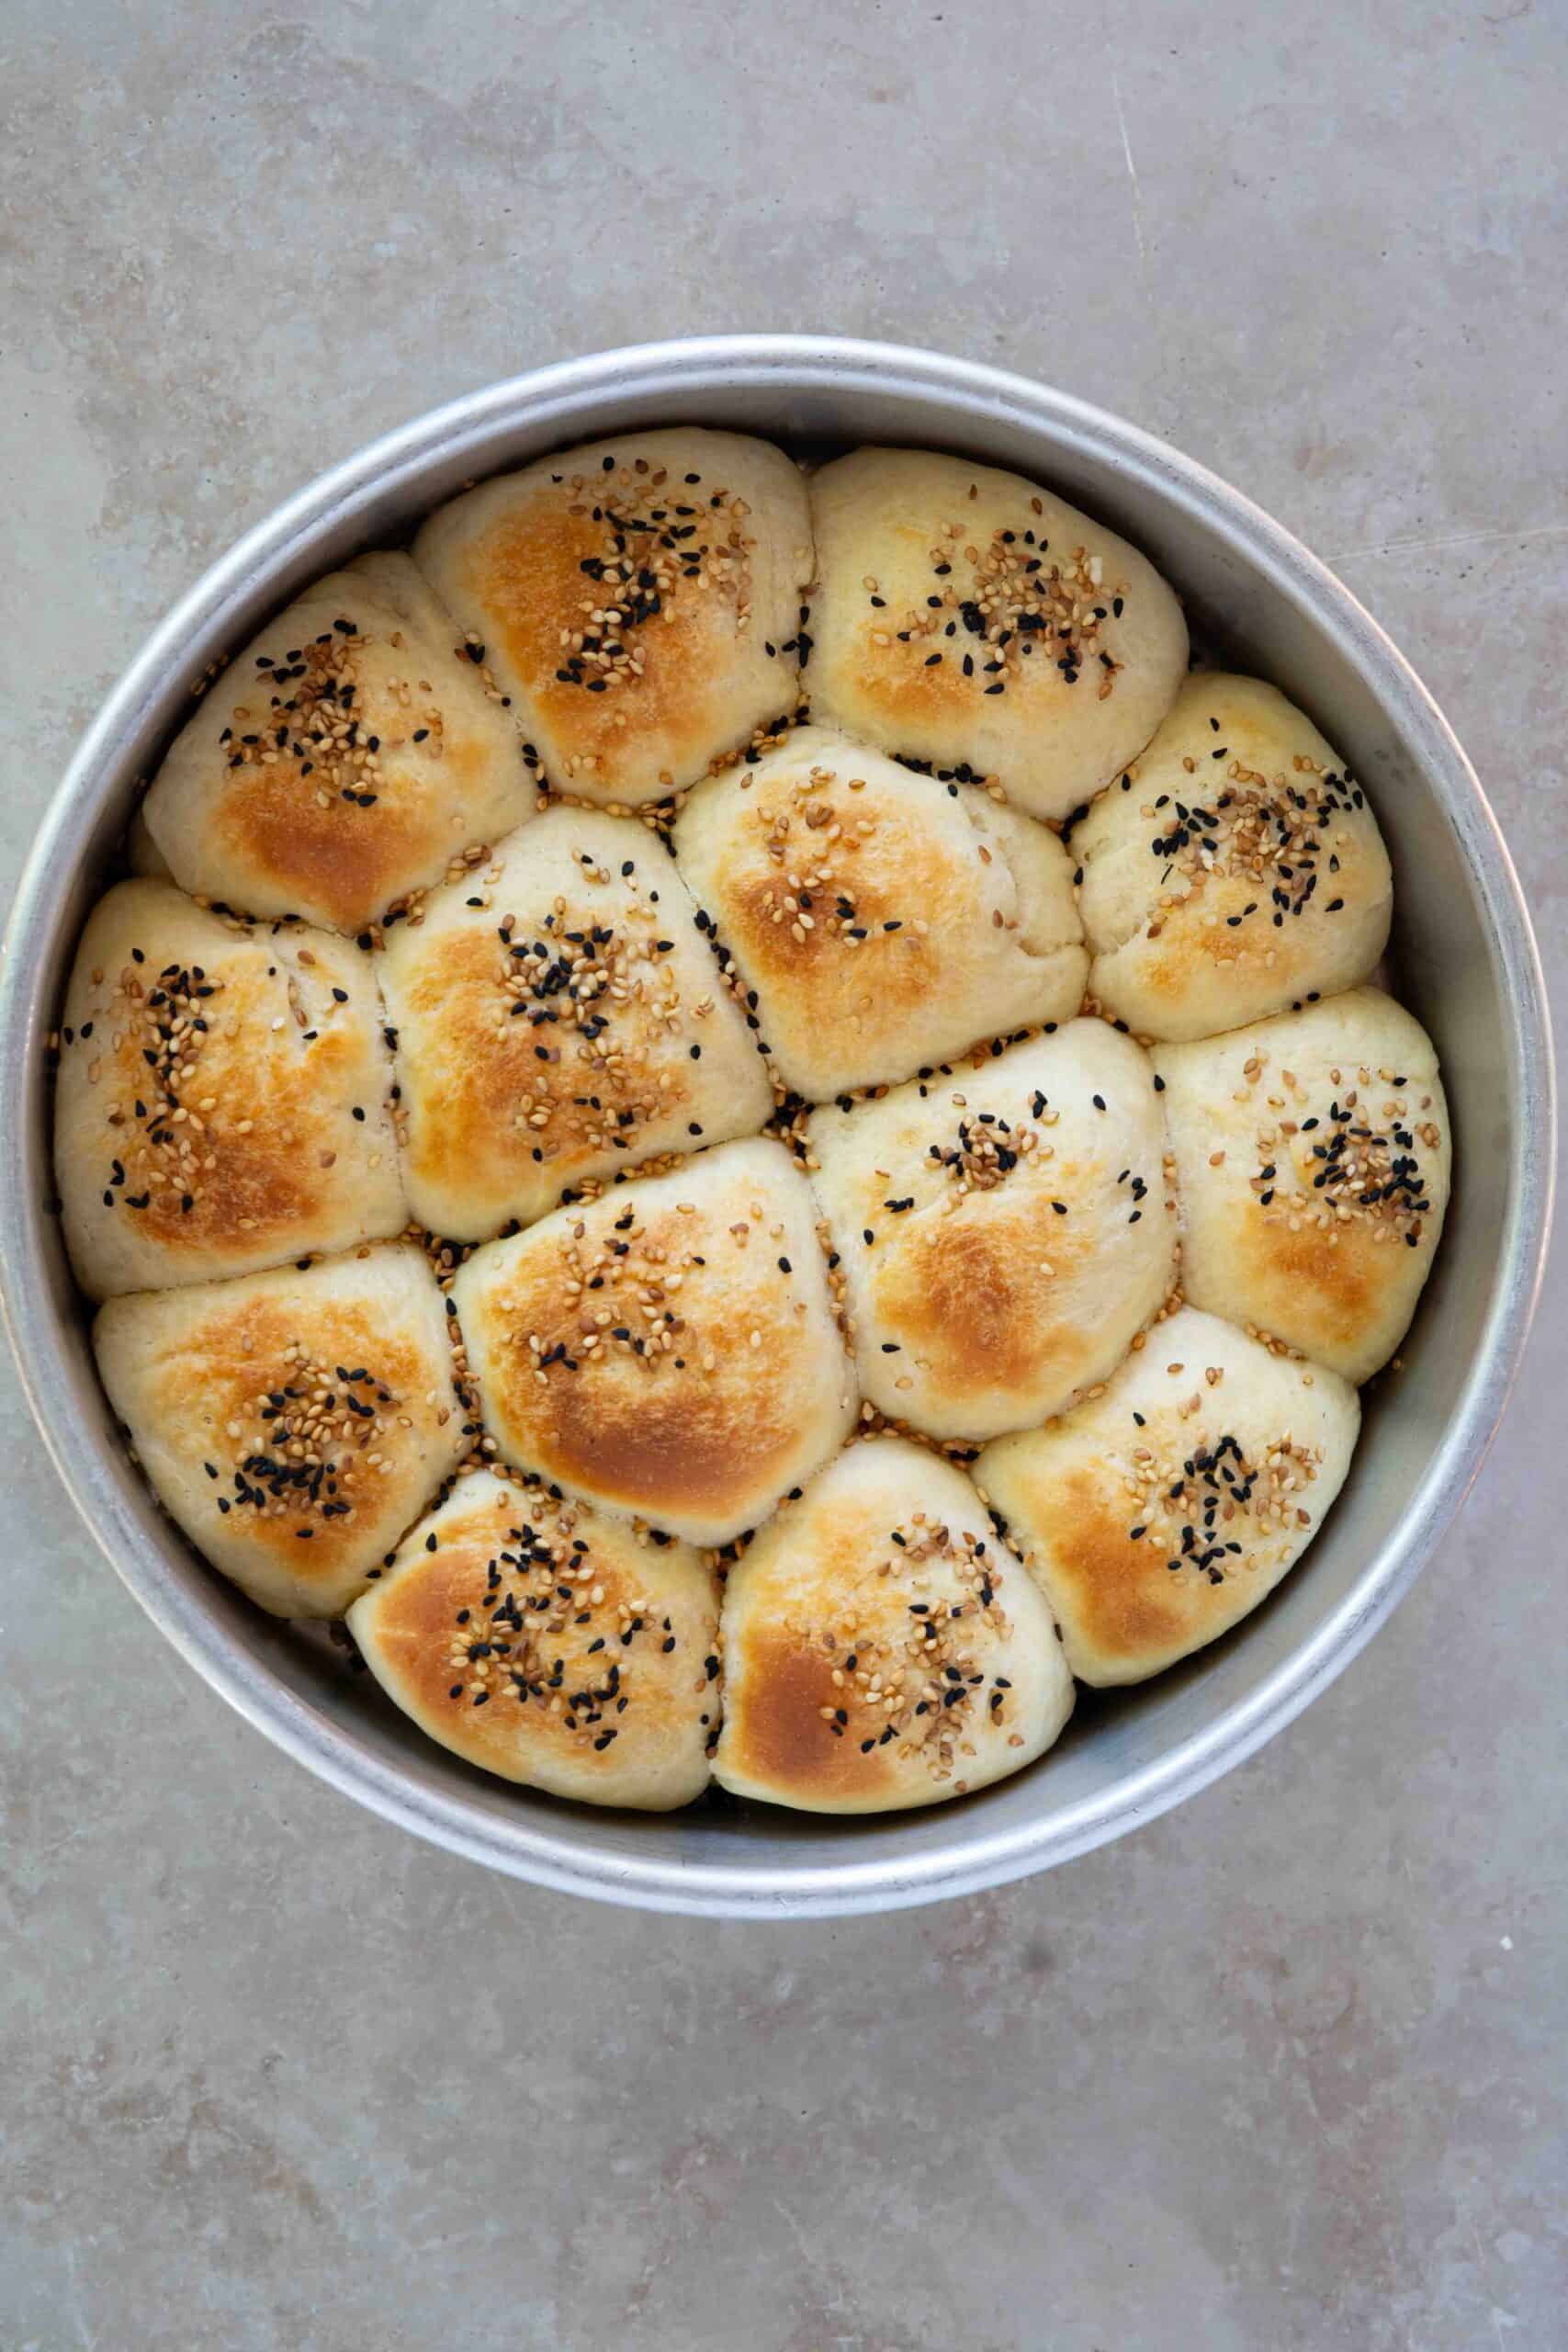
Step 10 | Bake on a preheated 350°F (180°C) oven for 25-30 minutes
Variations and Substitutions
- You can sprinkle sugar before baking instead of honey.
- If you use honey brush it after baking.
- You can stuff the dough with cream cheese, or any other unsalted white cheese.
Pro Tips
- For the golden top make sure to broil the top for few minutes only.
- If the dough is too sticky to work with, rub your hands with some olive oil.
- The dough can be slightly sticky and tricky to work with, so I recommend using an electric mixer, it makes the dough much easier to handle.
- It's critical to let the dough rest, once after it's mixed then again once it's rounded and cut before baking.
- Once you take the tray out of the oven, be sure to cover it with a kitchen towel to maintain its softness.
Frequently Asked Questions?
Yes, it freezes beautifully! Wrap the baked rolls tightly in plastic wrap and place them in a freezer bag. They’ll stay fresh for up to 3 months. Reheat in the oven for a few minutes before serving.
You can use cream cheese, feta, mozzarella, or akawi cheese if you want a savory twist.
If your bread turns out dense, it’s usually because the yeast wasn’t active or the dough wasn’t kneaded long enough. Make sure your milk is warm (not hot) to activate the yeast, and knead until the dough feels soft and stretchy.
Click here to subscribe to my newsletter and receive free and new recipes right into your inbox!
If you made the honeycomb bread I would love it if you could give me a 5-star rating and leave a comment below.
I also would like to hear about your experience making it, snap a picture and tag me on Instagram, Facebook, or Pinterest.
More Delicious Recipes


Honeycomb Bread
- Prep Time: 10 minutes
- Cook Time: 60+30 minutes resting
- Total Time: 0 hours
- Yield: 26-28
- Category: Snack/side dish
- Method: Baking
- Diet: Vegetarian
Description
This honeycomb bread recipe known as “khaliat nahal” in Arabic (literally means beehive). This bread bun is an easy homemade dough, soft and fluffy, brushed with honey and topped off with sesame and nigella seeds.
Ingredients
- 4 cups All-Purpose flour
- 1 tablespoon instant yeast
- 1 teaspoon congratulated sugar
- 6 tablespoons unsalted butter or (3 butter and 3 extra virgin olive oil) and some extra butter for brushing
- 1 medium size egg (room temperature)
- 1.5 cups warm whole milk
- 2-3 tablespoons honey
- ½-1 teaspoon sesame seeds (optional)
- ½- teaspoon nigella (black) seeds (optional)
Instructions
- In a small bowl, mix lukewarm milk, sugar, and yeast.
- Let it sit for 5–10 minutes until bubbly.
- In a large bowl, combine flour, egg, melted butter, and the yeast mixture.
- Pour in the lukewarm milk over the mixture and blend everything together.
- Knead for about 8–10 minutes until you get a soft, elastic dough.
- Cover the dough and let it rest for about 1 hour, and until it doubles in size.
- Using your hands, take small portions of the dough (about 1.5-2 inches in size) and shape them into smooth, rounded balls, then place them together in a pre-greased baking tray.
- Cover again and let the dough rest for another 30–40 minutes.
- Once rested, brush the top with unsalted butter.
- Sprinkle the top with sesame and nigella seeds.
- Bake on a preheated 350°F (180°C) oven for 25-30 minutes
- Broil the top for golden color.
- Once you take the tray out of the oven, be sure to cover it with a kitchen towel for at least 10-15 minutes to maintain its softness.
- While still warm, brush the bread generously with the honey.
Notes
- For the golden top make sure to broil the top for few minutes only.
- If the dough is too sticky to work with, rub your hands with some olive oil.
- The dough can be slightly sticky and tricky to work with, so I recommend using an electric mixer, it makes the dough much easier to handle.
- It's critical to let the dough rest, once after it's mixed then again once it's rounded and cut before baking.
- Once you take the tray out of the oven, be sure to cover it with a kitchen towel to maintain its softness.


Leave a Reply