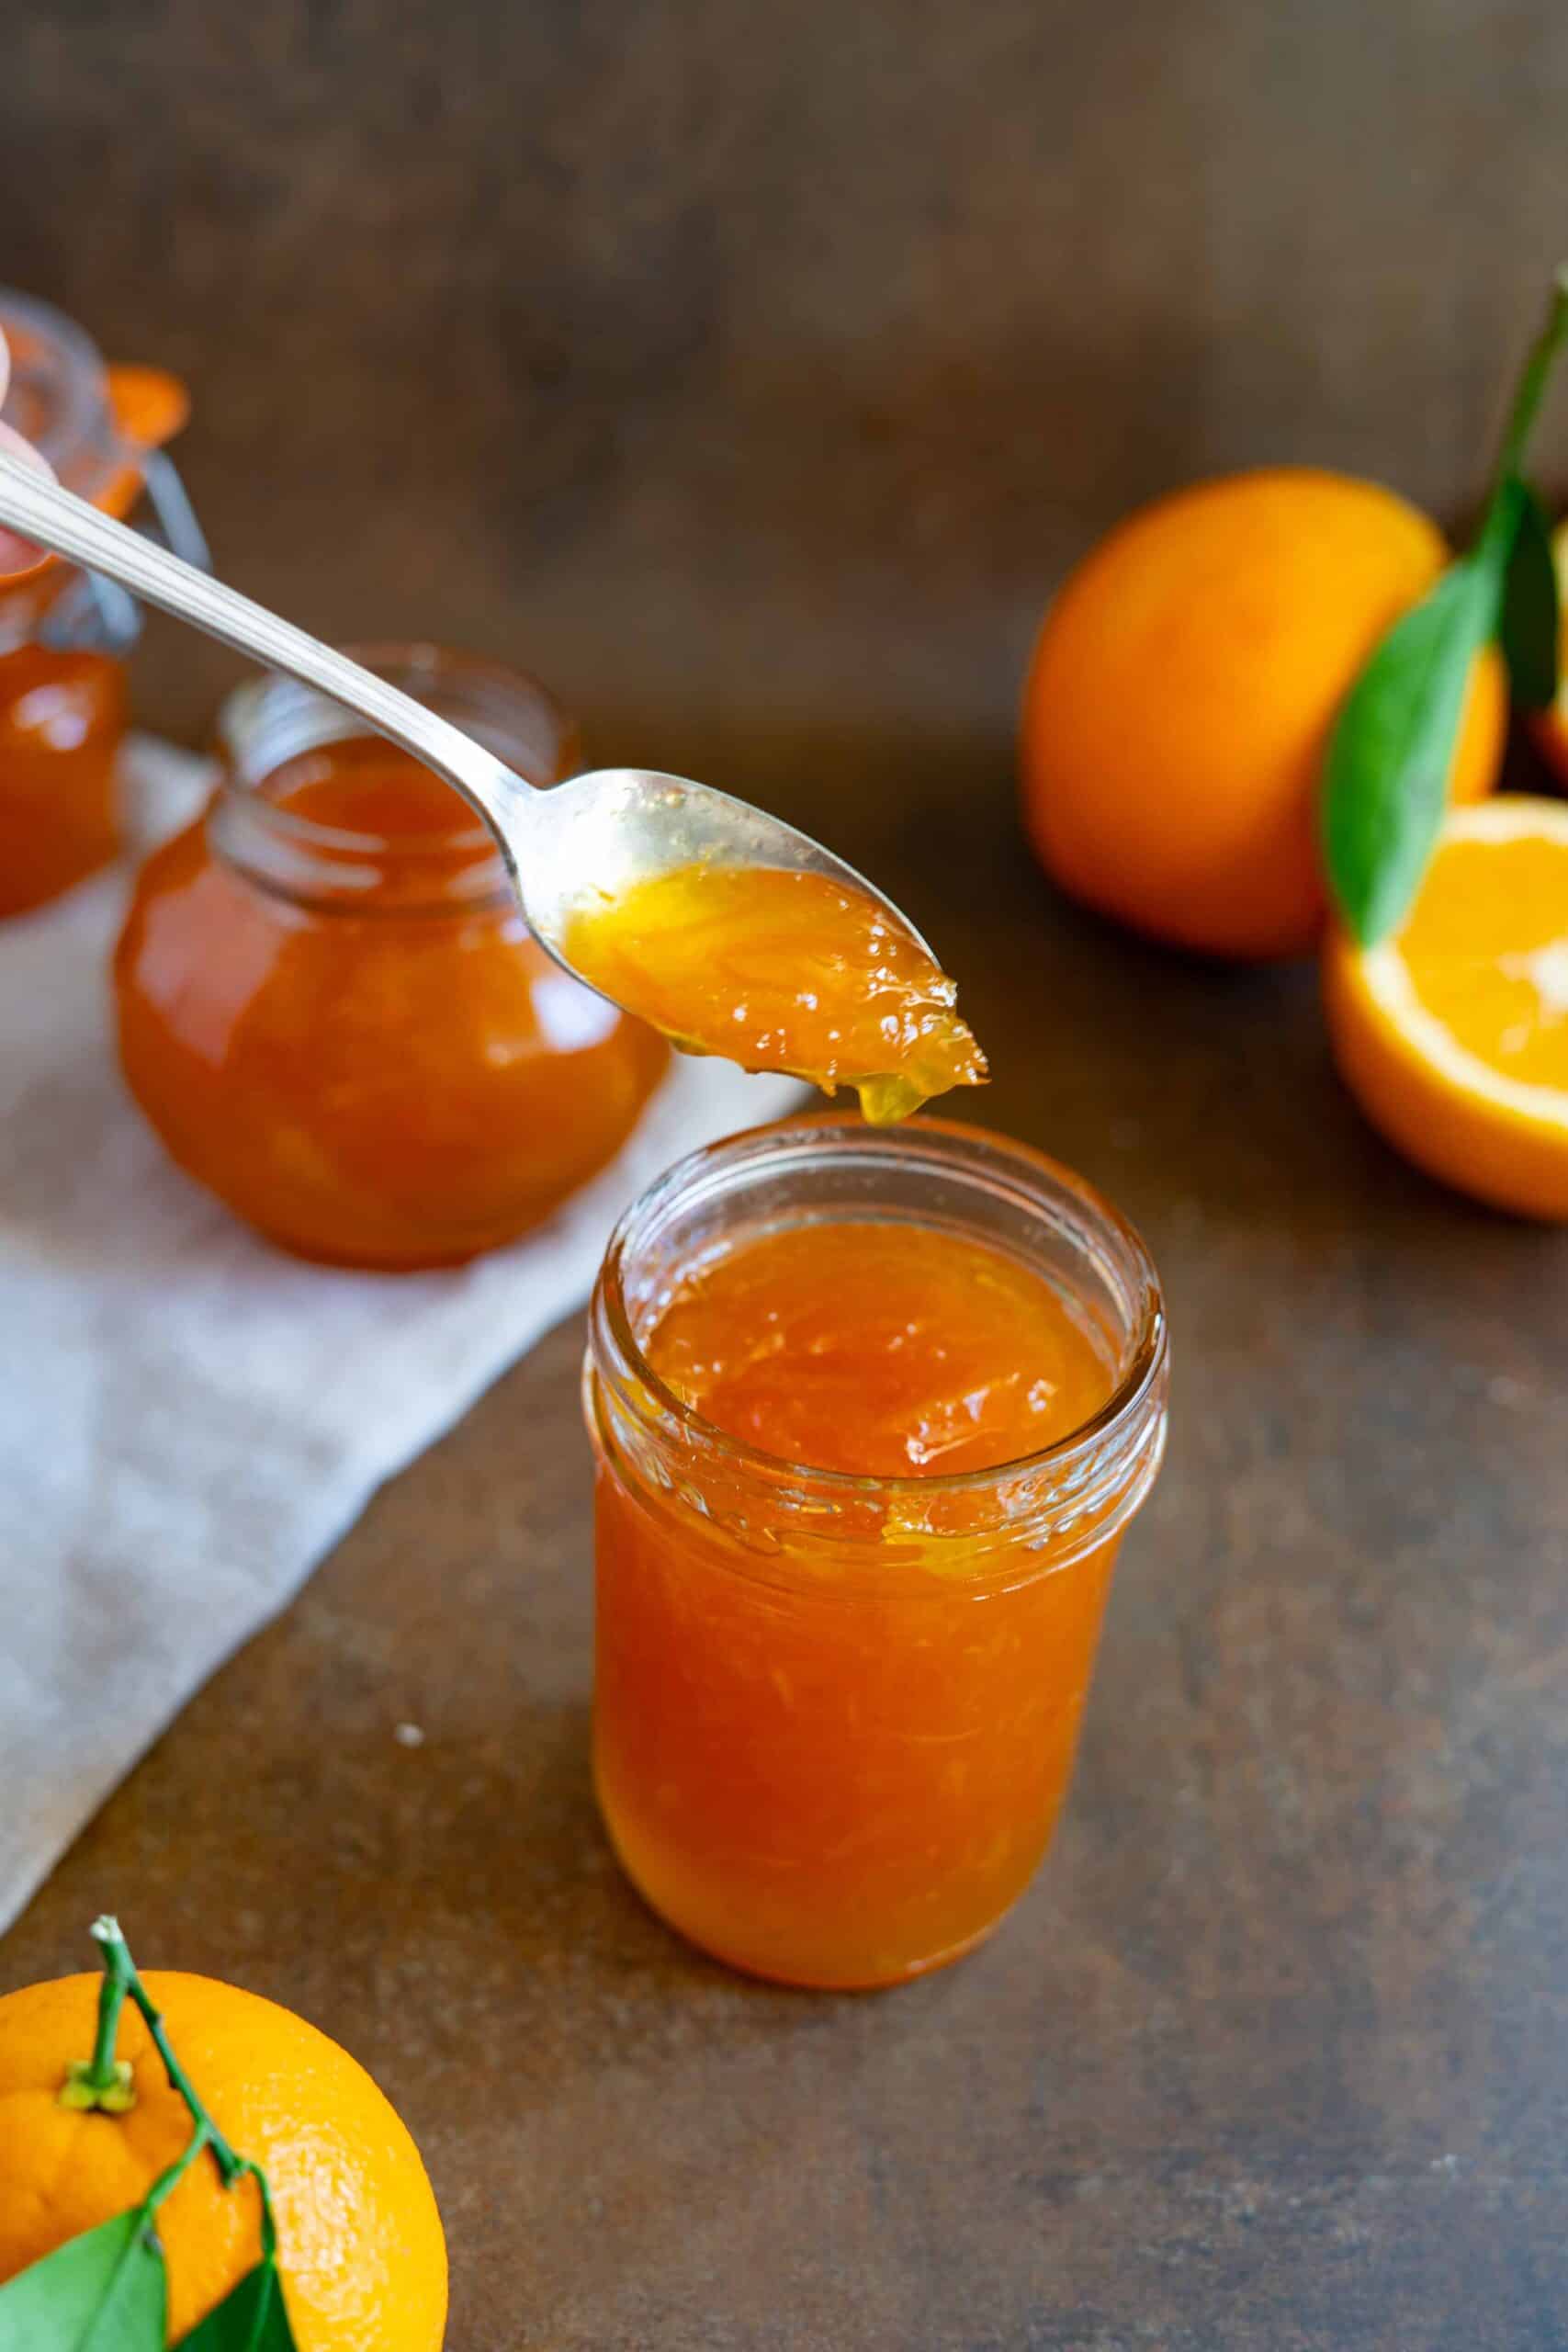
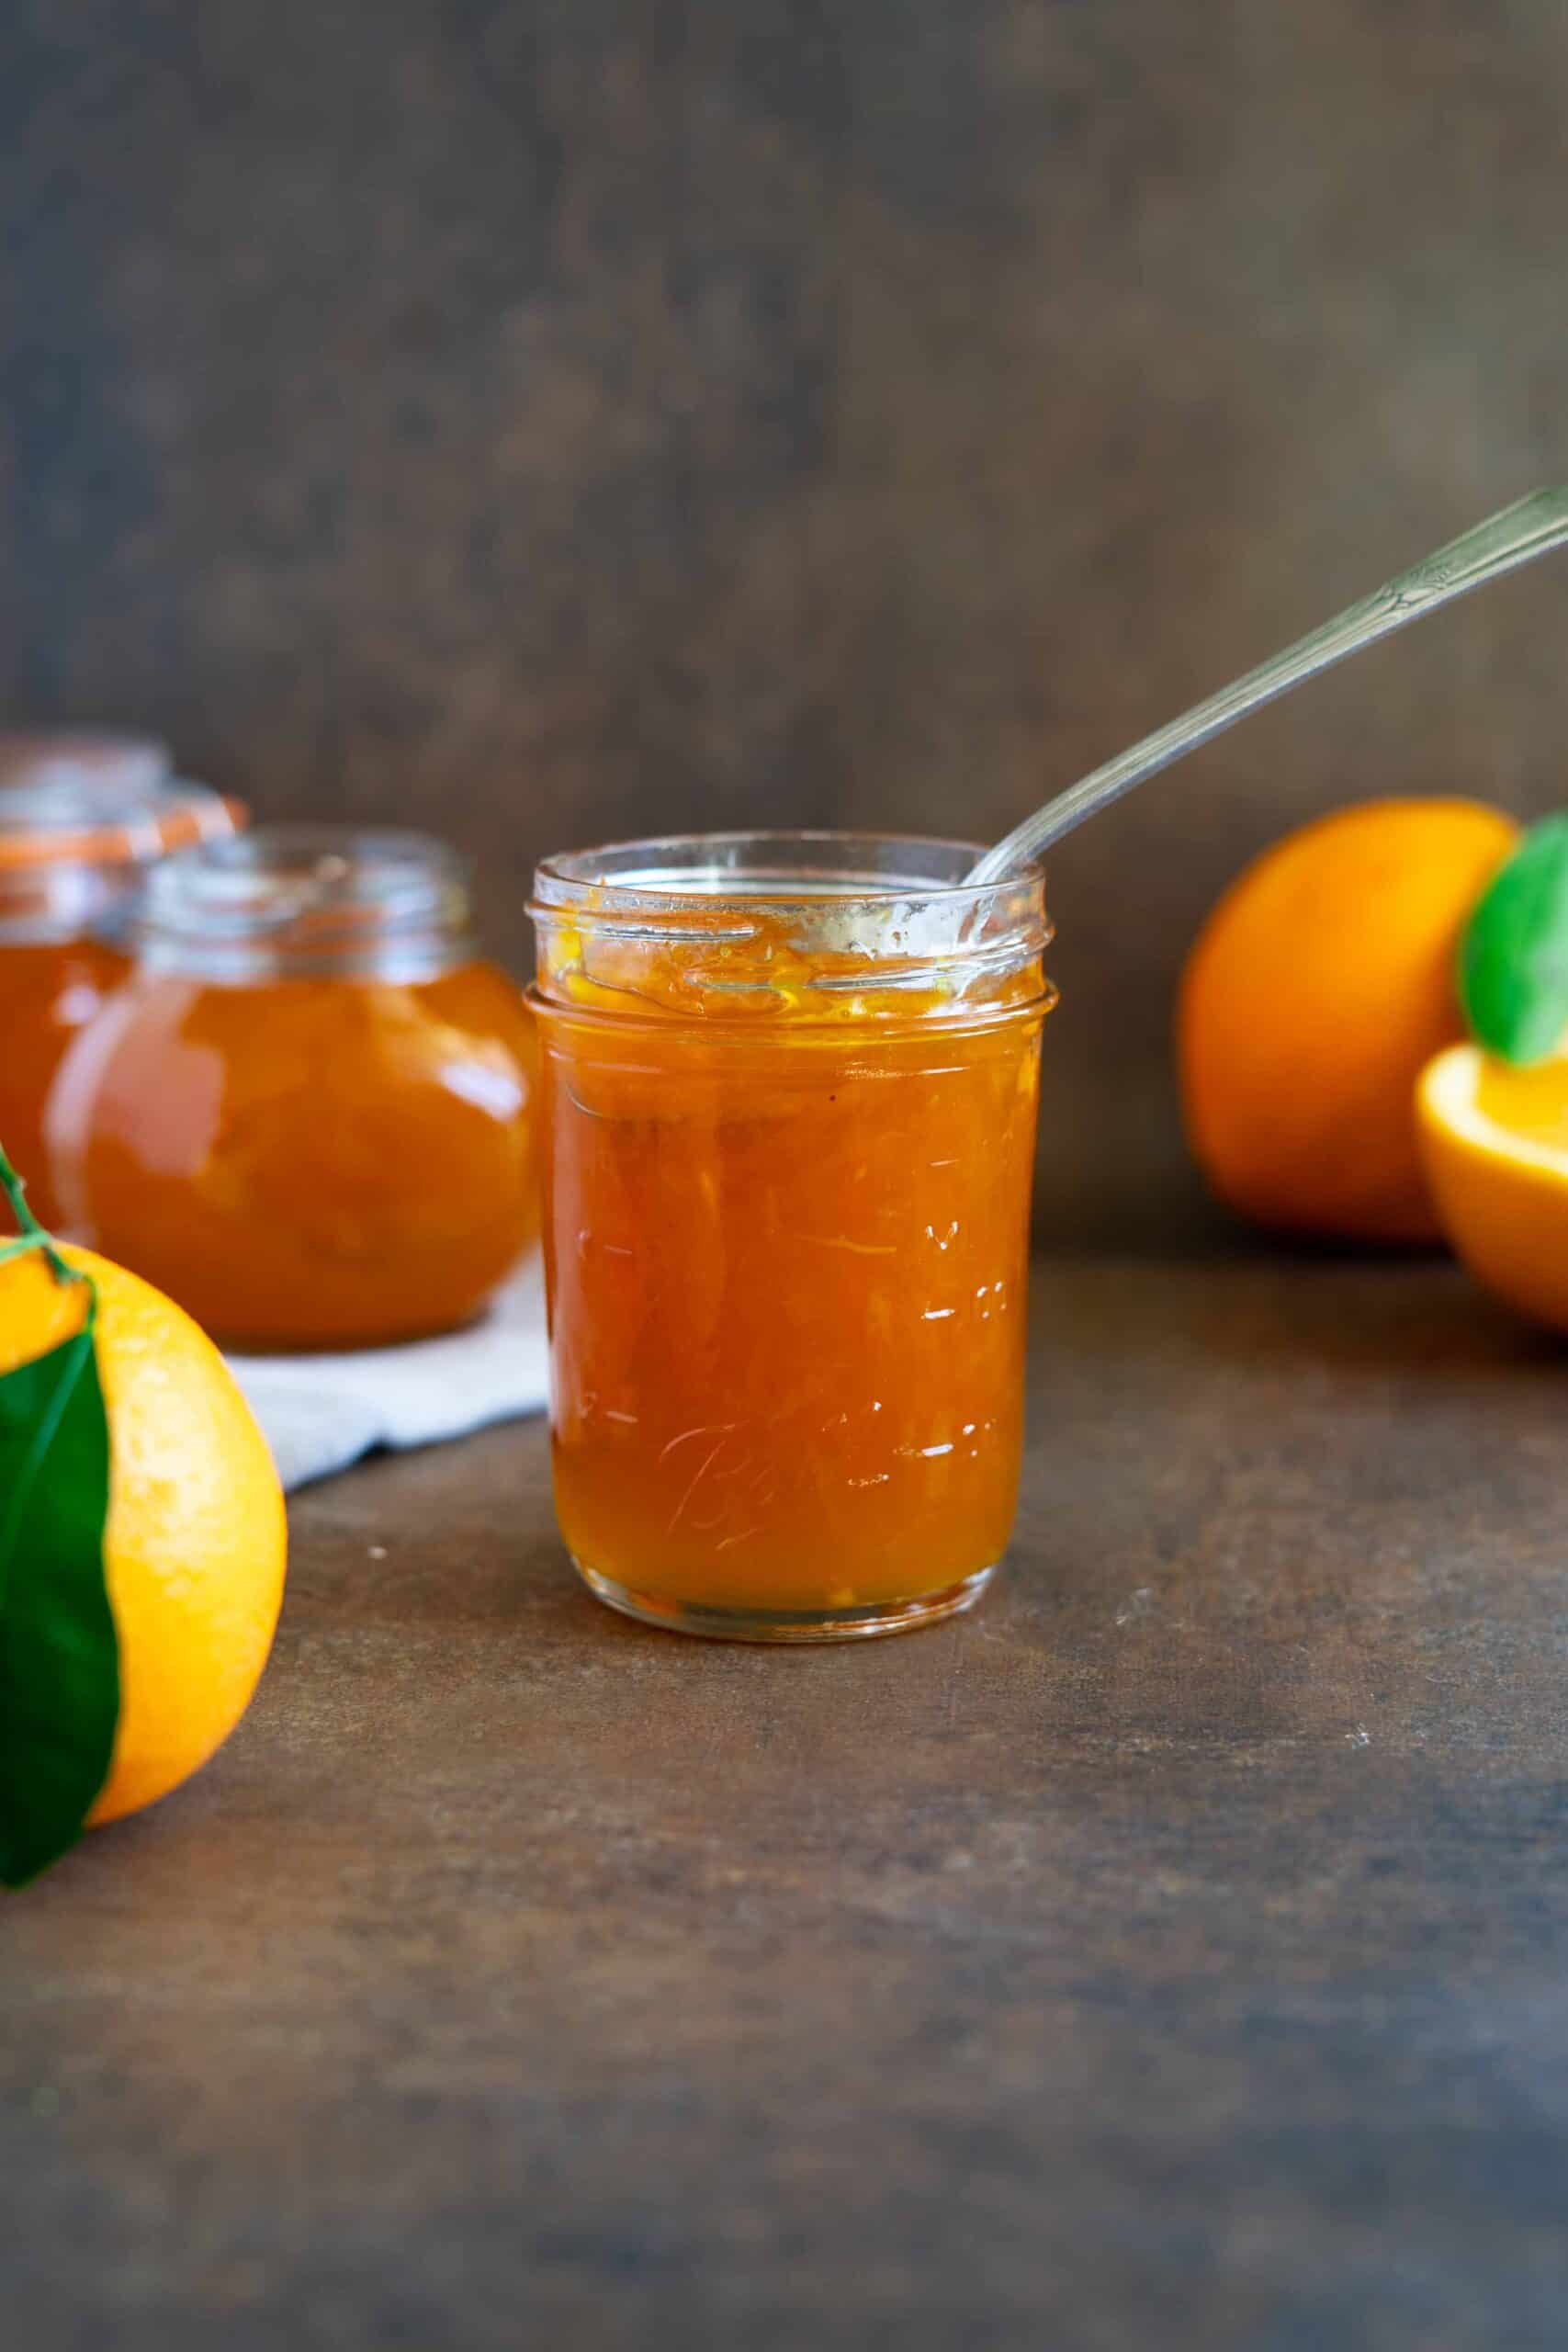
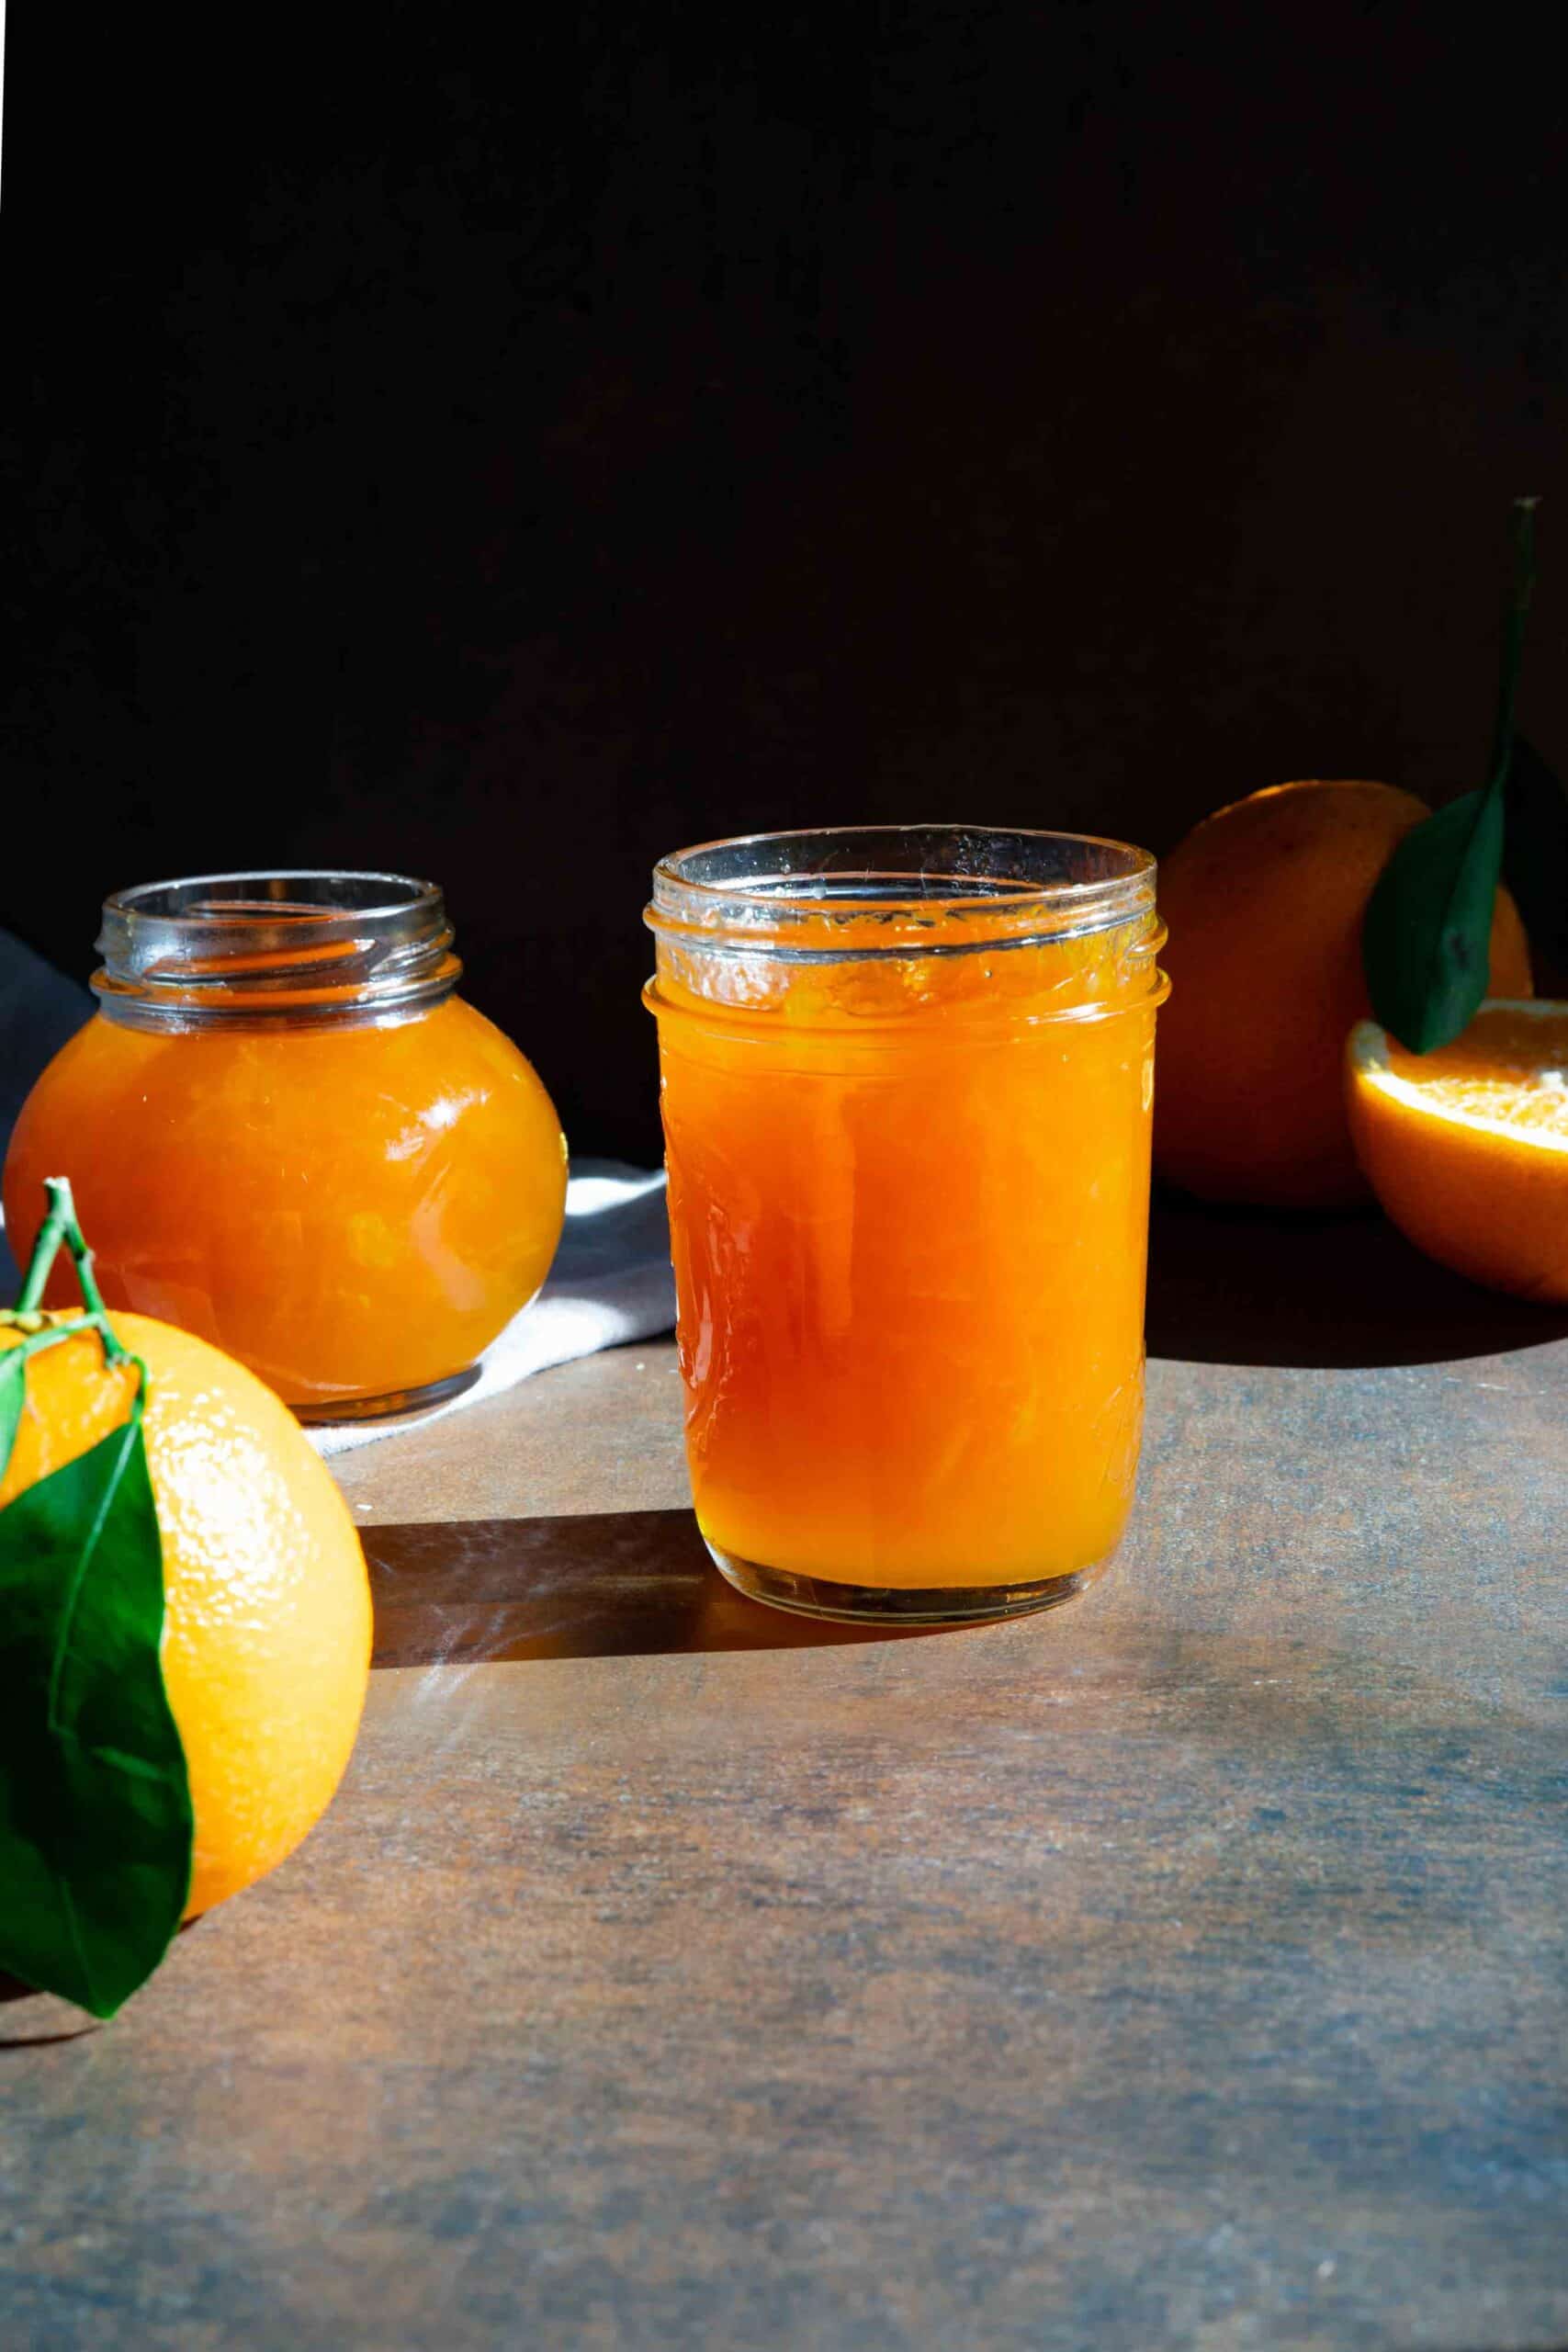
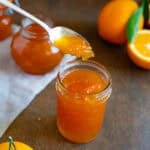
This delicious orange jam recipe is made with just three ingredients, and comes together in a few easy steps. Using the juice, pulp, and peel of the oranges which gives the jam a subtle, pleasant bitterness that beautifully balances the bright citrus flavor and sweetness from the sugar.
If you grew up enjoying homemade jam for breakfast, this classic orange jam recipe (تِطلي برتقال) will take you straight back to the kitchen of your childhood. Made with fresh oranges, simple, traditional, and bursting with real citrus flavor, no store-bought jam can compare.
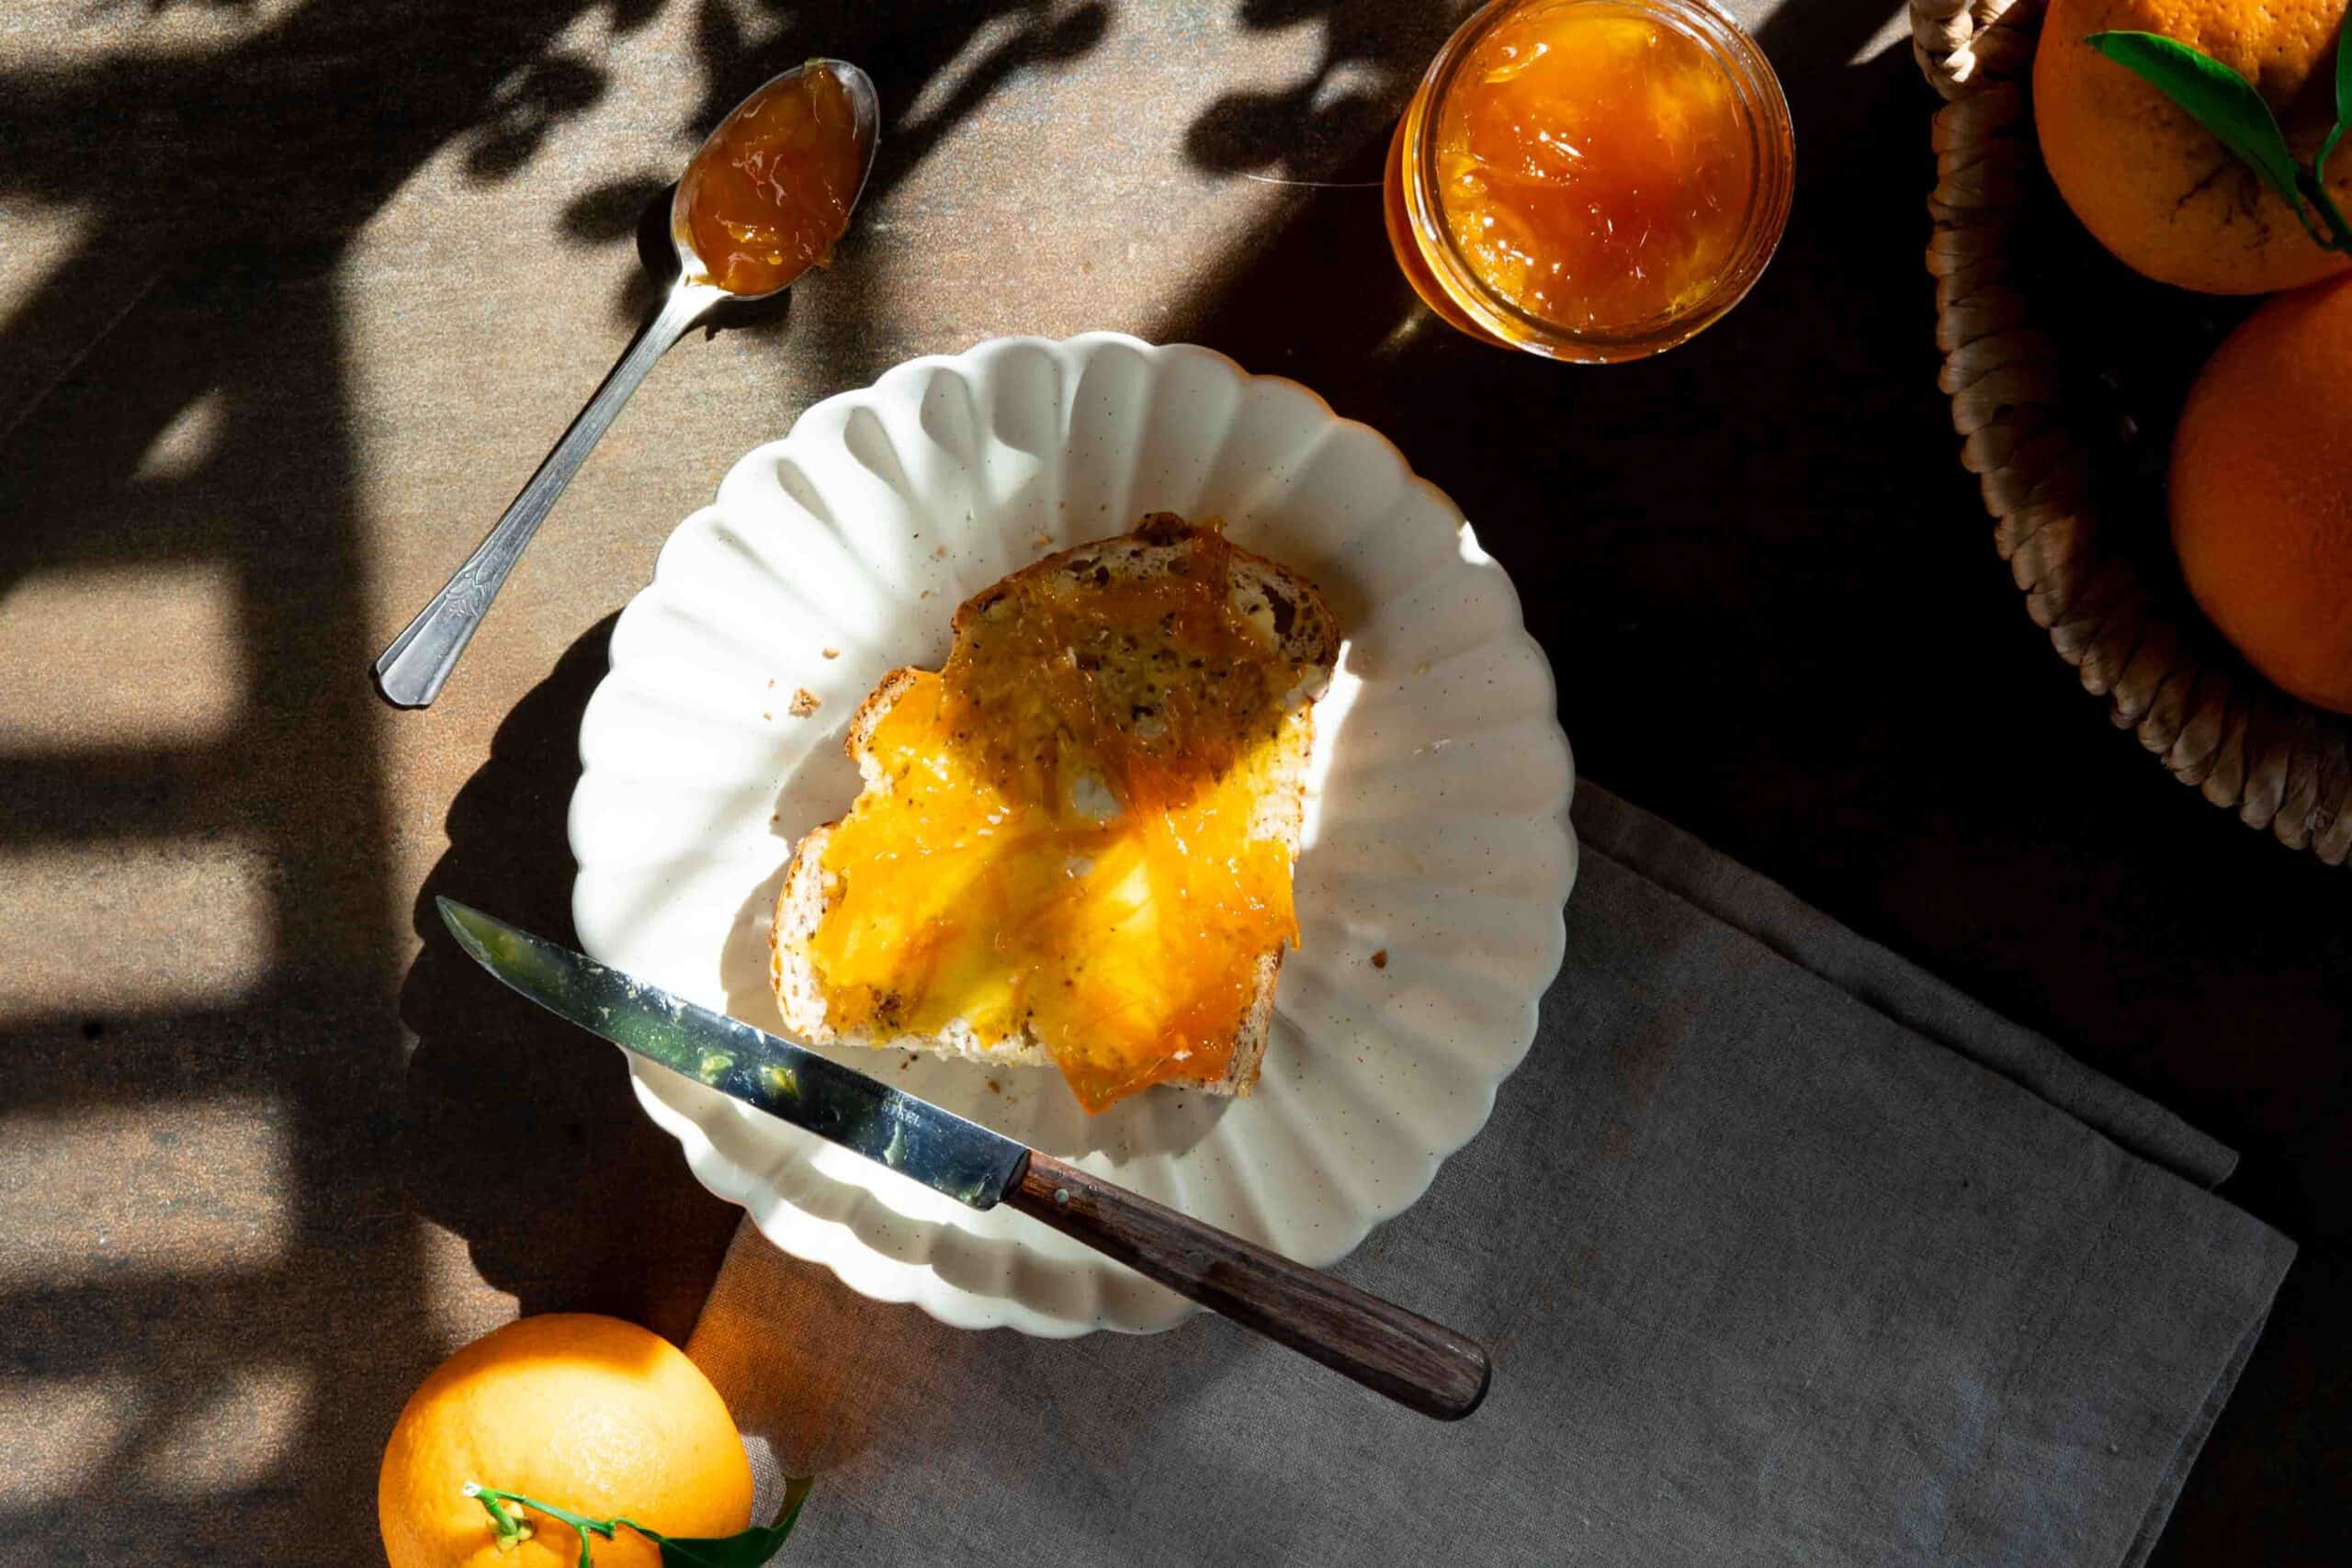
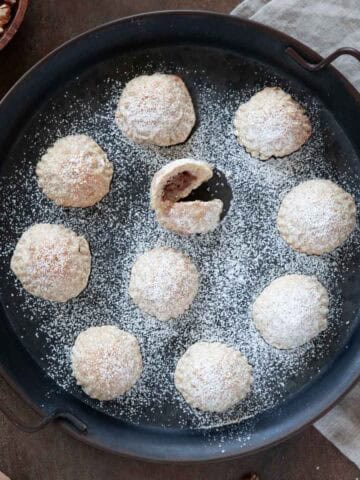
Spread over honeycomb bread or a warm toast with butter, it’s absolutely delicious, brings back childhood memories of watching my mom make jam at home.
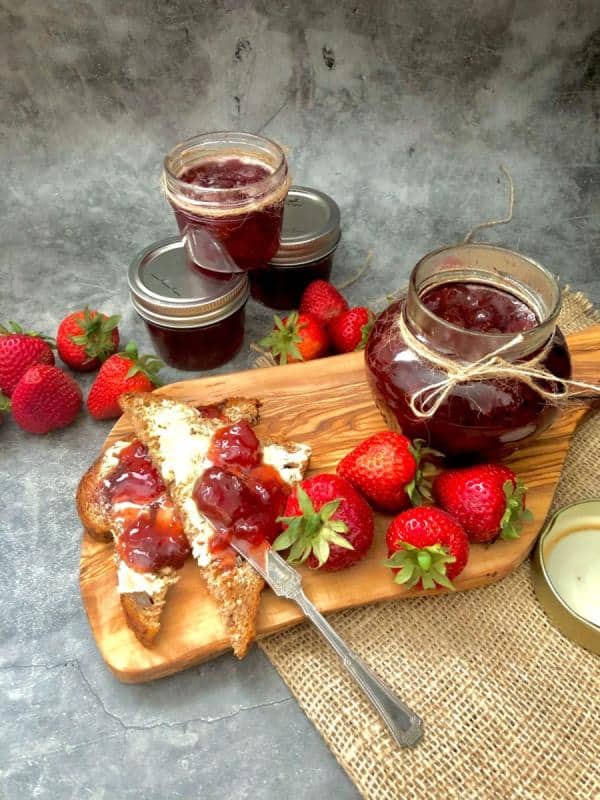
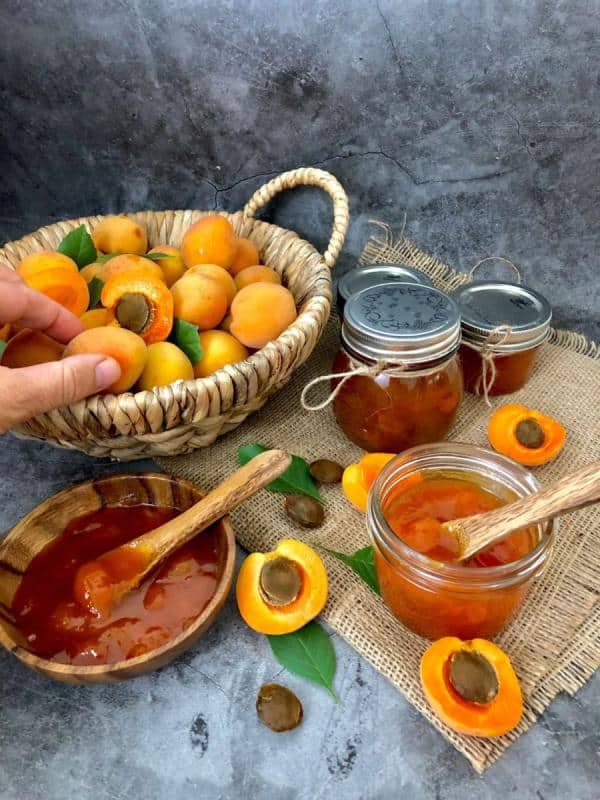
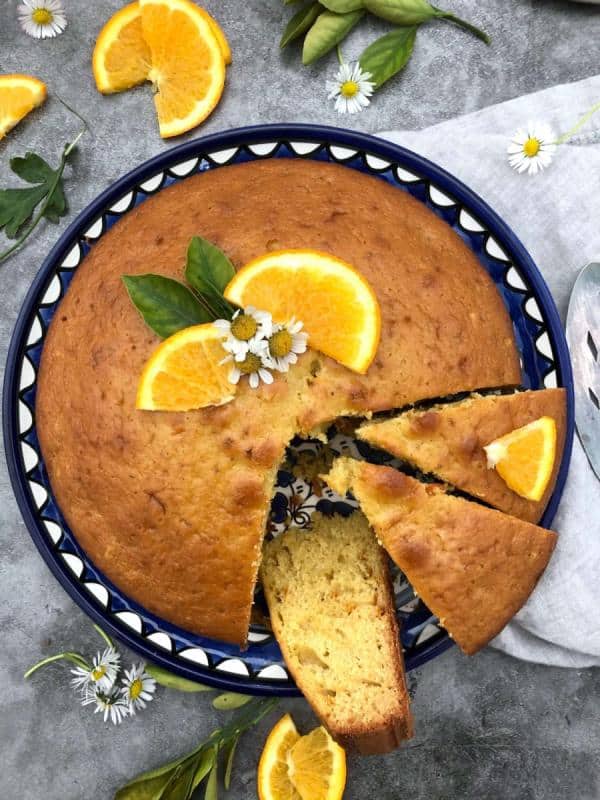
I’ve always loved making jam at home, just like I grew up with. If you you like other jam recipes try my homemade apricot jam, and strawberry jam. And if you have extra oranges at hand try my orange cake recipe.
Jump to:
Citrus Fruits in Palestine
I'd like to highlight a unique citrus fruit that may be unfamiliar to many and to my knowledge, is not available anywhere in the U.S. This citrus is called khushkhash (خشخاش), also known as narang or abu sfeir (ابو صفير), it's scientific name Citrus aurantium.
Narang has a very sour, bitter flavor and an intensely fragrant peel, which makes it especially valued for cooking and preserving rather than eating fresh. Despite its sharp taste, narang has a distinctive flavor, and even a small amount can add wonderful depth to jam.
Every year, my mother used khushkhash (خشخاش) in the winter to make jam, and in early spring to prepare a fresh, homemade lemon-style drink. We had a tree in our backyard, and it was always used for that purpose. In this recipe, I tried to recreate the flavor of the traditional jam I grew up eating, even without using khushkhash fruit.
Citrus fruits have a long and meaningful history in Palestine, where they have been cultivated for centuries thanks to the region’s fertile land and Mediterranean climate. Oranges, lemons, and grapefruits became especially important in the late 19th and early 20th centuries, with Jaffa (يافا) oranges gaining international fame for their exceptional flavor and quality.
In addition to the coastal plains, Jericho (اريحا), one of the oldest continuously inhabited cities in the world, has long been known for its abundant citrus groves. Its warm climate and natural springs made it ideal for growing oranges and lemons, especially during the winter months, when we used to escape Ramallah’s cold weather and enjoy picking fresh oranges and clementines straight from the groves.
Citrus farming was more than agriculture; it supported livelihoods, shaped local culture, and became a symbol of Palestinian identity and resilience.
Today, citrus fruits remain deeply woven into Palestinian cuisine and traditions, appearing in fresh juices, desserts, preserves, and beloved homemade jams passed down through generations.
Why you'll love this recipe
- It’s simple and traditional, made with just a few real ingredients
- No added commercial pectin — the jam thickens naturally
- Balanced sweet and citrusy flavor, not overly sugary
- A family-style recipe made the way it’s been prepared for generations
- Perfect for breakfast, gifting, or storing for later
Equipment
This post may contain affiliate links.
Ingredients
Full ingredients, measurements, and instructions are in the recipe card at the bottom of this post.
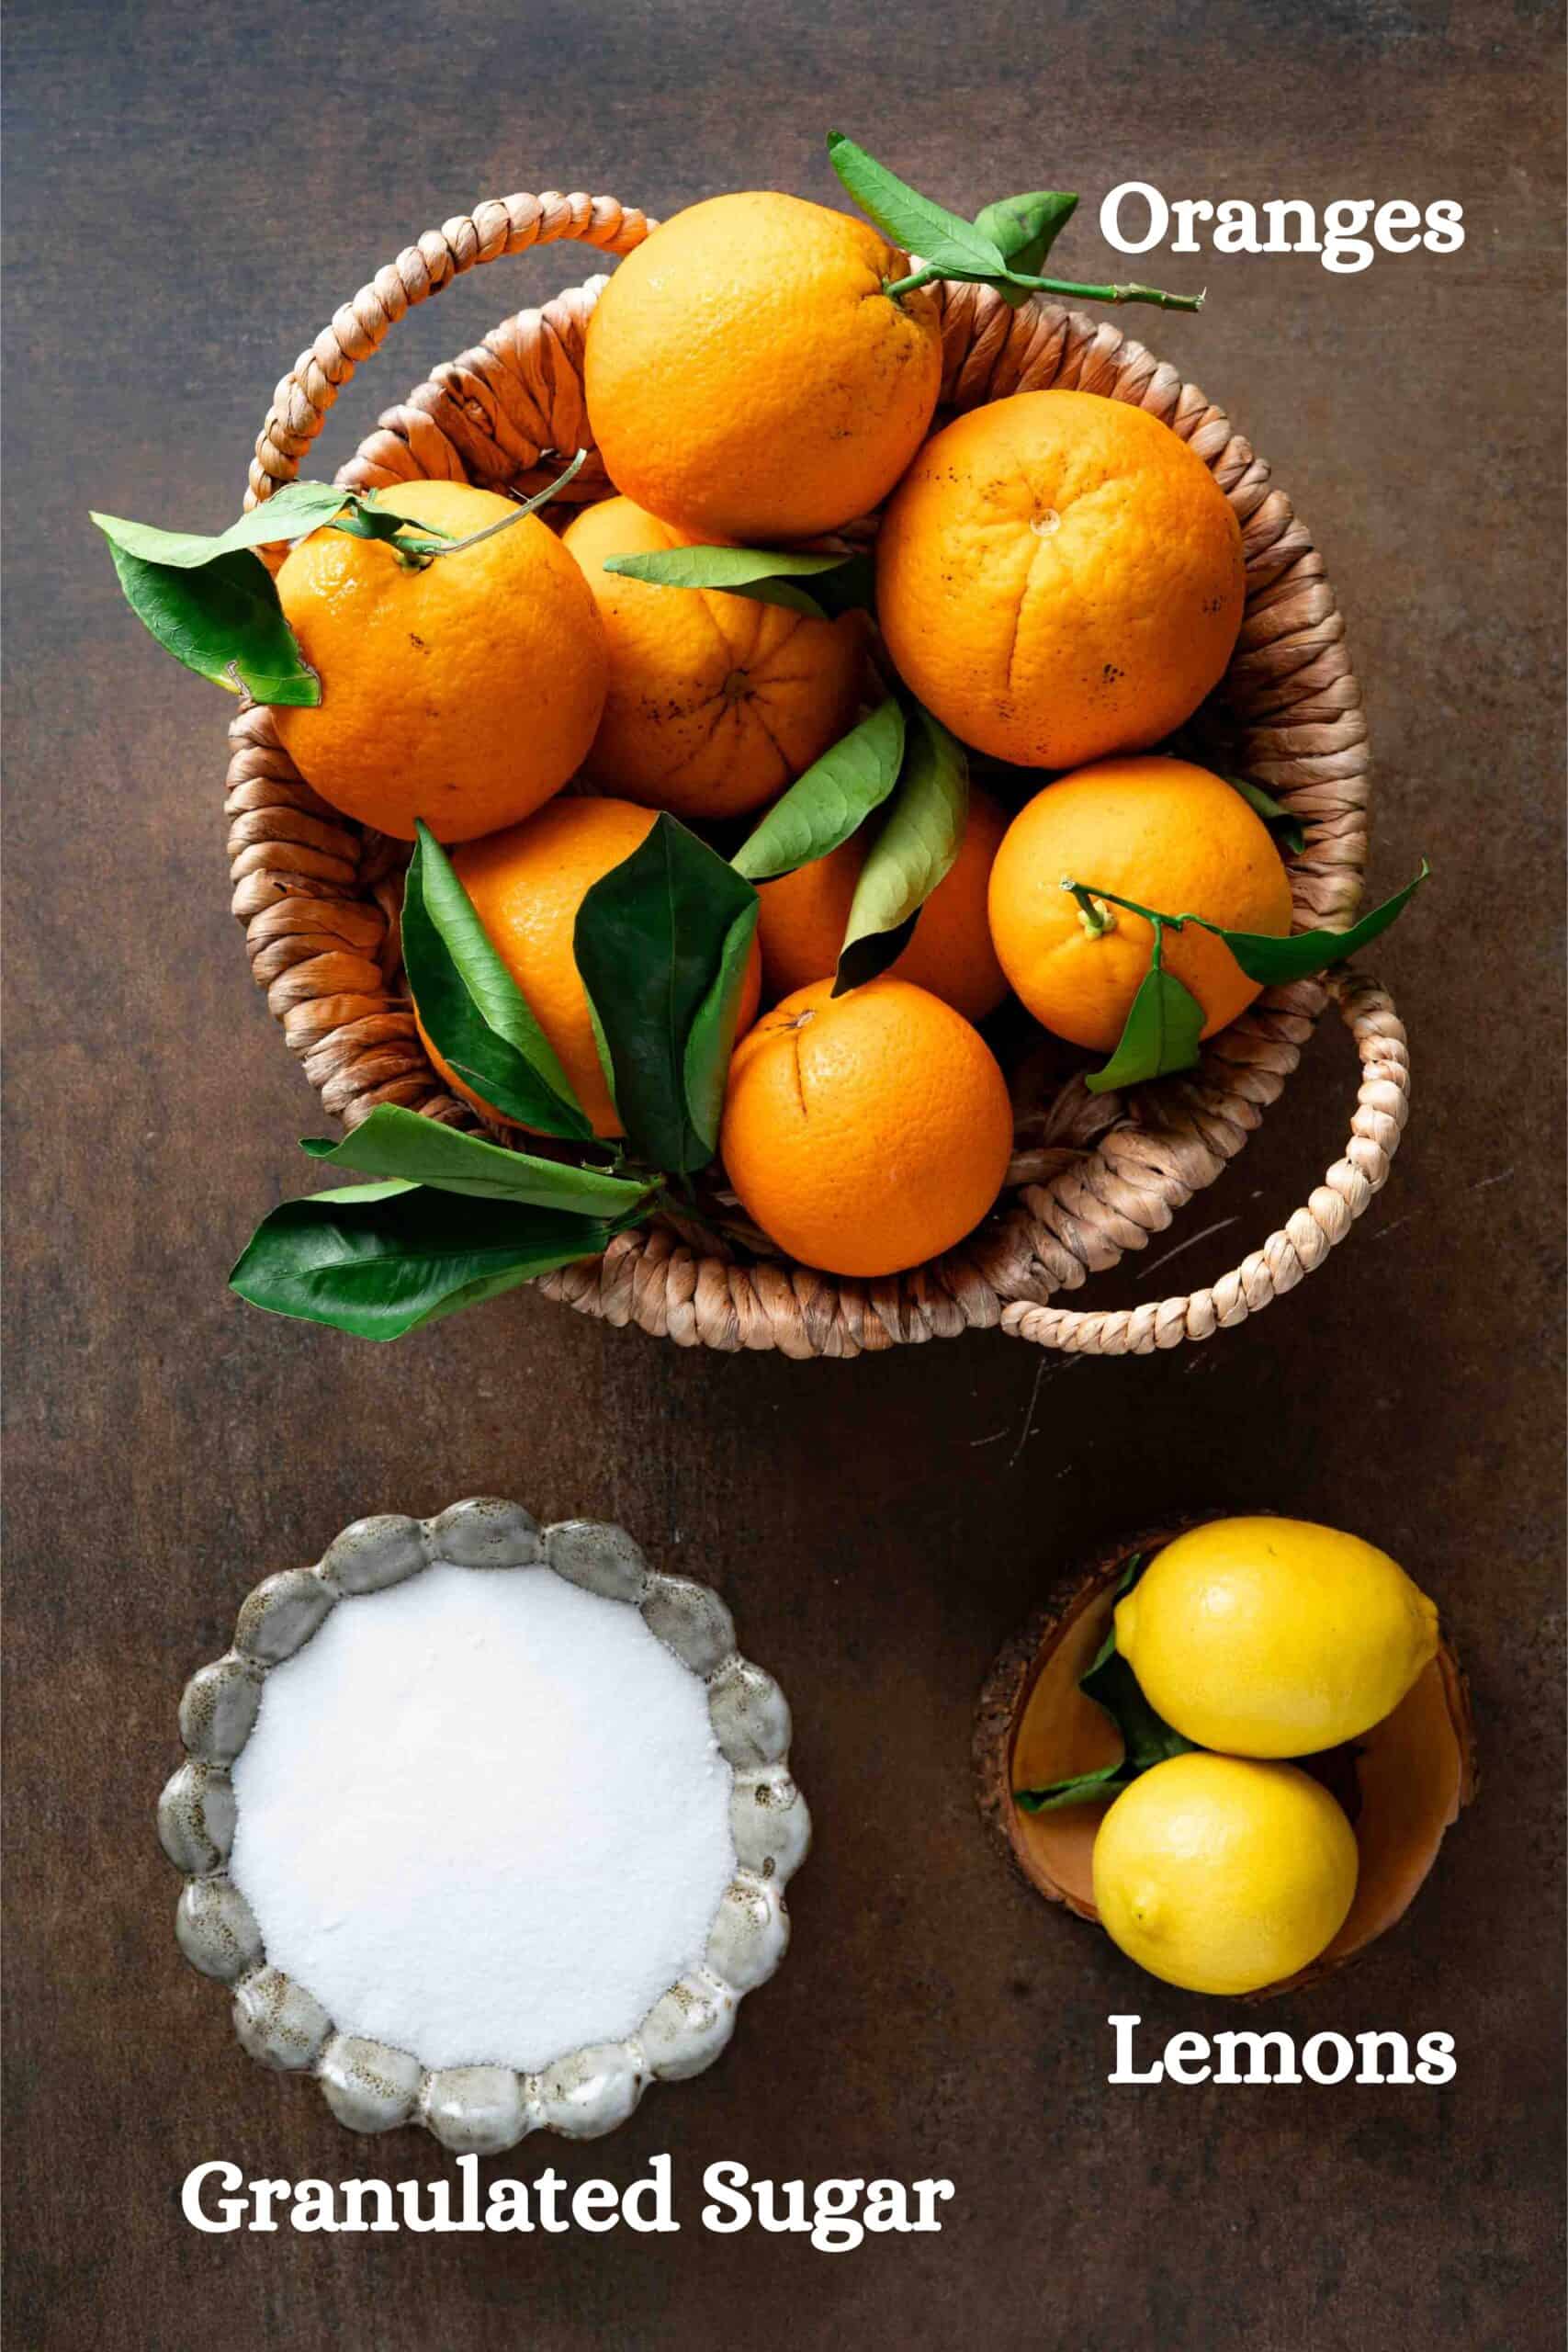
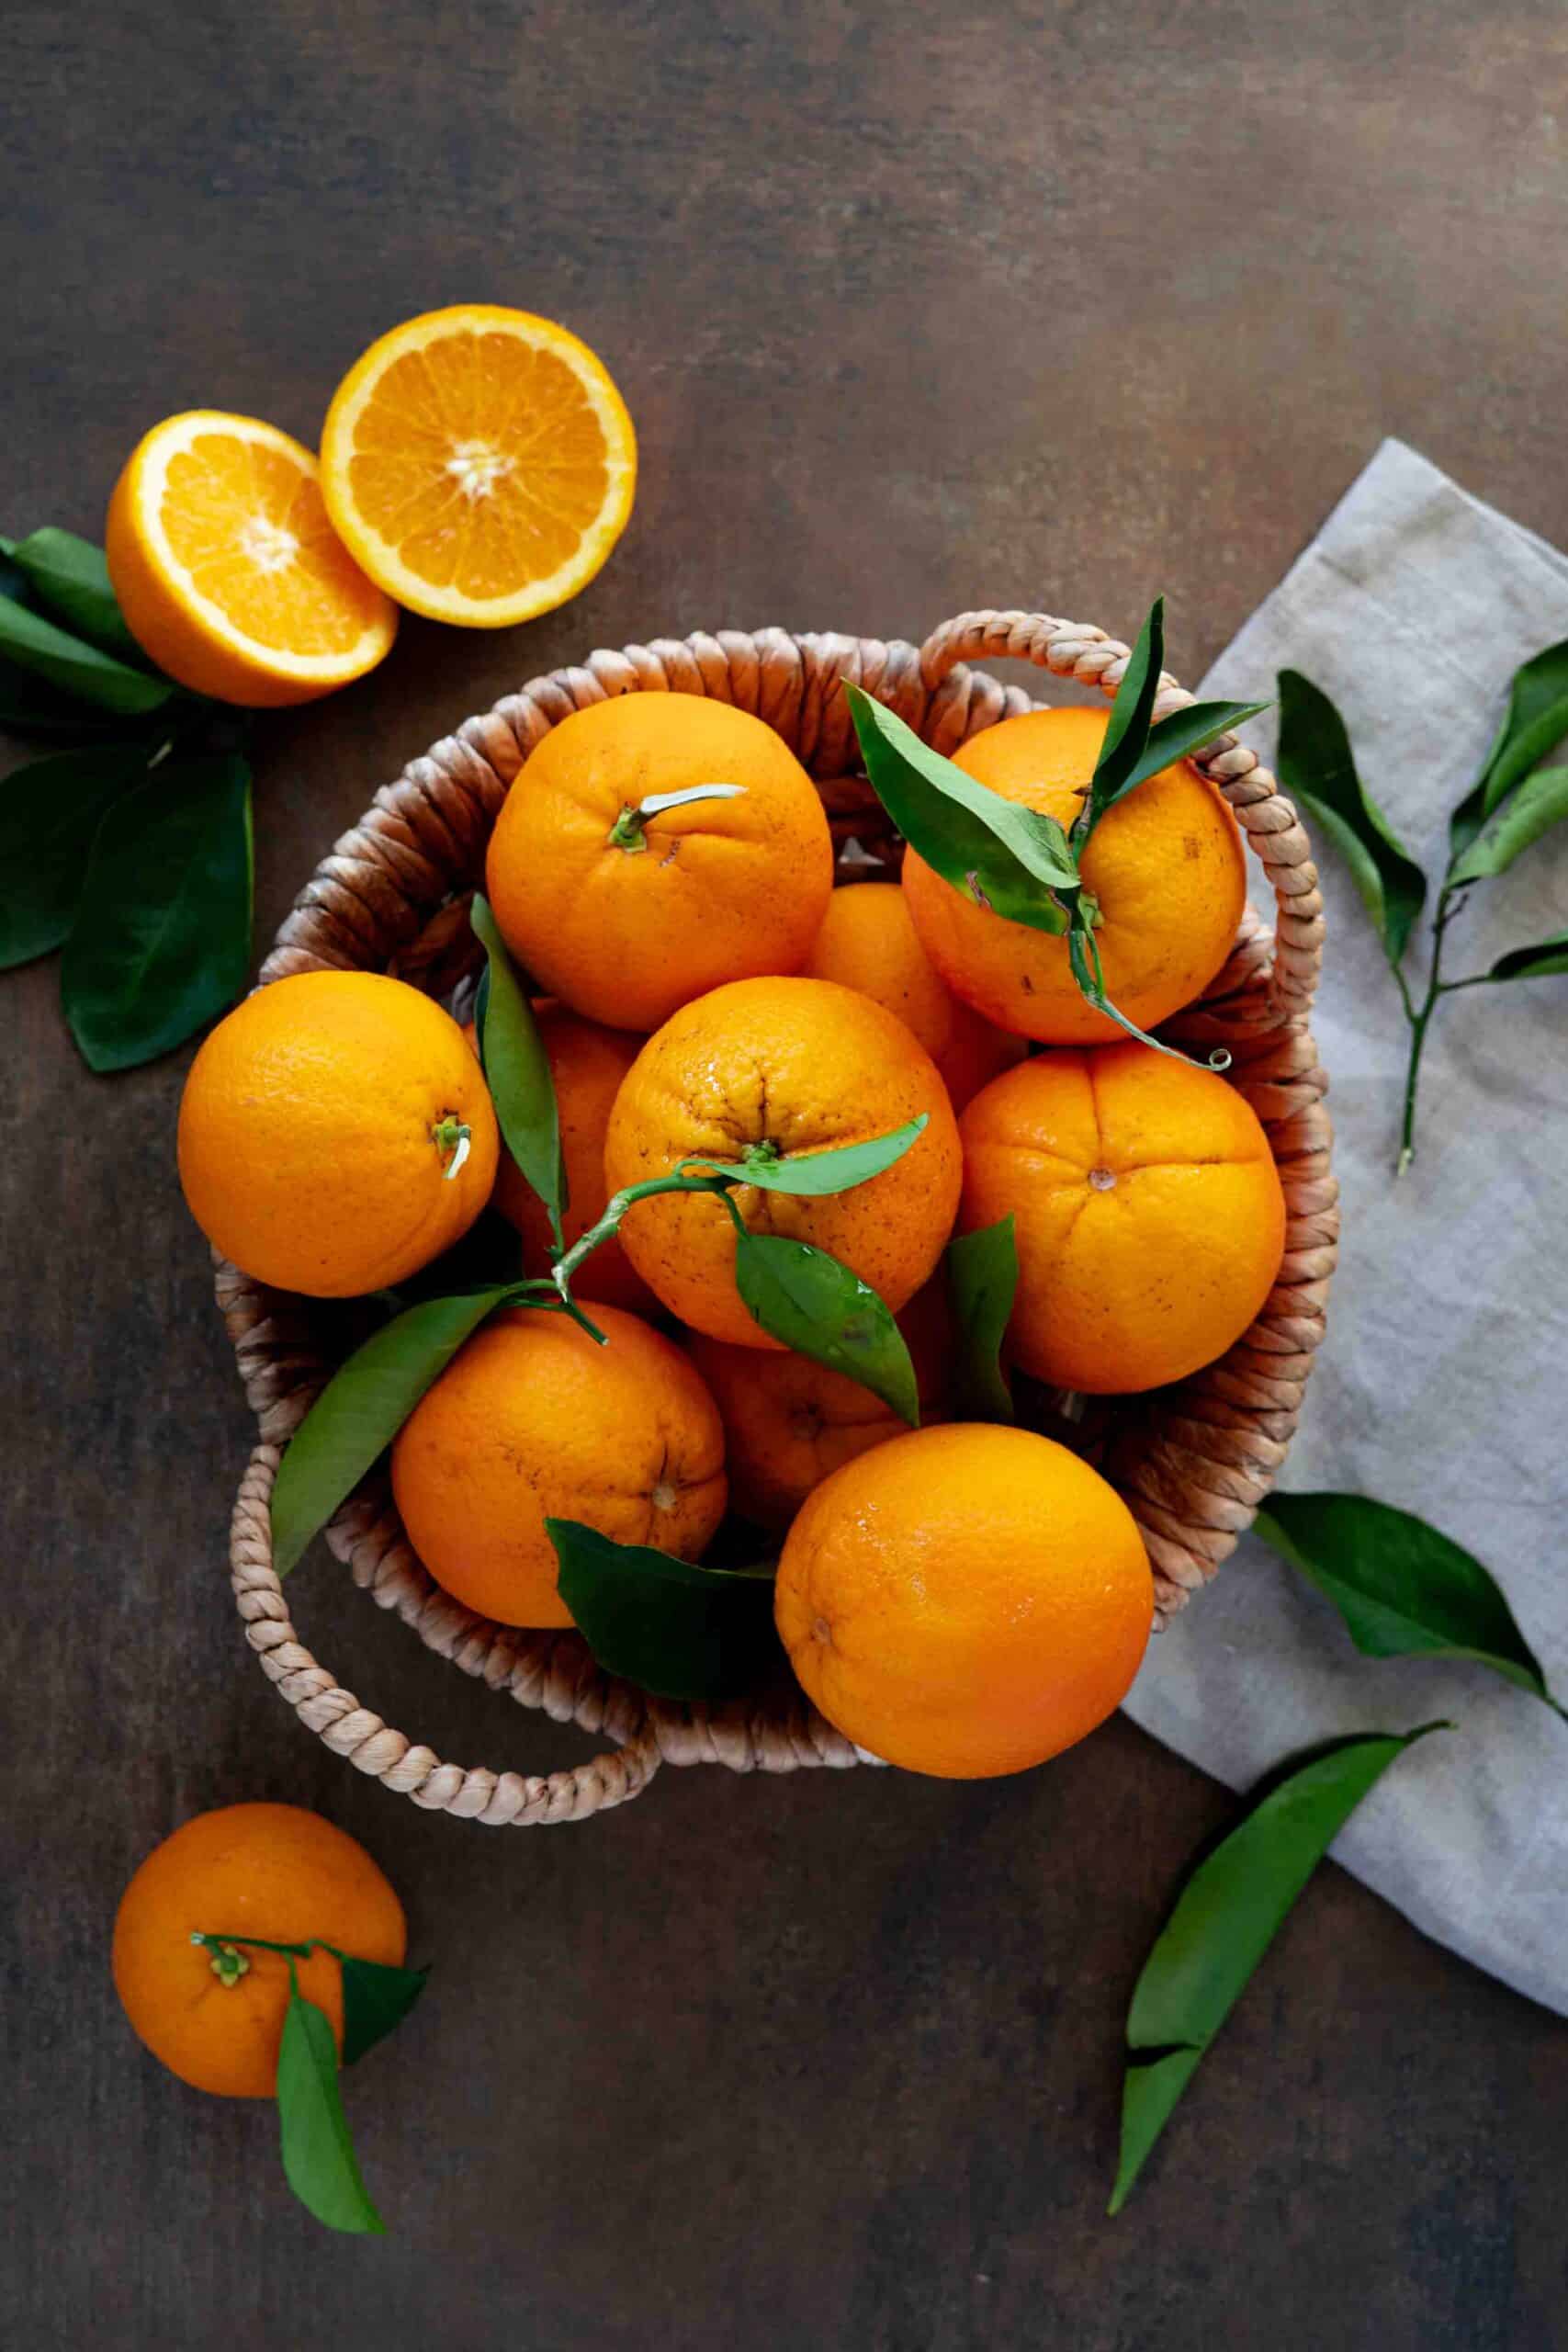
- Oranges - Oranges with thick skin are a good option, as they’re easy to peel and the skin can be used in the jam.
- Lemons - Lemons enhances the citrus flavor a small amount is essential in this recipe.
- Granulated Sugar - Sugar sweetens the jam and acts as a natural preservative, helping extend its shelf life for several months while maintaining flavor and texture.
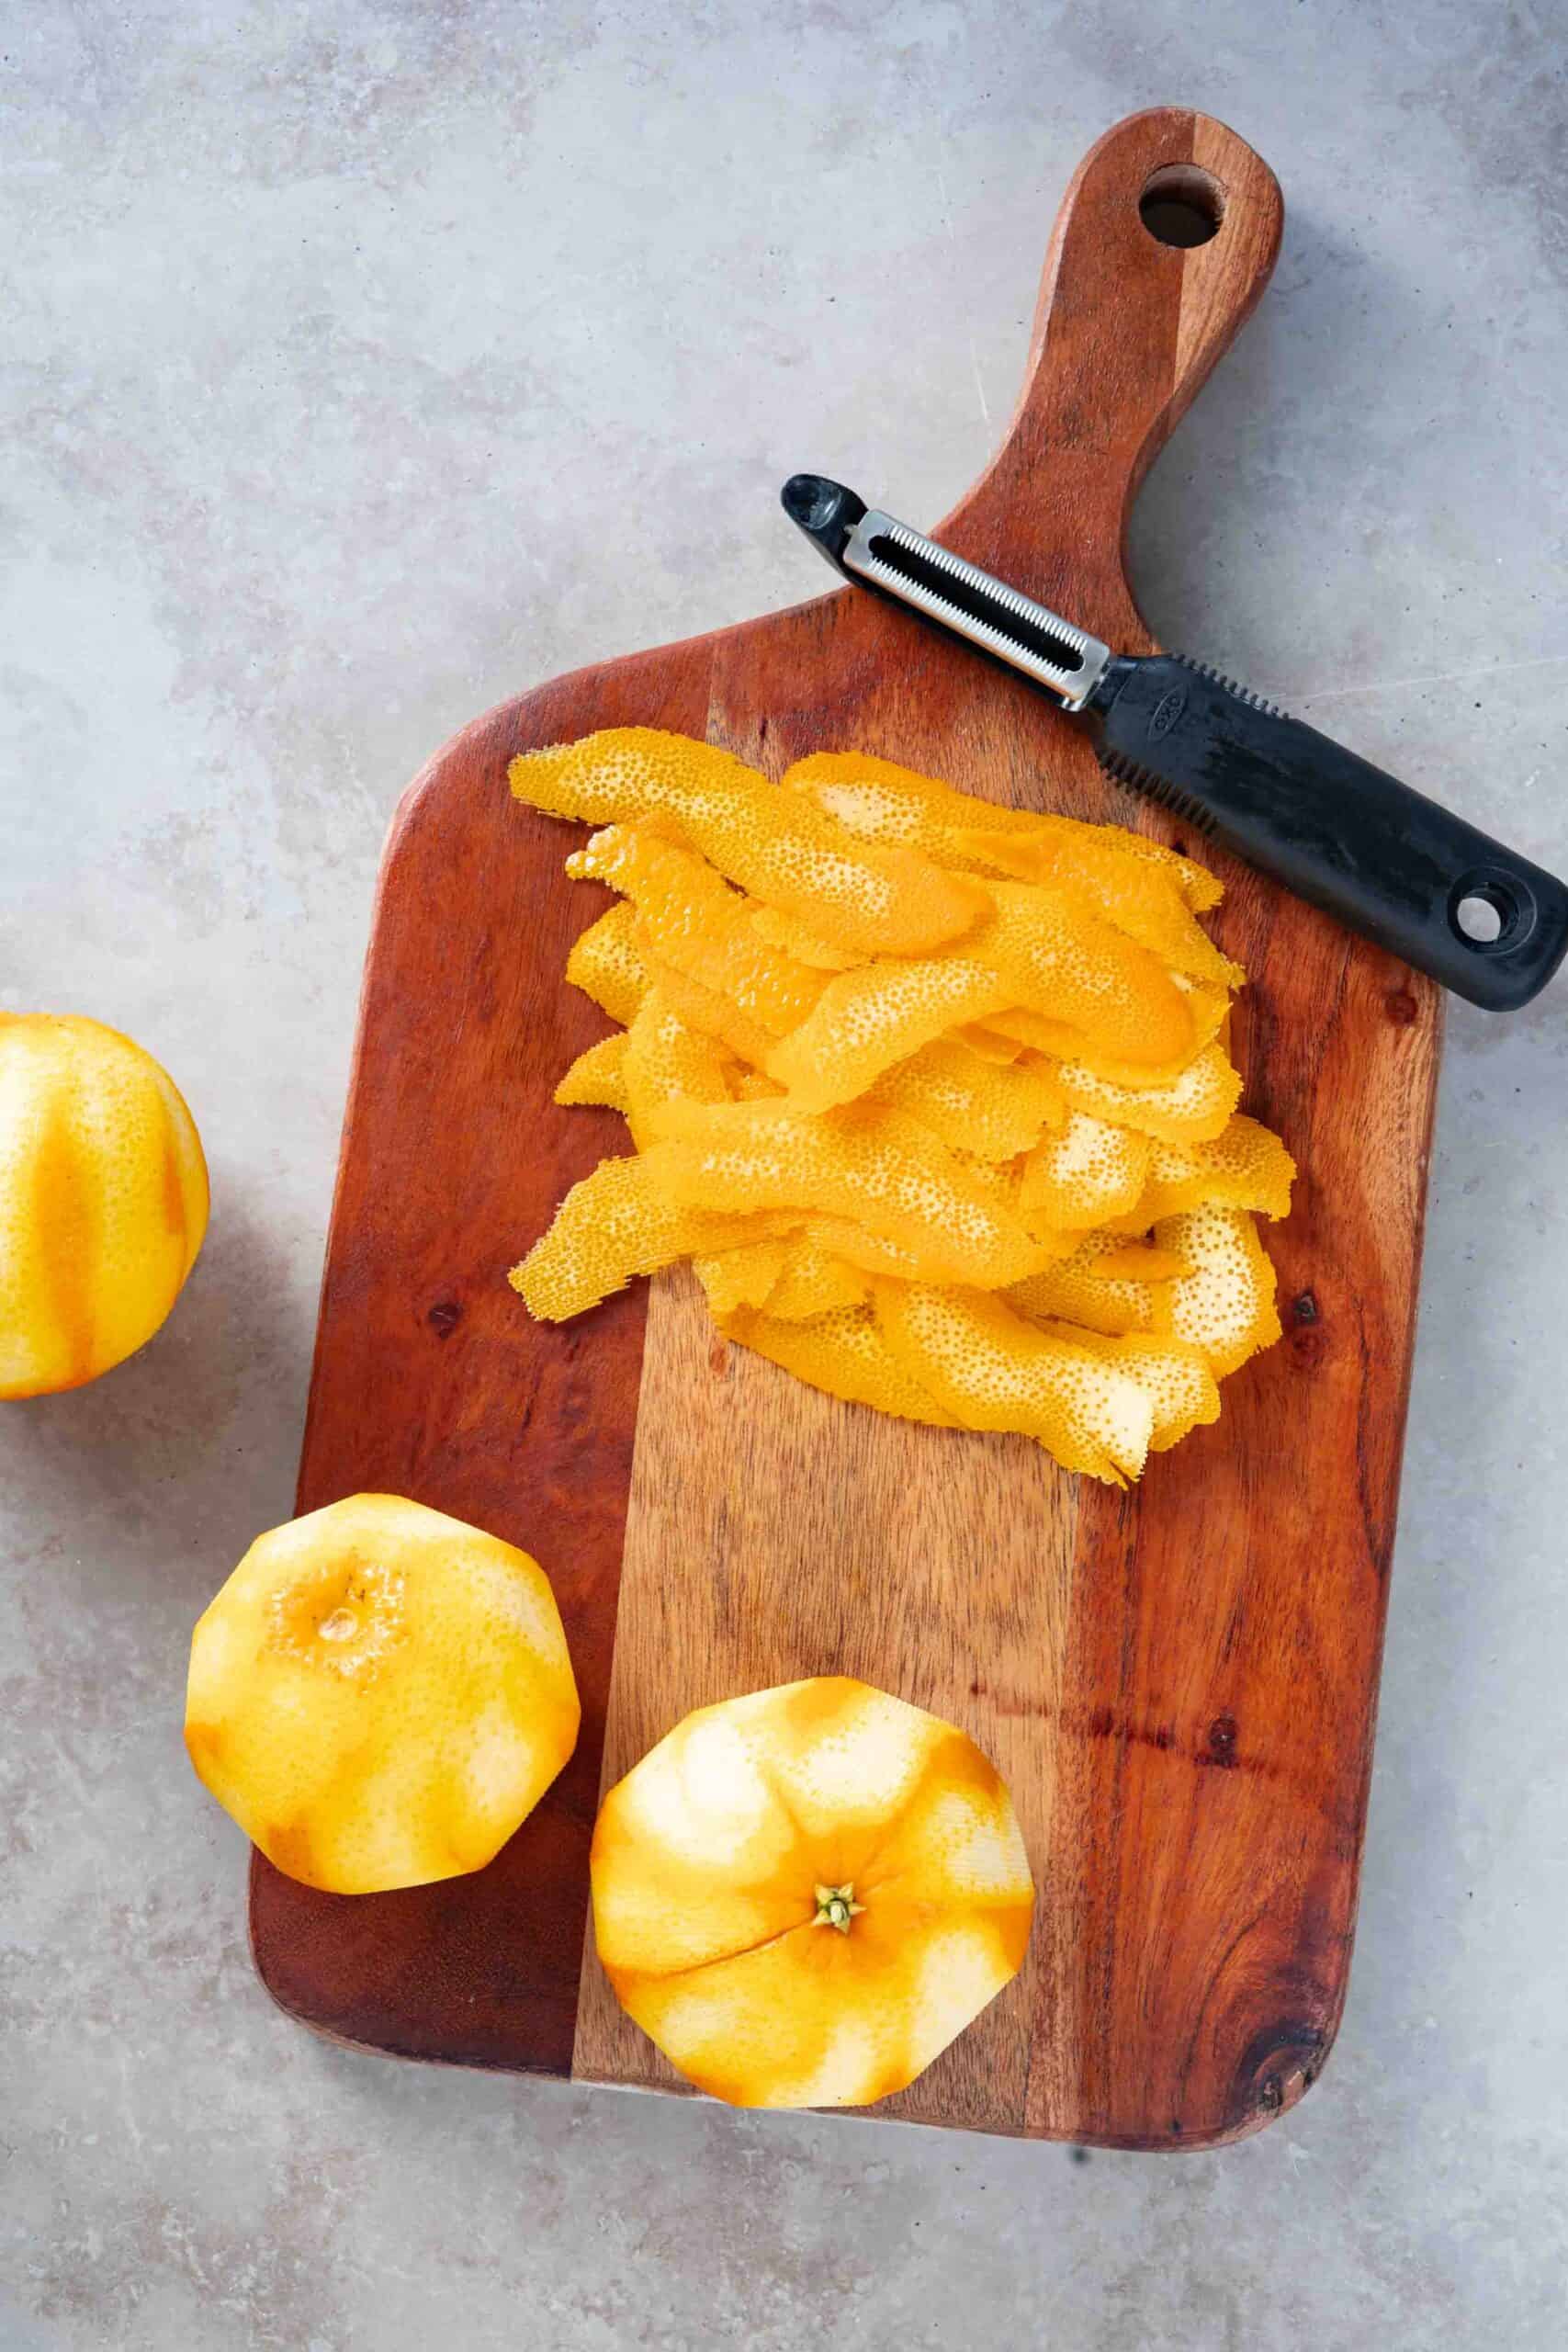
Step 1 | Once washed and rinsed, peel the oranges using a sharp peeler.
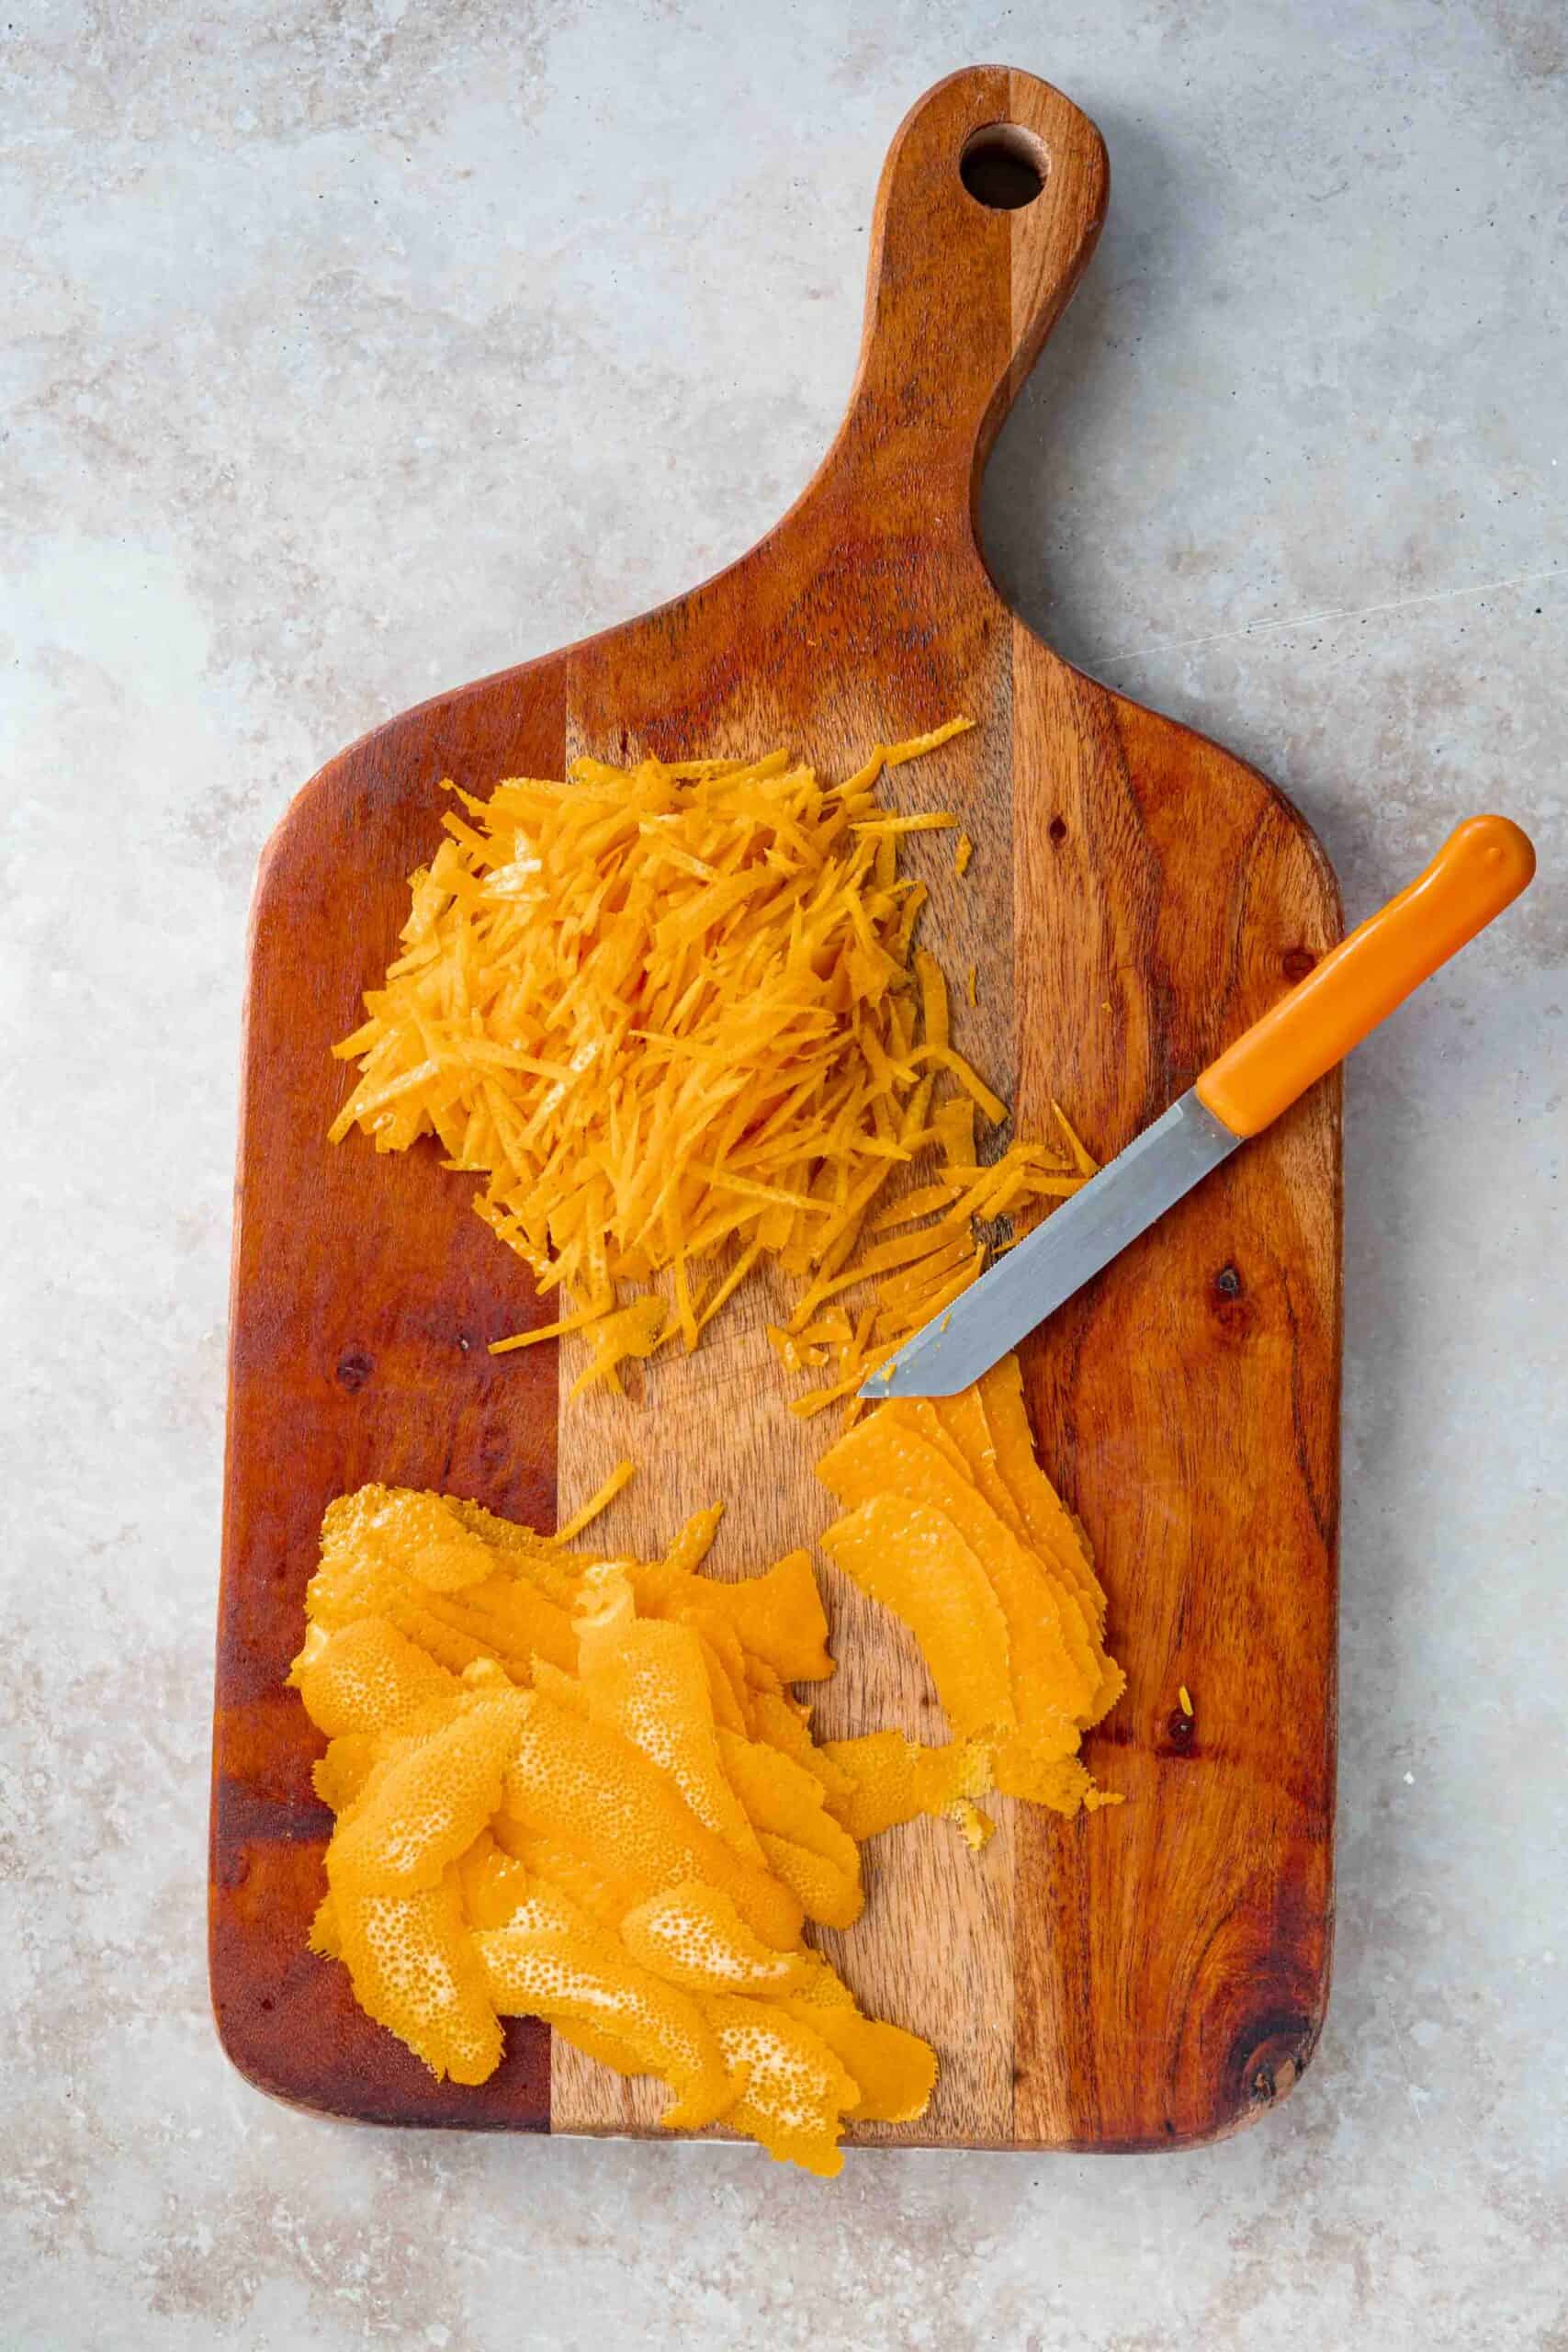
Step 2 | With a sharp knife, thinly slice the orange peels (you can stack a few peels together to save time).
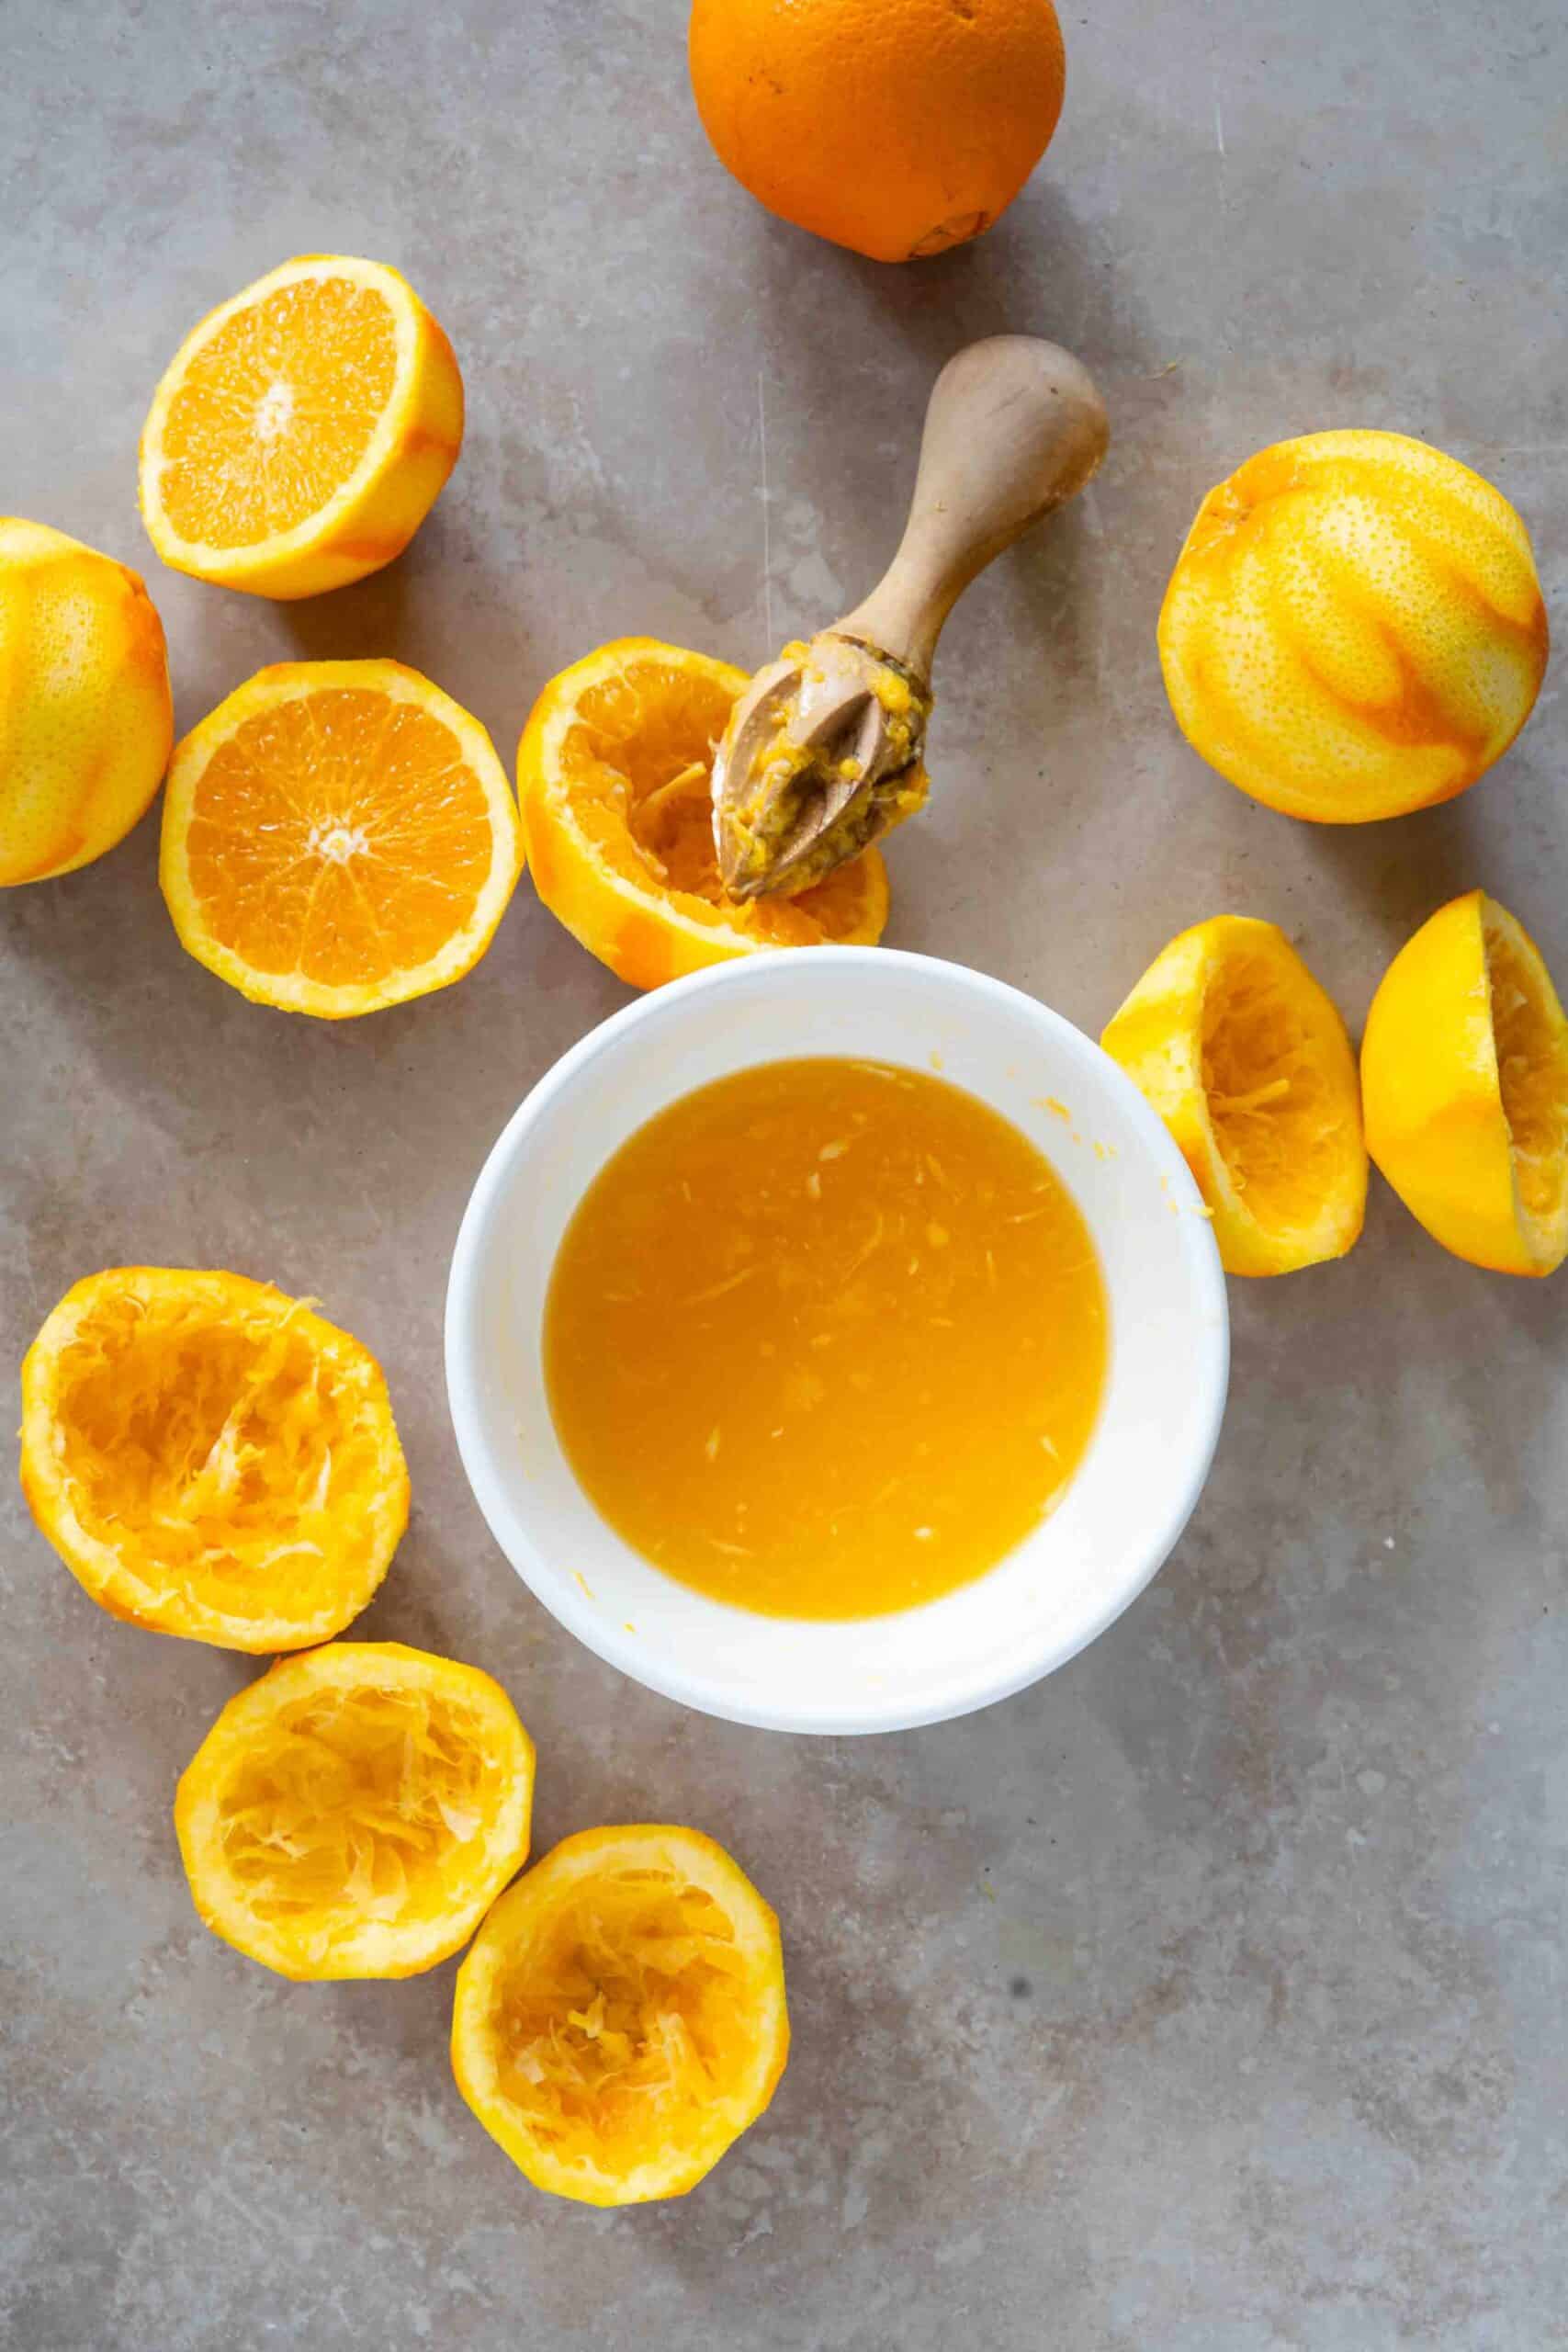
Step 3 | Cut each peeled orange in half and juice them, making sure to keep the pulp. If the oranges have many seeds, strain the juice to remove them.
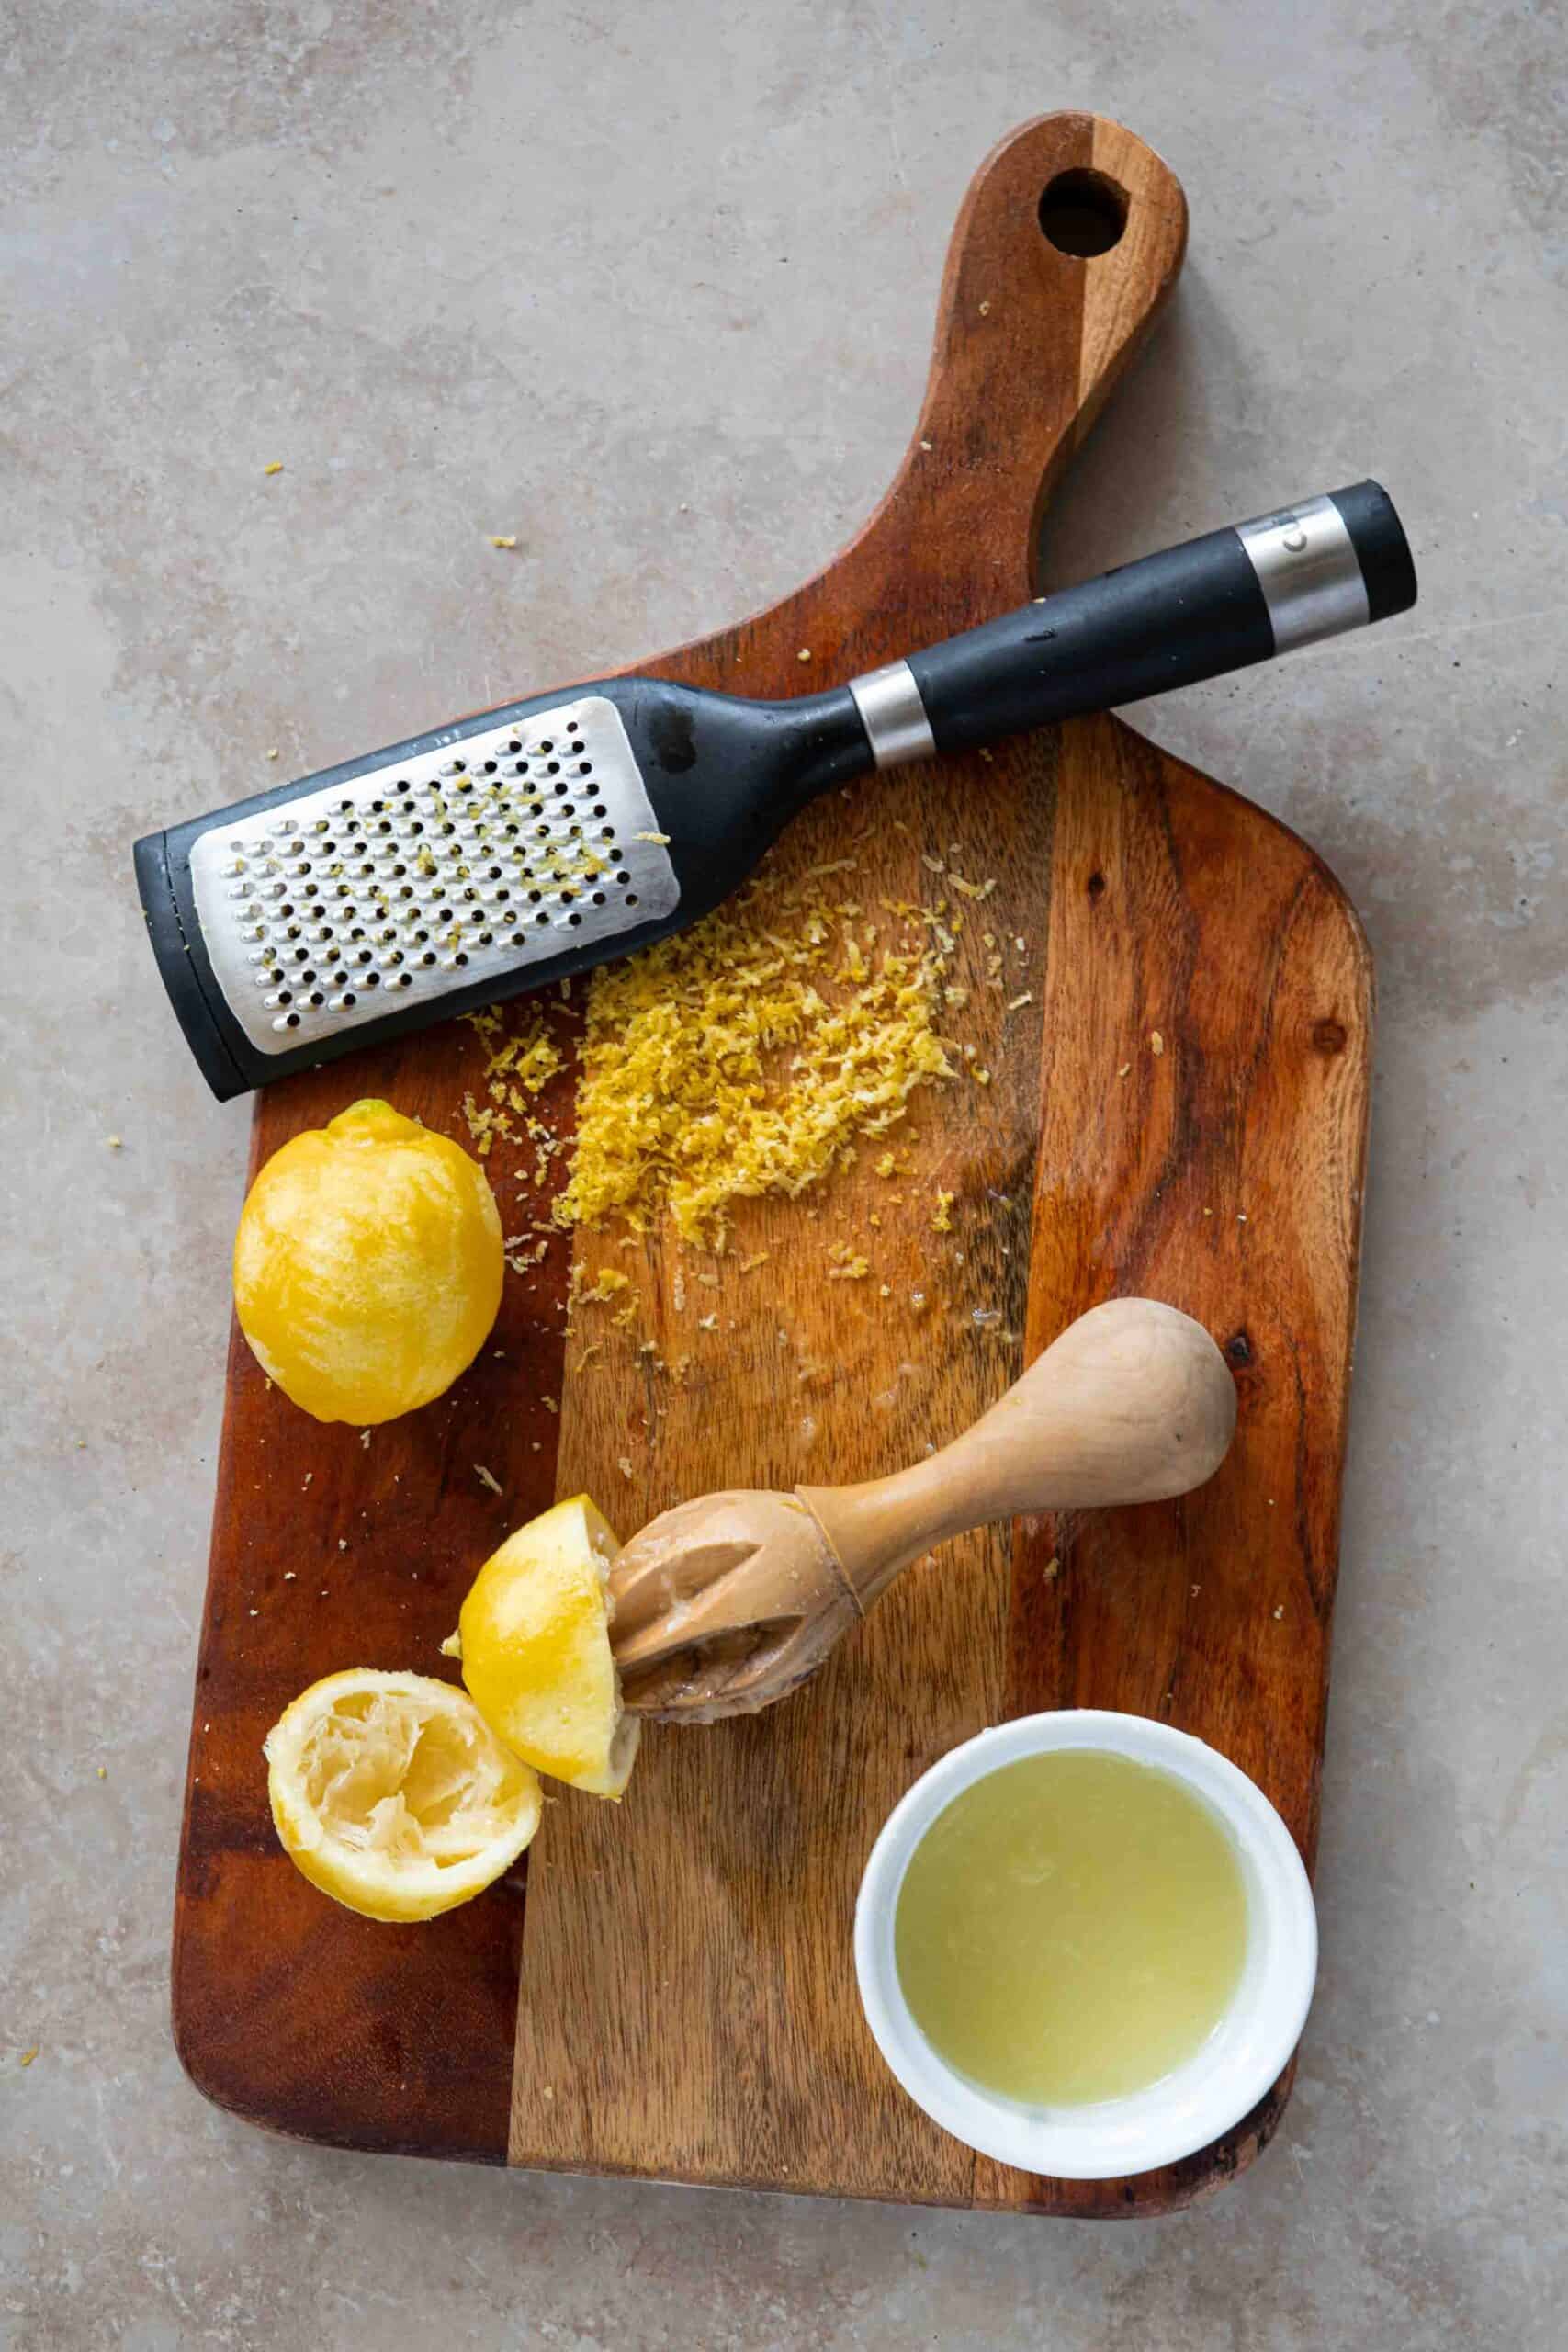
Step 4 | Zest and juice the lemons.
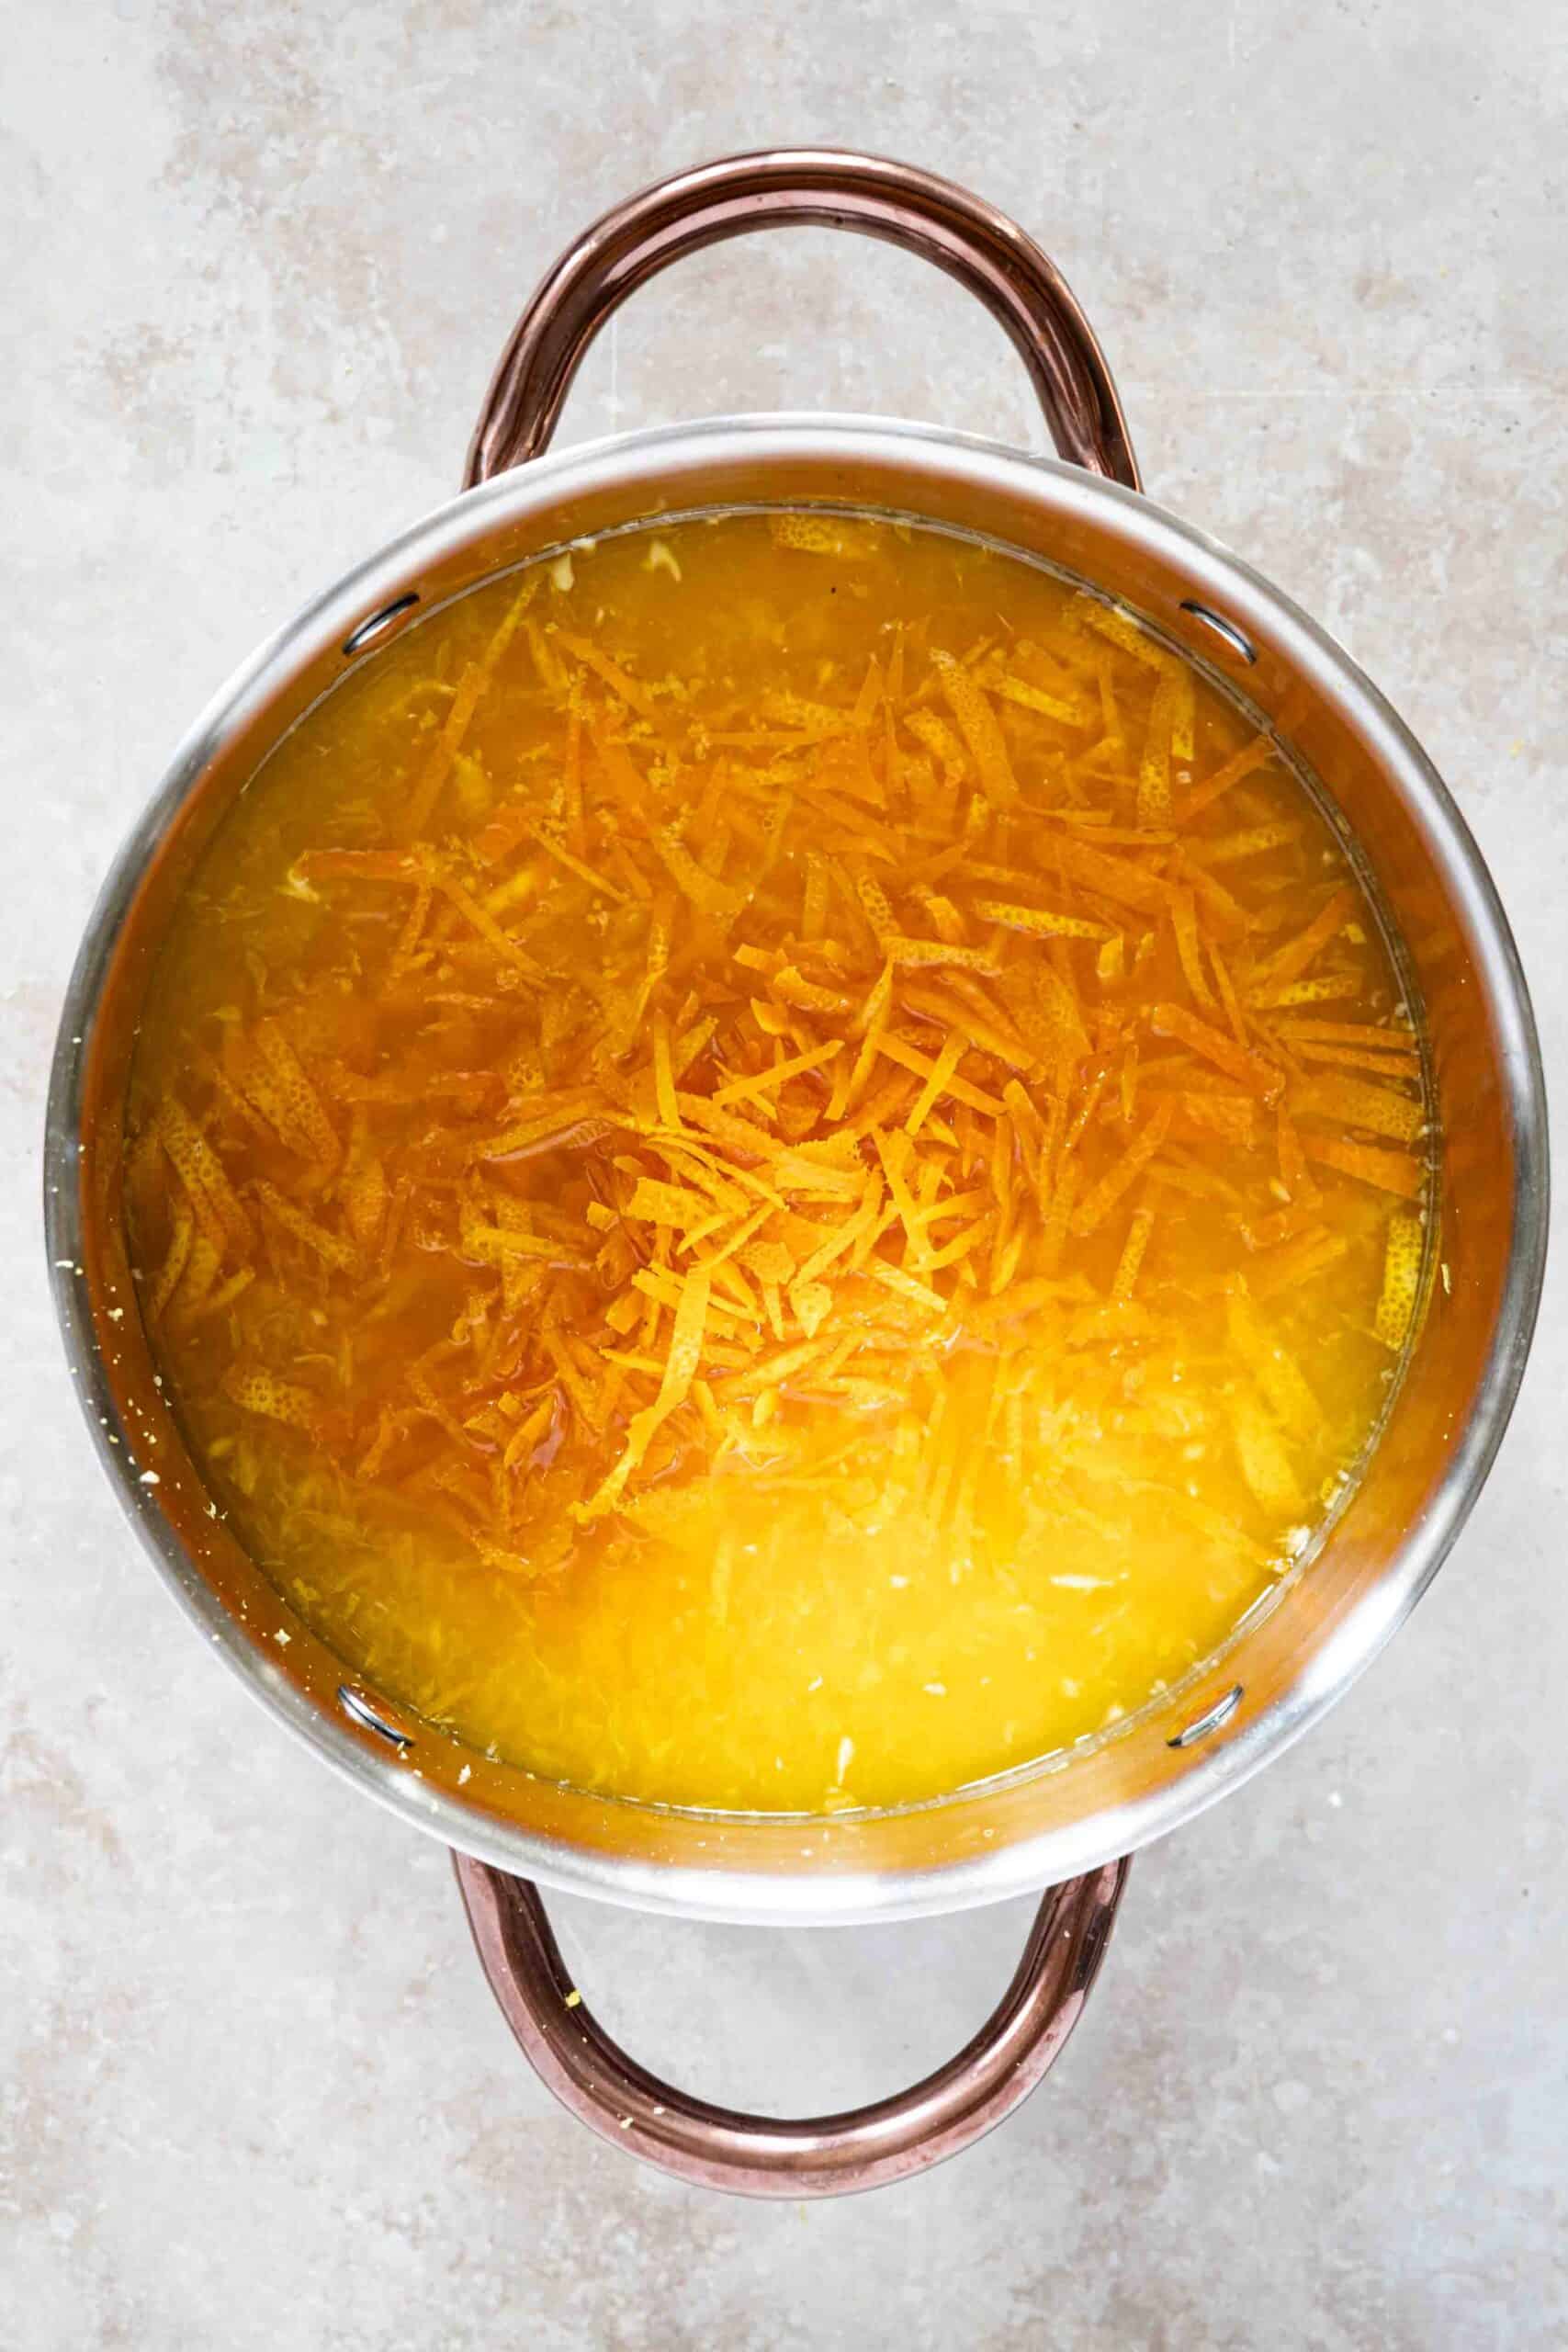
Step 5 | Place the orange juice, reserved pulp, sliced orange peel, lemon zest, lemon juice, and sugar into a pot. Set the pot on the stove over high heat.

Step 6 | Once the mixture comes to a boil, lower the heat to medium-low and continue cooking for 45-60 minutes, stirring occasionally while monitoring the jam.
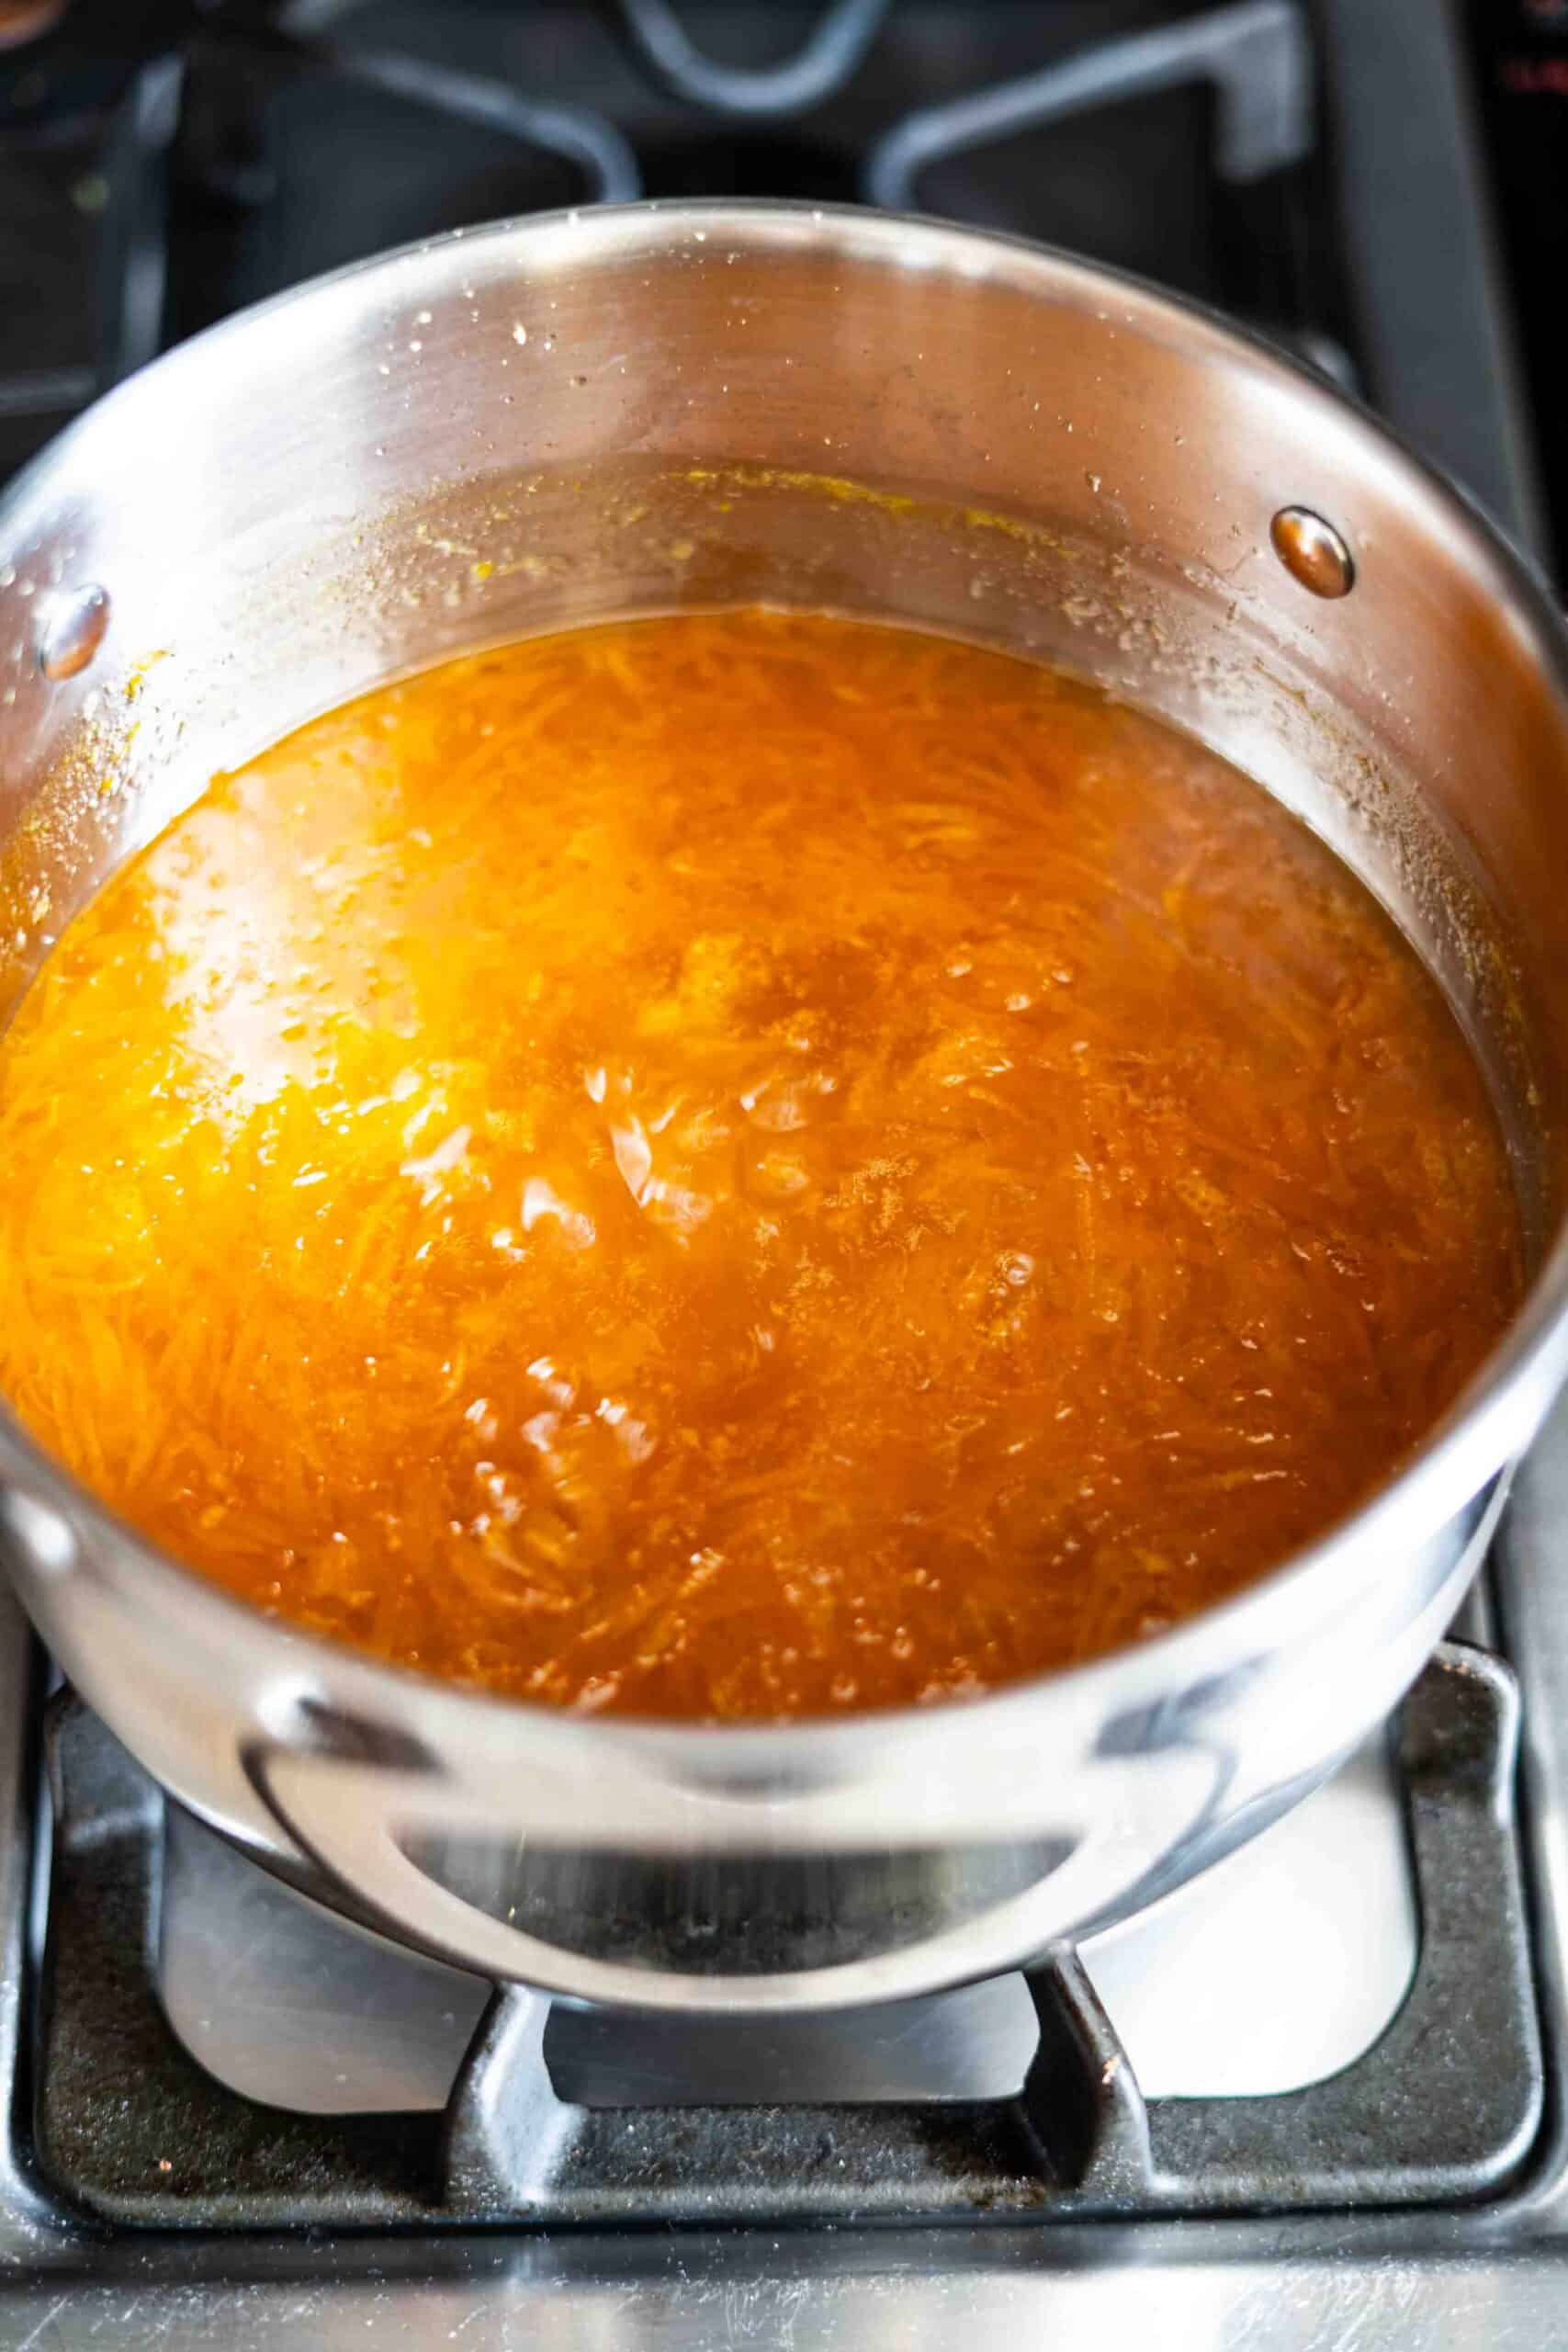
Step 7 | When the jam begins to bubble consistently, start testing for doneness.
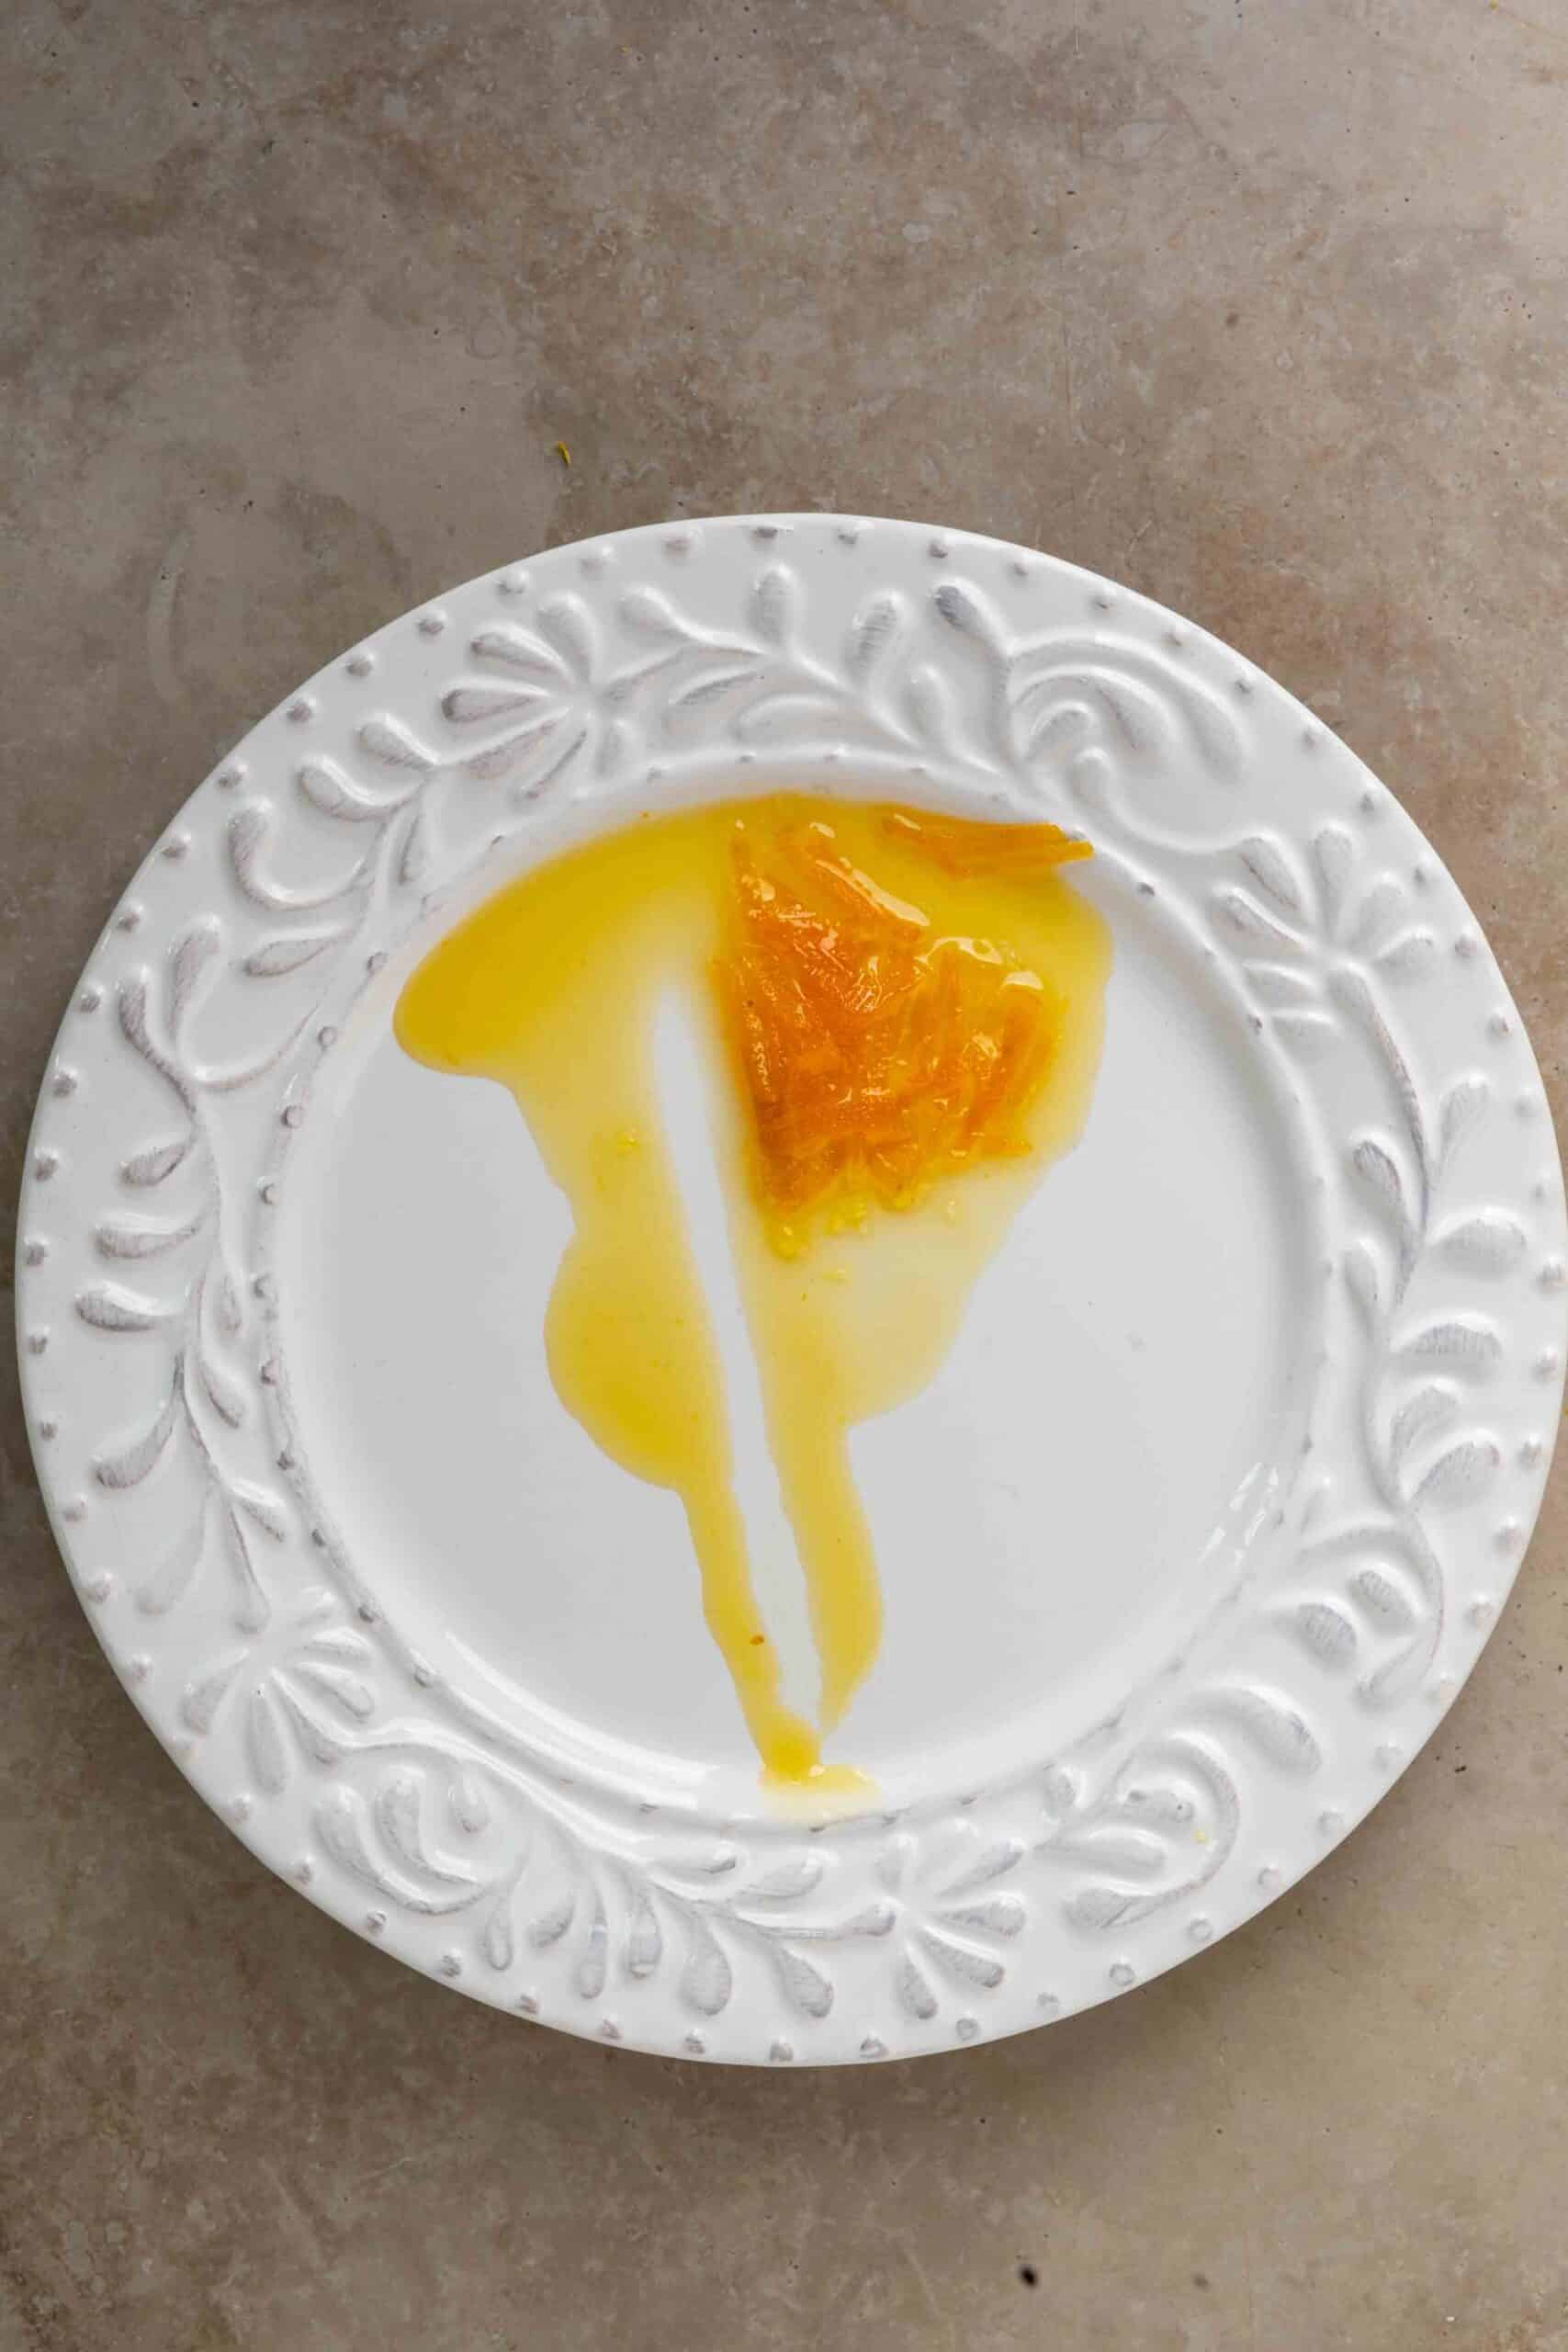
Step 8 | Using a clean, dry tablespoon, place a small amount of jam onto a cold plate. Gently push it with your finger, if it wrinkles and doesn’t run, the jam is ready.
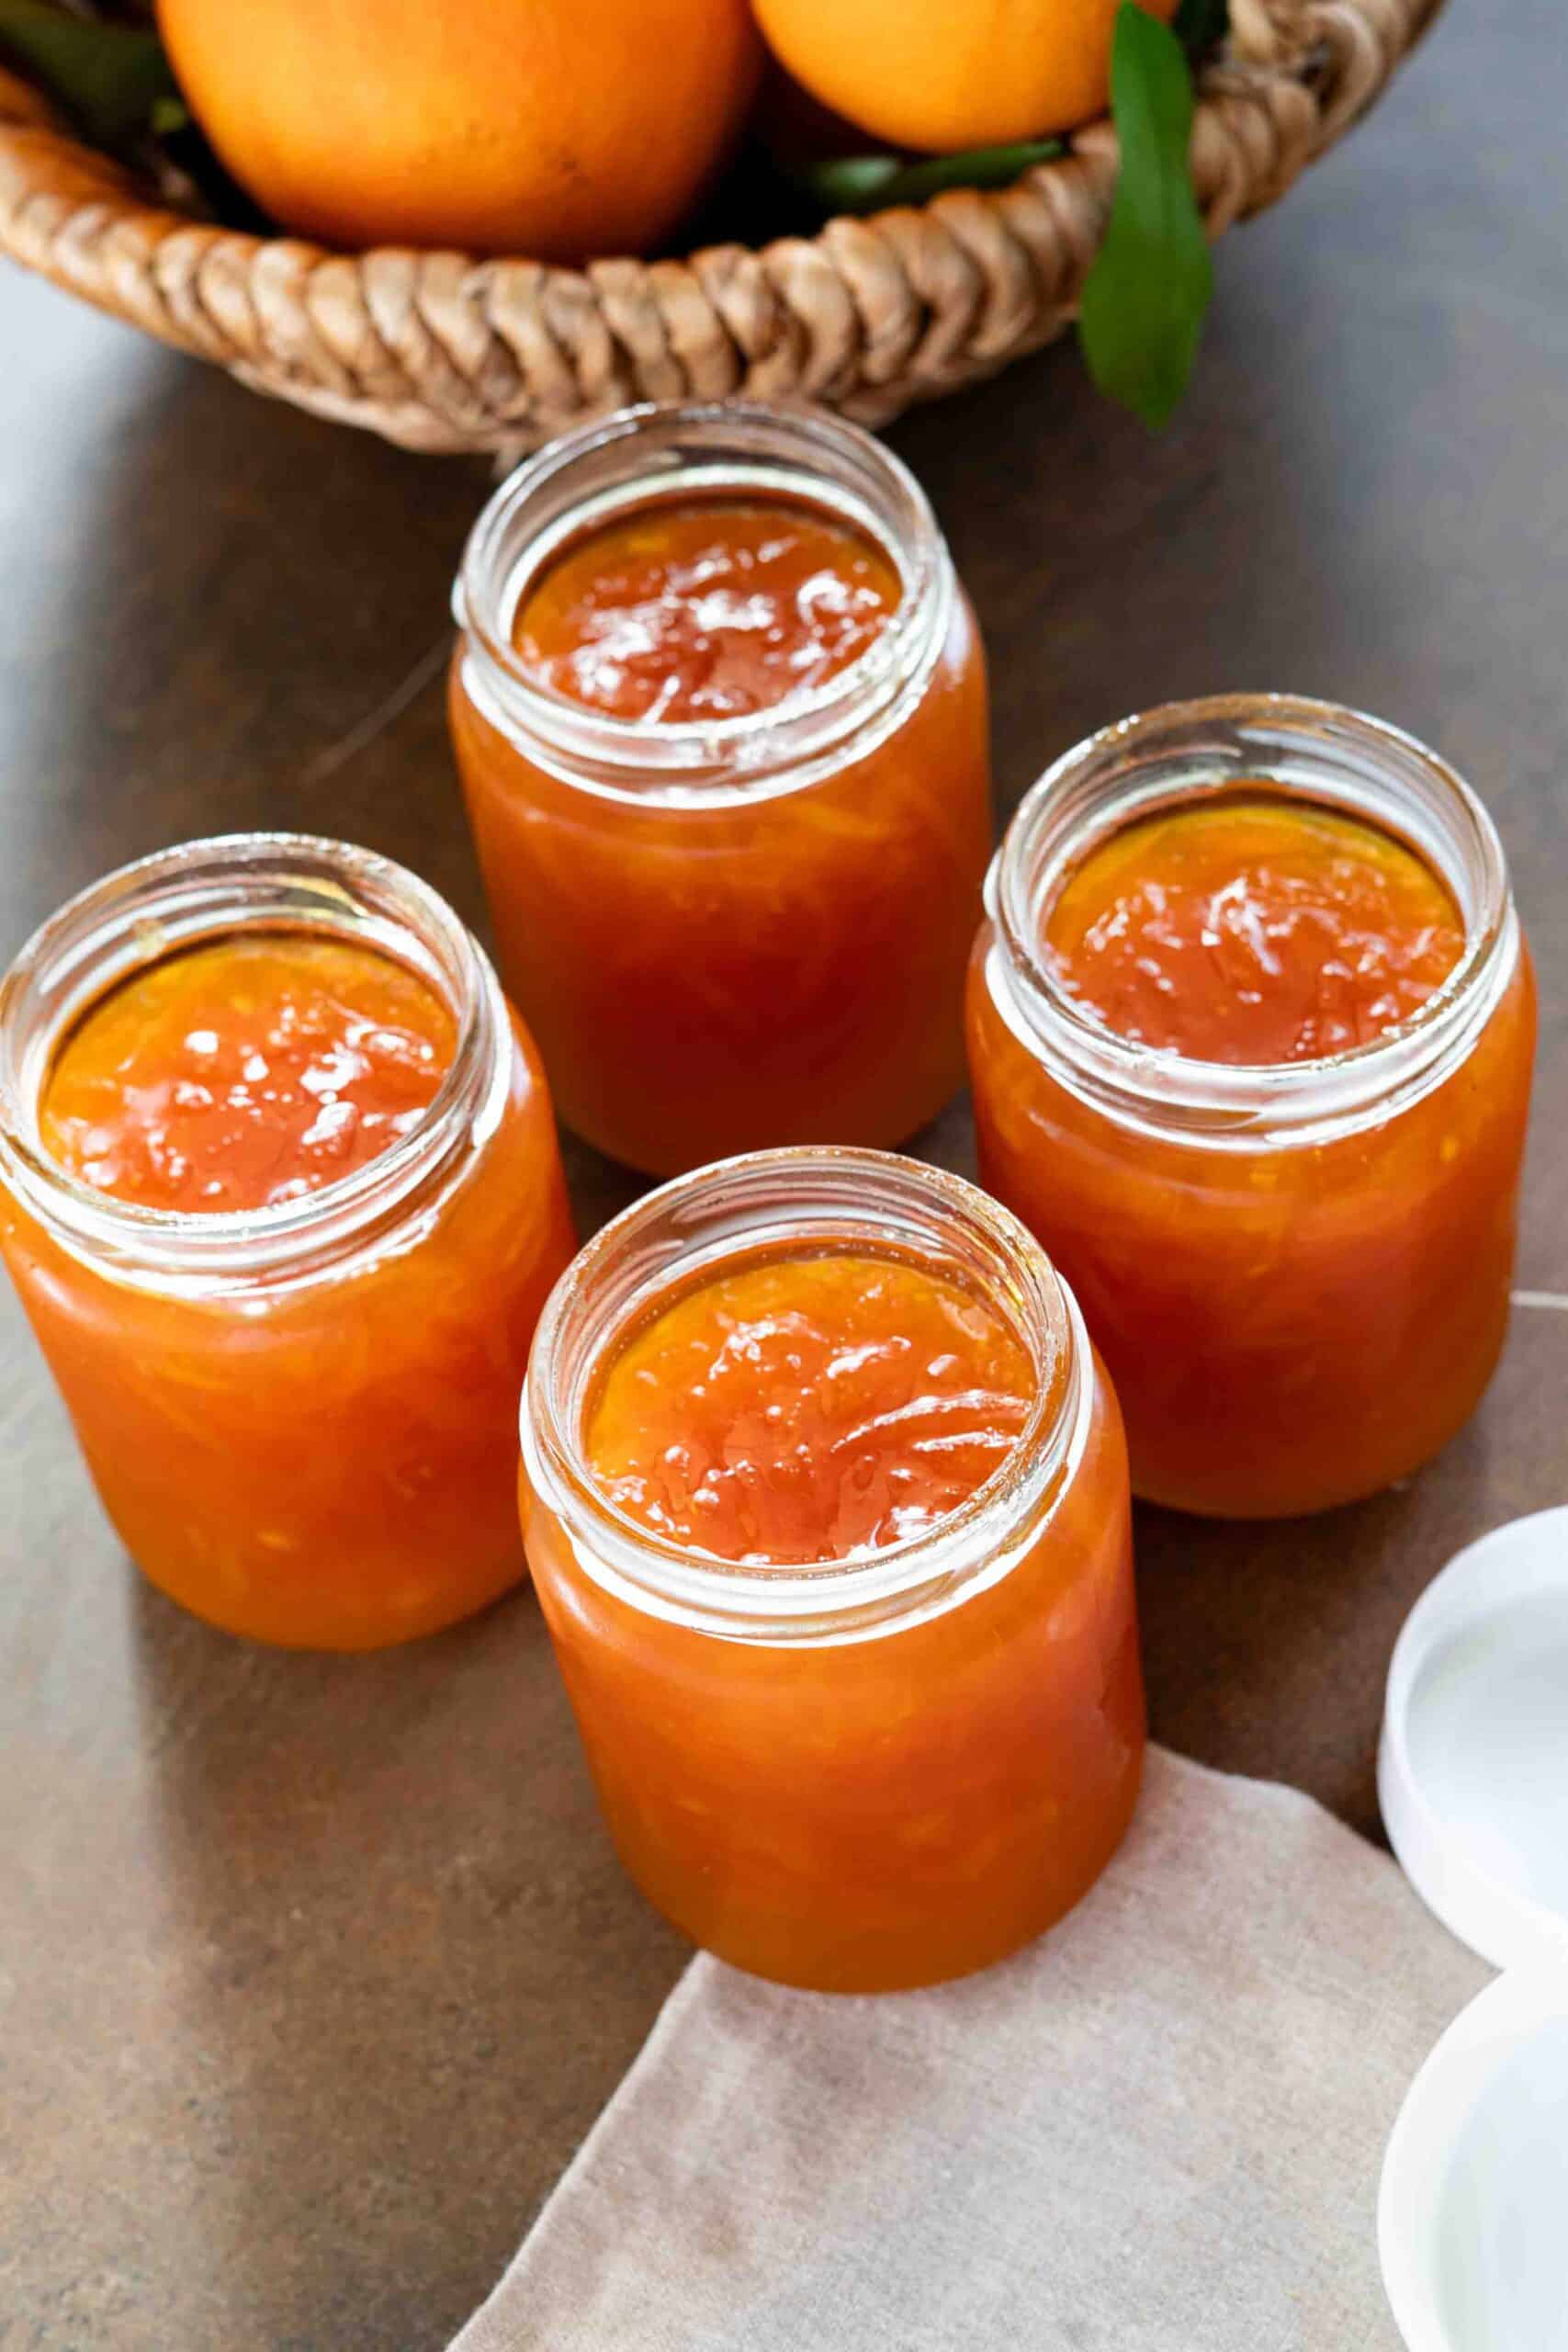
Step 9 | Pour into jam into clean dry jars while it's still hot. Keep jars uncovered until jam is fully cooled (you can cover with a kitchen towel overnight), then seal and refrigerate.
Pro Tips
- Be sure not to include any of the white part of the orange (the pith), as it will make the jam overly bitter. This is why using a sharp peeler to peel the outer skin is easier and more precise.
- I recommend using a hand squeezer to extract as much juice and pulp as possible. If your oranges have a lot of seeds, remove them with a strainer or a small spoon while keeping the pulp.
- If your oranges are very sweet adjust the sugar quantity by using less sugar.
Extra Tips to Perfect the Jam
- It’s important not to under cook the jam otherwise, it won’t keep well. One of the key signs that it’s ready is when it starts forming steady, gentle bubbles while simmering on low heat. That bubbling means the jam has reached the right temperature and texture. At this point you can tested by taking a small portion and place it on a cold plate.
- Avoid overcooking the jam, as it can become overly thick.
- The key to preserving any jam is in the cooking, letting it boil gently over low heat for a good while helps it last longer. Making jam is simple, but it can be a bit tricky if you're not paying close attention.
- To test for doneness, place a small plate in the freezer before you start cooking. When you think the jam is ready, spoon a little onto the cold plate. Let it sit for 30–60 seconds, then gently push it with your finger. If it wrinkles and doesn’t run, it’s ready. If it’s still liquid, cook for a few more minutes and test again.
- It’s very important to make sure your jars are thoroughly washed and completely dry before filling them with jam. Once the jam is cooked, be especially careful, any water that gets into the pot or the jars can cause the jam to spoil. This step is critical for preserving the jam safely and ensuring it lasts through the year. I always make sure the jars are washed, dried well, and ready before the jam finishes cooking.
Storage
- Once the jam is ready and still hot, pour it into clean dry glass jars, do not cover until completely cooled off. I keep them over night covered with a clean dry kitchen towel then tightly cover with the lid the next day.
- Jars are stored in the fridge, they would last for the entire year—sometimes even longer. The sugar acts as a natural preservative.
Frequently Asked Questions
The slight bitterness in this orange jam is subtle and often considered an acquired taste. However, if you prefer a milder flavor, you can simply skip adding the sliced peel.
Another option is to boil the orange peel in water before adding it to the juice and sugar. This blanching step helps remove much of the bitterness while keeping the citrus aroma.
Naval or Valencia oranges works really well, if you plan to use the peel as in this recipe, pick oranges that has a thick peel. And they don't need to be sweet, since the oranges are mixed with sugar, the sweetness comes from the sugar while you still get the bright citrus flavor you’re aiming for.
No, oranges naturally contain pectin, and when mixed with sugar and heated, it forms a gel. This is exactly the texture you want for jam, thick and set rather than soupy or watery.
Click here to subscribe to my newsletter and receive free and new recipes right into your inbox!
If you made the orange jam I would love it if you could give me a 5-star rating and leave a comment below.
I also would like to hear about your experience making it, snap a picture and tag me on Instagram, Facebook, or Pinterest.
More Delicious Recipes
Print
Orange Jam
- Prep Time: 20 minutes
- Cook Time: 45-60 minutes
- Total Time: 80 minutes
- Yield: 4 Jars (8oz)
- Cuisine: Palestinian/American
- Diet: Vegan
Description
This delicious orange jam recipe is made with just three ingredients, and comes together in a few easy steps. Using the juice, pulp, and peel of the oranges which gives the jam a subtle, pleasant bitterness that beautifully balances the bright citrus flavor and sweetness from the sugar.
Ingredients
- 4 cups of orange juice (10-12 oranges), including peel and pulp.
- 2 medium size lemons, zest and juice
- 3 cups congratulate sugar
Instructions
- Start by washing and rinsing the oranges well.
- Using a sharp peeler, carefully peel the oranges.
With a sharp knife, thinly slice the orange peels. To save on time, you can stack a few peels together and slice them at once. - Cut each peeled orange in half and juice them, making sure to keep the pulp. If your oranges have many seeds, strain the juice to remove them.
- Zest and juice the lemons.
- Add the orange juice, reserved pulp, sliced orange peel, lemon zest, lemon juice, and sugar to a pot.
- Place the pot on the stove over high heat.
- Once the mixture comes to a boil, lower the heat to medium-low.
- Let the jam cook for 45–60 minutes, stirring occasionally and keeping an eye on the texture.
- When the jam starts to bubble steadily, it’s time to test if it’s ready.
- Using a clean, dry tablespoon, place a small amount of jam onto a cold plate. Gently push it with your finger, if it wrinkles and doesn’t run, the jam is ready.
- If it’s still runny, cook for a few more minutes and test again.
- Carefully pour the hot jam into clean, dry jars.
- Leave the jars uncovered until the jam is fully cooled (you can loosely cover them with a kitchen towel overnight), then seal and refrigerate.
Notes
- Be sure not to include any of the white part of the orange (the pith), as it will make the jam overly bitter. This is why using a sharp peeler to peel the outer skin is easier and more precise.
- I recommend using a hand squeezer to extract as much juice and pulp as possible. If your oranges have a lot of seeds, remove them with a strainer or a small spoon while keeping the pulp.
- If your oranges are very sweet adjust the sugar quantity by using less sugar.
Extra Tips to Perfect the Jam
- It’s important not to under cook the jam otherwise, it won’t keep well. One of the key signs that it’s ready is when it starts forming steady, gentle bubbles while simmering on low heat. That bubbling means the jam has reached the right temperature and texture. At this point you can tested by taking a small portion and place it on a cold plate.
- Avoid overcooking the jam, as it can become overly thick.
- The key to preserving any jam is in the cooking, letting it boil gently over low heat for a good while helps it last longer. Making jam is simple, but it can be a bit tricky if you're not paying close attention.
- To test for doneness, place a small plate in the freezer before you start cooking. When you think the jam is ready, spoon a little onto the cold plate. Let it sit for 30–60 seconds, then gently push it with your finger. If it wrinkles and doesn’t run, it’s ready. If it’s still liquid, cook for a few more minutes and test again.
- It’s very important to make sure your jars are thoroughly washed and completely dry before filling them with jam. Once the jam is cooked, be especially careful, any water that gets into the pot or the jars can cause the jam to spoil. This step is critical for preserving the jam safely and ensuring it lasts through the year. I always make sure the jars are washed, dried well, and ready before the jam finishes cooking.

Thelecia says
Amazing orange jam! My husband loved the taste and sweetness! Thank you for sharing!
Wafa Shami says
Hello Thelecia, I'm glad to hear that, thanks for the great review!
Oonagh Williams says
Can I just zest the orang peel and not peel and thinly slice.
Wafa Shami says
Hello Oonagh, thank you for your question. You certainly can, but you won’t get the same texture as you do when you slice the peel.